Recently Viewed
Browse by
Tears of the Kingdom guide
Tears of the Kingdom has 152 shrines spread across the sky, the surface and Hyrule’s caves. Each one rewards a Light of Blessing, and every four Lights buy you an extra heart or more stamina. Here is how shrines work, the types you will meet and where to start.
The tutorial island's four shrines each teach one of Link's core abilities. Clear them all, then head down to Hyrule, where Purah hands you the paraglider at Lookout Landing.
Most shrines are puzzles, but a few work differently. The shrine's subtitle tells you which kind you are walking into.
Clearing a shrine gives a Light of Blessing, and most also hide a treasure chest. Trade the Lights at a Goddess Statue.
| Reward | How to get it | What it does |
|---|---|---|
| Light of Blessing | Finish any shrine | Four of them buy one upgrade at a Goddess Statue |
| Heart Container | Trade 4 Lights of Blessing | Adds one heart to your health |
| Stamina Vessel | Trade 4 Lights of Blessing | Adds a fifth of a stamina wheel |
| Treasure chests | Explore each shrine fully | Weapons, gems, Zonai devices and other items |
| Fast travel point | Activate the shrine | You can warp to any shrine you have activated |
Every shrine in the game, sorted by region: 125 on the Surface and 27 in the Sky. The trial name tells you what is waiting inside, so you know if it is a puzzle, a fight or a free blessing before you go in.
| Shrine | Trial | Region | Layer |
|---|---|---|---|
| Gikaku Shrine | Rauru's Blessing | Akkala Highlands | Sky |
| Natak Shrine | Rauru's Blessing | Akkala Highlands | Sky |
| Domizuin Shrine | A Prone Pathway | Akkala Highlands | Surface |
| Gatanisis Shrine | A Well-Timed Bounce | Akkala Highlands | Surface |
| Gemimik Shrine | Turbine Power | Akkala Highlands | Surface |
| Jochi-ihiga Shrine | Rauru's Blessing | Akkala Highlands | Surface |
| Rasitakiwak Shrine | Proving Grounds: Vehicles | Akkala Highlands | Surface |
| Sinatanika Shrine | Combat Training: Sneakstrike | Akkala Highlands | Surface |
| Mogisari Shrine | Courage to Jump | Akkala Sea | Sky |
| Igashuk Shrine | Rauru's Blessing | Akkala Sea | Surface |
| Rasiwak Shrine | Flotational Brilliance | Akkala Sea | Surface |
| Sitsum Shrine | A Controlling Device | Death Mountain | Sky |
| Jochi-iu Shrine | Courage to Pluck | Deep Akkala | Surface |
| Kamatukis Shrine | A Precise Strike | Deep Akkala | Surface |
| Kumamayn Shrine | Rauru's Blessing | East Necluda | Sky |
| Yansamin Shrine | Proving Grounds: Low Gravity | East Necluda | Sky |
| Anedamimik Shrine | A Retraced Path | East Necluda | Surface |
| Bamitok Shrine | Rauru's Blessing | East Necluda | Surface |
| Jogou Shrine | Rauru's Blessing | East Necluda | Surface |
| Mayahisik Shrine | Rauru's Blessing | East Necluda | Surface |
| Sifumim Shrine | Proving Grounds: Flow | East Necluda | Surface |
| Utojis Shrine | Rauru's Blessing | East Necluda | Surface |
| Zanmik Shrine | Scoop It Out | East Necluda | Surface |
| Kadaunar Shrine | Water Makes a Way | Eldin Canyon | Sky |
| Isisim Shrine | Proving Grounds: In Reverse | Eldin Canyon | Surface |
| Jiotak Shrine | Rauru's Blessing | Eldin Canyon | Surface |
| Kimayat Shrine | Proving Grounds: Smash | Eldin Canyon | Surface |
| Kisinona Shrine | Wind Power | Eldin Canyon | Surface |
| Marakuguc Shrine | Wheeled Wonders | Eldin Canyon | Surface |
| Mayachideg Shrine | Proving Grounds: The Hunt | Eldin Canyon | Surface |
| Momosik Shrine | Rauru's Blessing | Eldin Canyon | Surface |
| Moshapin Shrine | Rauru's Blessing | Eldin Canyon | Surface |
| Sibajitak Shrine | Alignment | Eldin Canyon | Surface |
| Timawak Shrine | Against the Flow | Eldin Canyon | Surface |
| Mayak Shrine | Timely Catches | Eldin Mountains | Surface |
| Minetak Shrine | Rauru's Blessing | Eldin Mountains | Surface |
| Sikukuu Shrine | Spinning Gears | Eldin Mountains | Surface |
| Ishokin Shrine | Rauru's Blessing | Faron Grasslands | Surface |
| Jiukoum Shrine | Built for Rails | Faron Grasslands | Surface |
| Joku-u Shrine | Rauru's Blessing | Faron Grasslands | Surface |
| Joku-usin Shrine | Proving Grounds: Short Circuit | Faron Grasslands | Surface |
| Utsushok Shrine | Long or Wide | Faron Grasslands | Surface |
| Chichim Shrine | Rauru's Blessing | Gerudo Desert | Surface |
| Irasak Shrine | Rauru's Blessing | Gerudo Desert | Surface |
| Karahatag Shrine | Drifting Flame | Gerudo Desert | Surface |
| Kudanisar Shrine | Bridging the Sands | Gerudo Desert | Surface |
| Mayatat Shrine | A Sliding Device | Gerudo Desert | Surface |
| Miryotanog Shrine | Proving Grounds: Lure | Gerudo Desert | Surface |
| Siwakama Shrine | Moving the Spheres | Gerudo Desert | Surface |
| Soryotanog Shrine | Buried Light | Gerudo Desert | Surface |
| Mayasiar Shrine | Rauru's Blessing | Gerudo Highlands | Sky |
| Rakashog Shrine | A Reflective Device | Gerudo Highlands | Sky |
| Siyamotsus Shrine | Unlit Blessing | Gerudo Highlands | Sky |
| Kitawak Shrine | Upward and Forward | Gerudo Highlands | Surface |
| Mayamats Shrine | A Route for a Ball | Gerudo Highlands | Surface |
| Motsusis Shrine | Rauru's Blessing | Gerudo Highlands | Surface |
| Otutsum Shrine | Rauru's Blessing | Gerudo Highlands | Surface |
| Rakakudaj Shrine | Rauru's Blessing | Gerudo Highlands | Surface |
| Rotsumamu Shrine | A Balanced Plan | Gerudo Highlands | Surface |
| Suariwak Shrine | Rauru's Blessing | Gerudo Highlands | Surface |
| Turakamik Shrine | Hidden Metal | Gerudo Highlands | Surface |
| Mayam Shrine | Rauru's Blessing | Great Hyrule Forest | Sky |
| Ekochiu Shrine | Rise and Fall | Great Hyrule Forest | Surface |
| Kikakin Shrine | Shining in Darkness | Great Hyrule Forest | Surface |
| Kiuyoyou Shrine | Fire and Ice | Great Hyrule Forest | Surface |
| Musanokir Shrine | Swing to Hit | Great Hyrule Forest | Surface |
| Ninjis Shrine | Rauru's Blessing | Great Hyrule Forest | Surface |
| Pupunke Shrine | Rauru's Blessing | Great Hyrule Forest | Surface |
| Sakunbomar Shrine | Rauru's Blessing | Great Hyrule Forest | Surface |
| Simosiwak Shrine | Proving Grounds: Lights Out | Great Hyrule Forest | Surface |
| Gutanbac Shrine | The Ability to Rise | Great Sky Island | Sky |
| In-isa Shrine | The Ability to Combine | Great Sky Island | Sky |
| Nachoyah Shrine | The Ability to Rewind | Great Sky Island | Sky |
| Ukouh Shrine | The Ability to Create | Great Sky Island | Sky |
| Kahatanaum Shrine | Rauru's Blessing | Hebra Mountains | Sky |
| Mayaumekis Shrine | Downward Force | Hebra Mountains | Sky |
| Taninoud Shrine | Rauru's Blessing | Hebra Mountains | Sky |
| Tenbez Shrine | Gravity and Velocity | Hebra Mountains | Sky |
| Eutoum Shrine | Proving Grounds: Infiltration | Hebra Mountains | Surface |
| Ijo-o Shrine | More than Defense | Hebra Mountains | Surface |
| Mayaotaki Shrine | Rauru's Blessing | Hebra Mountains | Surface |
| Orochium Shrine | Courage to Fall | Hebra Mountains | Surface |
| Oshozan-u Shrine | Mallet Smash | Hebra Mountains | Surface |
| Otak Shrine | Proving Grounds: Traps | Hebra Mountains | Surface |
| Rutafu-um Shrine | Rauru's Blessing | Hebra Mountains | Surface |
| Sahirow Shrine | Aid from Above | Hebra Mountains | Surface |
| Sisuran Shrine | Rauru's Blessing | Hebra Mountains | Surface |
| Tauyosipun Shrine | Forward or Backward? | Hebra Mountains | Surface |
| Wao-os Shrine | Lever Power | Hebra Mountains | Surface |
| Jinodok Shrine | Rauru's Blessing | Hyrule Field | Sky |
| Ishodag Shrine | A Windy Device | Hyrule Field | Surface |
| Jiosin Shrine | Shape Rotation | Hyrule Field | Surface |
| Jojon Shrine | Proving Grounds: Rotation | Hyrule Field | Surface |
| Kamizun Shrine | Proving Grounds: Beginner | Hyrule Field | Surface |
| Kyokugon Shrine | Alignment of the Circles | Hyrule Field | Surface |
| Kyononis Shrine | Combat Training | Hyrule Field | Surface |
| Mayachin Shrine | A Fixed Device | Hyrule Field | Surface |
| Ren-iz Shrine | Jump the Gaps | Hyrule Field | Surface |
| Riogok Shrine | Force Transfer | Hyrule Field | Surface |
| Sepapa Shrine | Backtrack | Hyrule Field | Surface |
| Serutabomac Shrine | The Way Up | Hyrule Field | Surface |
| Sinakawak Shrine | An Uplifting Device | Hyrule Field | Surface |
| Susuyai Shrine | A Spinning Device | Hyrule Field | Surface |
| Tadarok Shrine | Fire and Water | Hyrule Field | Surface |
| Tajikats Shrine | Building with Logs | Hyrule Field | Surface |
| Teniten Shrine | Combat Training: Throwing | Hyrule Field | Surface |
| Tenmaten Shrine | Rauru's Blessing | Hyrule Field | Surface |
| Tsutsu-um Shrine | The Stakes Guide You | Hyrule Field | Surface |
| Yamiyo Shrine | Combat Training: Throwing | Hyrule Field | Surface |
| Makurukis Shrine | Combat Training: Archery | Hyrule Ridge | Surface |
| Runakit Shrine | Built to Carry | Hyrule Ridge | Surface |
| Sonapan Shrine | Missing Pathways | Hyrule Ridge | Surface |
| Taki-ihaban Shrine | Rauru's Blessing | Hyrule Ridge | Surface |
| Taunhiy Shrine | Combat Training: Archery | Hyrule Ridge | Surface |
| Usazum Shrine | Rauru's Blessing | Hyrule Ridge | Surface |
| En-oma Shrine | Rauru's Blessing | Lake Hylia | Surface |
| Igoshon Shrine | Orbs of Water | Lanayru Great Spring | Sky |
| Jirutagumac Shrine | A Flying Device | Lanayru Great Spring | Sky |
| Sihajog Shrine | Rauru's Blessing | Lanayru Great Spring | Sky |
| Apogek Shrine | Wings on the Wind | Lanayru Great Spring | Surface |
| Ihen-a Shrine | Midair Perch | Lanayru Great Spring | Surface |
| Joniu Shrine | Rauru's Blessing | Lanayru Great Spring | Surface |
| Kurakat Shrine | Rauru's Blessing | Lanayru Great Spring | Surface |
| Mogawak Shrine | The Power of Water | Lanayru Great Spring | Surface |
| O-ogim Shrine | Rauru's Blessing | Lanayru Great Spring | Surface |
| Yomizuk Shrine | Rauru's Blessing | Lanayru Great Spring | Surface |
| Mayanas Shrine | The Ice Guides You | Lanayru Sea | Sky |
| Jonsau Shrine | Deep Force | Lanayru Wetlands | Surface |
| Maoikes Shrine | Rauru's Blessing | Lanayru Wetlands | Surface |
| Morok Shrine | A Bouncy Device | Lanayru Wetlands | Surface |
| Tukarok Shrine | Forward Force | Lanayru Wetlands | Surface |
| Jikais Shrine | Jailbreak | Mount Lanayru | Surface |
| Zakusu Shrine | Proving Grounds: Ascension | Mount Lanayru | Surface |
| Marari-in Shrine | Rauru's Blessing | Necluda Sea | Surface |
| Ga-ahisas Shrine | Rauru's Blessing | Tabantha Frontier | Sky |
| Ganos Shrine | Rauru's Blessing | Tabantha Frontier | Sky |
| Gasas Shrine | Well-Timed Cuts | Tabantha Frontier | Surface |
| Gatakis Shrine | Ride the Winds | Tabantha Frontier | Surface |
| Ikatak Shrine | Rauru's Blessing | Tabantha Frontier | Surface |
| Iun-orok Shrine | The Right Roll | Tabantha Frontier | Surface |
| Mayausiy Shrine | Building Blocks | Tabantha Frontier | Surface |
| Nouda Shrine | Proving Grounds: Intermediate | Tabantha Frontier | Surface |
| Oromuwak Shrine | A Launching Device | Tabantha Frontier | Surface |
| Turakawak Shrine | Stacking a Path | Tabantha Frontier | Surface |
| Josiu Shrine | Rauru's Blessing | West Necluda | Sky |
| Eshos Shrine | Combat Training: Shields | West Necluda | Surface |
| Jochisiu Shrine | Rauru's Blessing | West Necluda | Surface |
| Joju-u-u Shrine | Building Bridges | West Necluda | Surface |
| Makasura Shrine | An Upright Device | West Necluda | Surface |
| Susub Shrine | Rauru's Blessing | West Necluda | Surface |
| Tokiy Shrine | Rauru's Blessing | West Necluda | Surface |
| Ukoojisi Shrine | Rauru's Blessing | West Necluda | Surface |
Each tower reveals the map for its region, which makes shrines much easier to spot.
Your Purah Pad's sensor points you to the nearest shrine you have not found yet.
Shrines stand out from high ground and while gliding, especially at night when they glow.
Most surface shrines have a Lightroot directly beneath them, named after the shrine spelled backwards.
Side quests and NPC hints often lead to hidden shrines, especially Rauru's Blessing ones.
Many shrines sit inside or on top of caves, so check every cave entrance you pass.
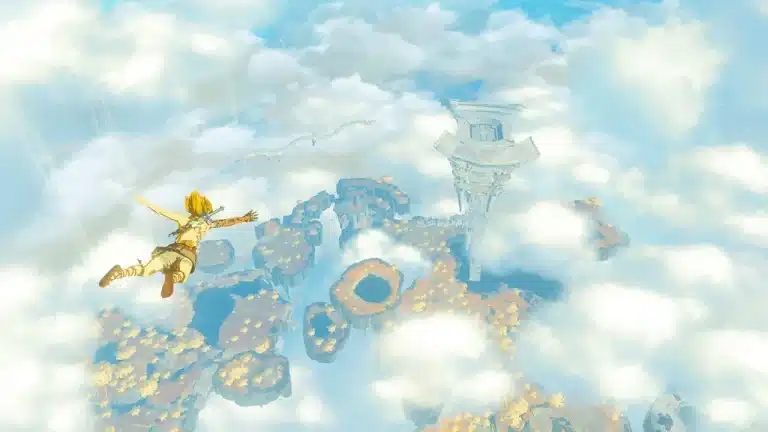
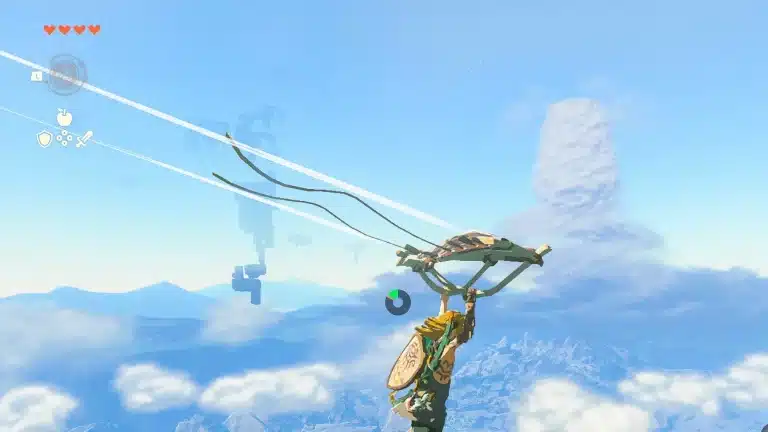
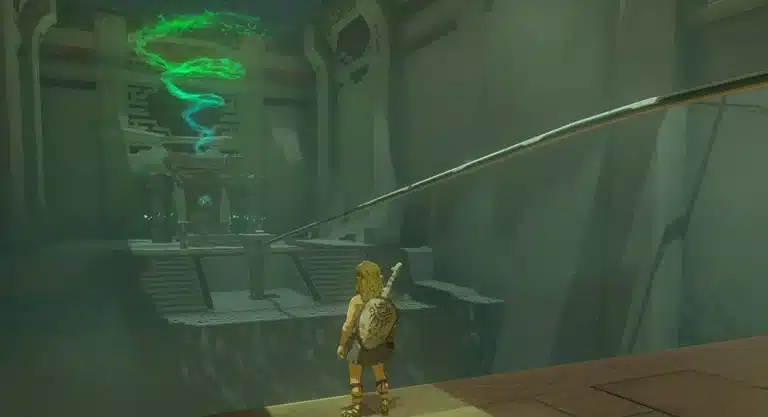
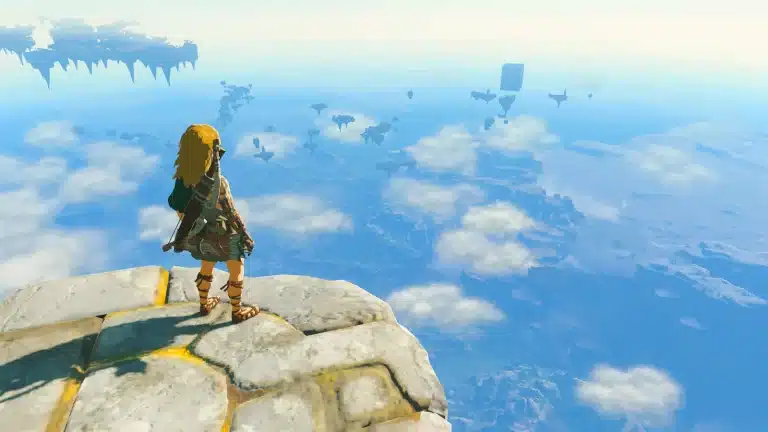
There are 152 shrines across the sky islands, the surface of Hyrule and its caves.
Early on, a mix works best: extra stamina makes climbing and gliding easier, while hearts keep you alive in fights. You can also swap one for the other later at the Cursed Statue in the passage beneath Lookout Landing, for a fee.
A shrine with no puzzle inside. The challenge was finding or reaching it, so you just open the chest and collect your Light of Blessing.
There is one in the Temple of Time on the Great Sky Island, one beneath Lookout Landing and more in villages across Hyrule.
