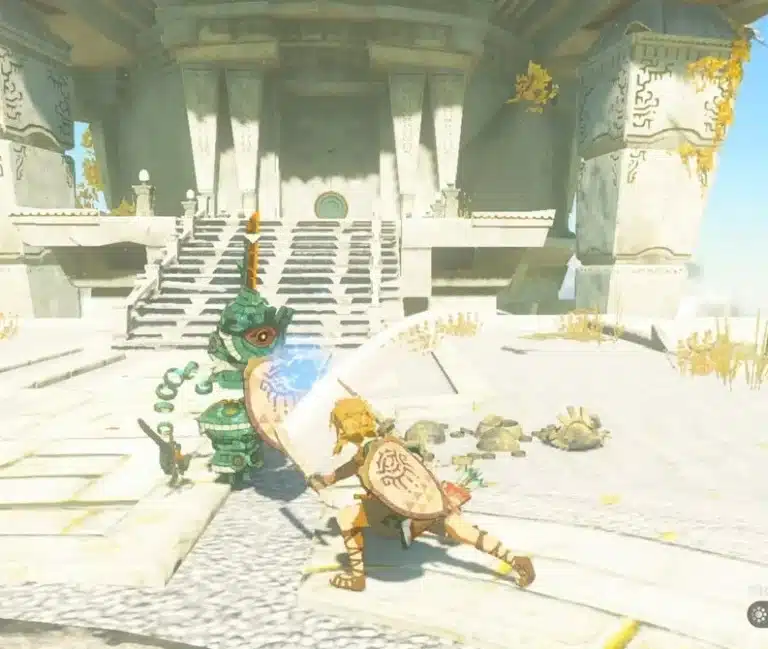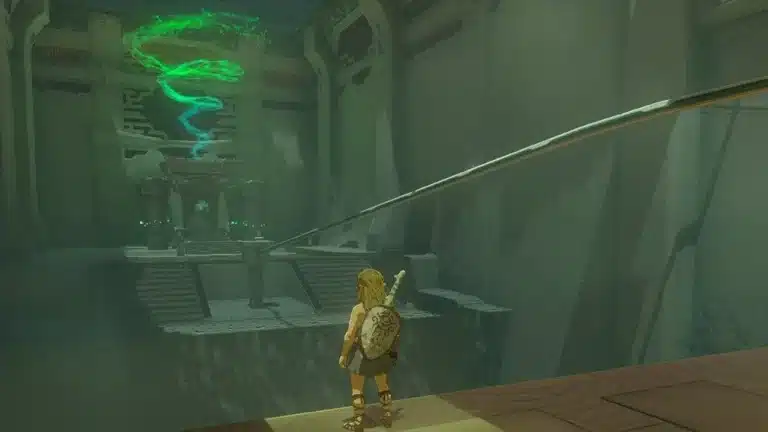
Bamitok Shrine is a freebie with a catch. Once you step inside, there is no puzzle at all. The real test is finding Mount Dunsel Cave in East Necluda and working your way through it to the shrine door.
Here’s how to get there fast, what waits in the dark, and which enemies you can simply run past. Quick note for newer players: a “Rauru’s Blessing” shrine means the journey is the puzzle, so the reward is handed to you at the end.
Bamitok Shrine Location
Bamitok sits inside Mount Dunsel Cave on the surface of East Necluda, southeast of Mount Dunsel and north of Gama Cove. The cave is easy to fly right past, because you get in through water rather than an obvious hole in a cliff.
- Region: East Necluda, surface level.
- Shrine coordinates: roughly 3094, -3209, 0082 (guides differ by a point or two, so trust the landmarks).
- Cave: Mount Dunsel Cave. Its entrance is at the body of water just north of Gama Cove.
- Shrine type: Rauru’s Blessing. No trial, no puzzle room.
- Nearest Skyview Tower: Rabella Wetlands Skyview Tower, to the northwest.
- Nearby surface shrine: Sifumim Shrine, a solid fast travel fallback if you have it.
Fastest Way In
Your best bet is the Rabella Wetlands Skyview Tower. Launch, then glide southeast toward the coast above Gama Cove. Gliding keeps you well clear of the Bokoblin camps on the ground.
- Launch: Fire off from Rabella Wetlands Skyview Tower.
- Glide: Head southeast toward Mount Dunsel and the cliffs above Gama Cove.
- Land and swim: Drop into the water in front of the cove and swim into the cave mouth.
(Pro tip: if you have already cleared Sifumim Shrine, warp there instead and glide or run east. Your call.)
Mount Dunsel Cave Walkthrough
The route is short: a couple of fights, one Ultrahand job and one Ascend. Here’s the full breakdown:
- Swim in. Enter the water at the cave mouth and swim until you reach dry ground.
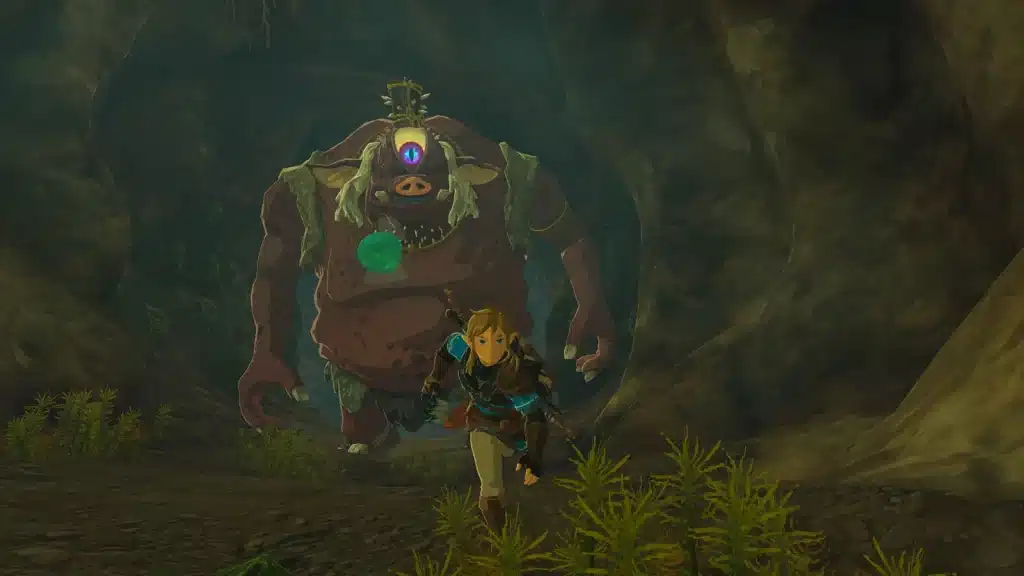
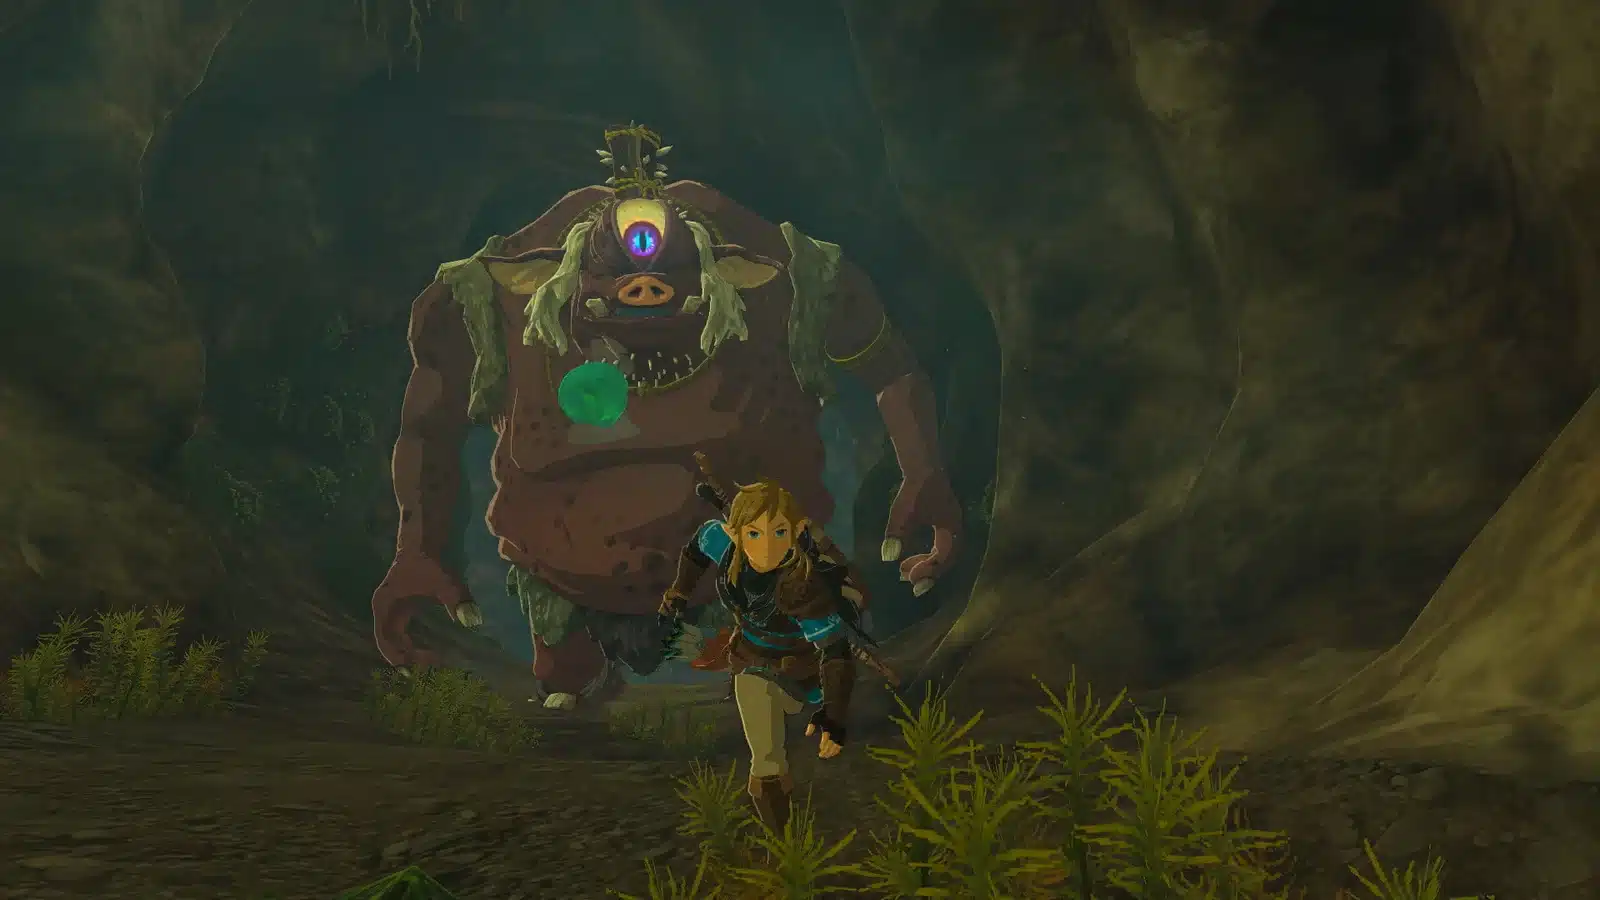
- Cut the vines. At the end of the first tunnel a wall of vines blocks the way. Slash or burn it, but be ready: a Horriblin is waiting on the other side.
- Deal with the Horriblin. It clings to the ceiling and drops in to attack. Knock it down with an arrow, then finish it off.
- Take the left vines. You reach what looks like a dead end. Cut through the vines on the left to keep going.
- Slip past the Shock Likes. Two Shock Likes hang from the ceiling in the next room. Hug the right side and run past, or fight them for materials.
- Go down, not up. In the following room, take the lower path. A Stalkoblin guards a pool of water with a wooden plank nearby.
- Clear the Stalkoblin. Beat it first so it does not interrupt your building.
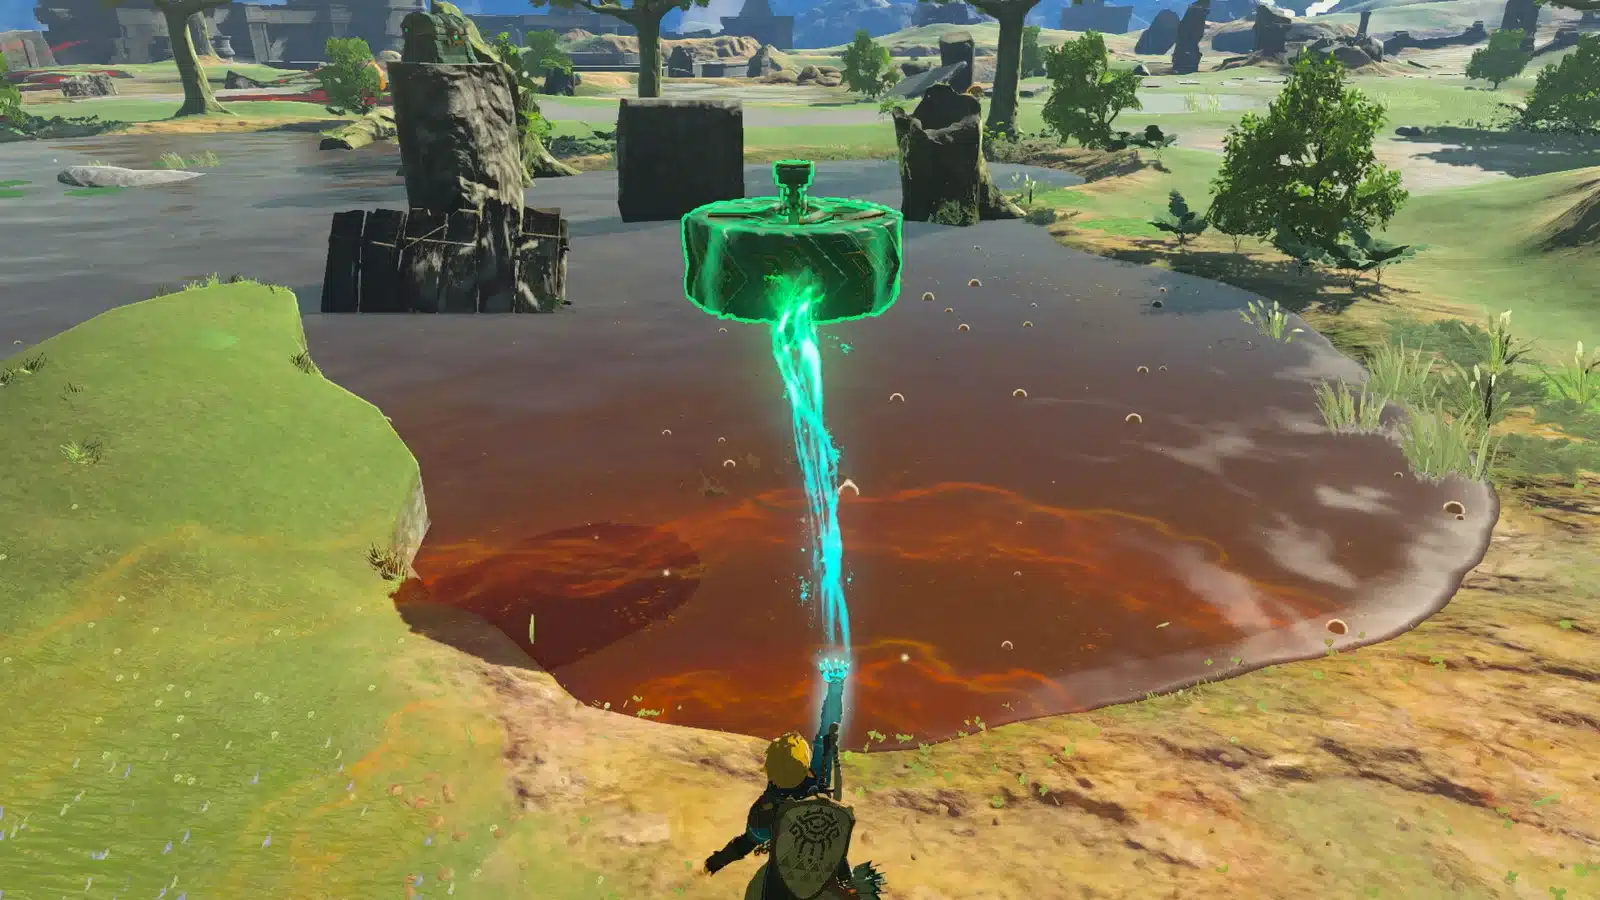
- Float the plank. Grab the plank with Ultrahand and set it on the water directly under the overhanging ledge.
- Ascend. Swim to the plank, climb on, and use Ascend to pass through the rock and pop up on the ledge above.
- Climb to the shrine. Head up the slope. Rock Likes lurk along this stretch, so watch the ceiling, then activate Bamitok Shrine at the top.
Nailed it? Ascend only works when there is a ceiling within reach above you, which is exactly why the plank matters. Our Ascend guide covers the ability in detail, and the Ultrahand guide explains grabbing and rotating objects.
Enemies: Fight or Skip?
Almost everything in Mount Dunsel Cave is optional. Only the Horriblin really sits in your way, and even the Stalkoblin is more of a nuisance than a wall.
| Enemy | Where | Must you fight it? |
|---|---|---|
| Horriblin | Behind the first wall of vines | Practically yes, it ambushes you in a tight space |
| Shock Like (x2) | Ceiling of the room after the left vines | No, run along the right side |
| Stalkoblin | Lower room, by the pool and plank | Recommended, so you can build in peace |
| Rock Like | Slope leading up to the shrine | No, keep moving uphill |
(Pro tip: Like Like enemies drop their own loot when defeated, so if you need materials, fight them. If you are short on weapons, skip them. Oh, and Stalkoblins keep reassembling unless you smash or carry off the skull.)
Inside Bamitok Shrine: Rewards
There is nothing to solve inside. Walk forward, open the chest, then touch the glowing altar at the end to collect your Light of Blessing.
- Big Battery: the chest holds a Big Battery, a Zonai power source that adds extra energy for your builds.
- Light of Blessing: trade four at a Goddess Statue for a Heart Container or a Stamina Vessel.
- Fast travel point: the shrine is now a warp spot on the East Necluda coast, handy for Lurelin Village and the beaches nearby.
Lights of Blessing pile up fast in this region. Spend them as you go rather than sitting on a stack of four.
Tips for Mount Dunsel Cave
- Pack a weapon you do not mind breaking: you need something to cut vines and a cheap blade does the job.
- Bring light: the cave is dim. Brightbloom Seeds or a torch make the Like Likes on the ceiling much easier to spot.
- Look up: Horriblins and Like Likes both attack from above. Check the ceiling before you walk under anything.
- Arrows first: an arrow to a ceiling enemy is the safest opening move.
- Line up the plank: set it right under the ledge so Ascend has a clean target.
- Stock up on food: a couple of hearty dishes help if the Horriblin lands a few hits. See our cooking guide for easy recipes.
Want more to do in the area? Our Korok seed locations guide helps you sweep Necluda while you are here, and the Tears of the Kingdom hub lists every guide we have.
Bamitok Shrine FAQ
Where is Bamitok Shrine in Tears of the Kingdom?
Inside Mount Dunsel Cave in East Necluda, on the surface. Enter through the water just north of Gama Cove.
Is there a puzzle in Bamitok Shrine?
No. It is a Rauru’s Blessing shrine, so reaching it is the challenge. Inside you just open a chest and claim your Light of Blessing.
What is the Bamitok Shrine reward?
A Big Battery from the chest and a Light of Blessing at the altar.
How do you reach the ledge in Mount Dunsel Cave?
Use Ultrahand to float the wooden plank under the ledge, stand on it, then use Ascend to rise through the rock.
What is the closest Skyview Tower to Bamitok Shrine?
Rabella Wetlands Skyview Tower. Launch from it and glide southeast to the water by Gama Cove.
Pro Tip: treat Bamitok as a quick detour, not a dungeon. Swim in, cut left, float the plank, Ascend, and you are done in a few minutes with a Big Battery in your pocket. You’re winning!