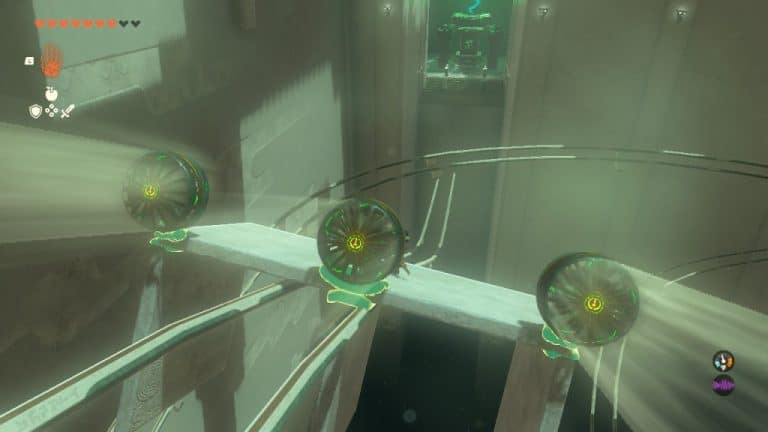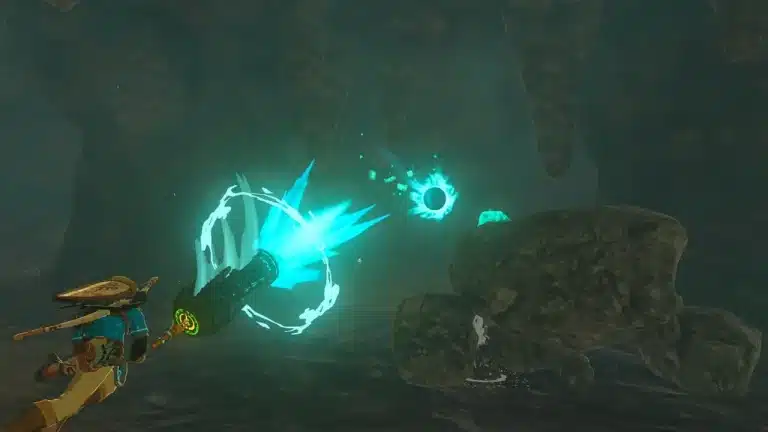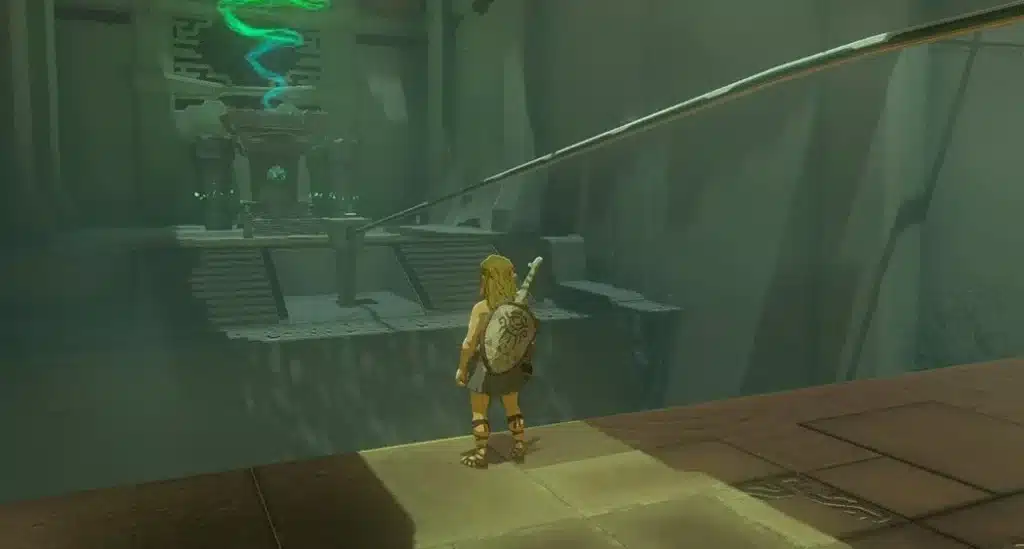
A giant rotating cage, a couple of crystals and a lot of Ascend: Domizuin Shrine is one of the best puzzle rooms in Akkala, and it hides three treasure chests instead of the usual one or two. Ultrahand stays in your pocket for this one.
Here’s how to reach the shrine, solve A Prone Pathway and grab all three chests in one clean run.
Domizuin Shrine Location
Domizuin Shrine sits on high ground at the southern end of Akkala, right by the Akkala Citadel Ruins, between the Upland Zorana Skyview Tower to the southwest and the Ulri Mountain Skyview Tower to the northeast.
- Region: Akkala, on the Surface.
- Coordinates: roughly 3305, 1443, 0426.
- Trial name: A Prone Pathway.
- Chests: three (10 Arrows, a Zonai Charge and a Strong Zonaite Shield).
- Main abilities used: Ascend, crystal switches, your bow and your paraglider.
How to Get There
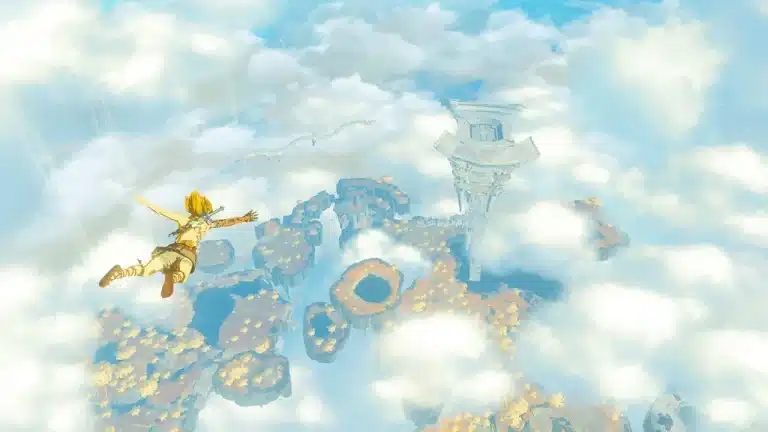
Step 1: Activate the Ulri Mountain Skyview Tower and launch from it.
Step 2: Glide south toward the Citadel Ruins. You’ll likely land a little short, so finish the trip with a short climb.
(Pro tip: eat something that restores stamina before you jump, think Stamella Shrooms or an Endura Carrot dish. The last cliff is the bit that drains you.) Oh, and watch for Gloom Hands in the ruins north of the shrine, and a Thunder Gleeok below it to the southeast. Give both a wide berth unless you’re geared for a fight.
New to Ascend? Our Ascend ability guide covers how it works, since this whole shrine is built around it.
How the Puzzle Works
The room is one big cage that rotates around you. Two kinds of crystal move it:
- The outside crystal: sits on the platform in front of the cage and spins it one way.
- The center crystal: sits on a platform inside the cage and rolls it on a different axis.
- Ascend points: pillars and platforms you can swim up through, which change every time the cage turns.
You can hit a crystal with your weapon or shoot it with an arrow. Arrows matter here, because several steps need you standing somewhere else while the crystal turns the cage.
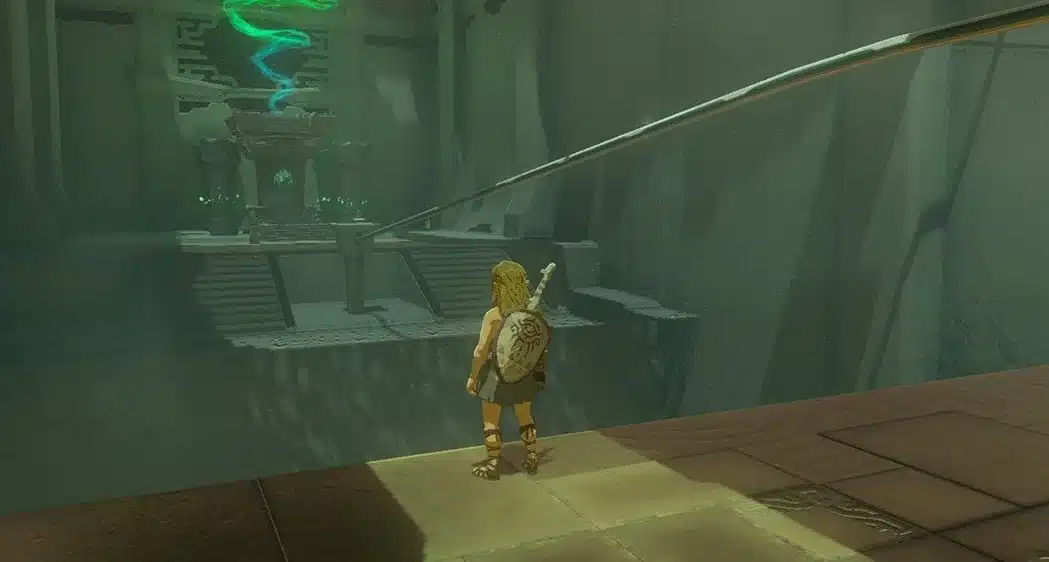
Domizuin Shrine Walkthrough With All 3 Chests
This route grabs every chest on the way to the exit, so you don’t have to backtrack. Directions can feel different depending on where you stand, so trust what’s on screen.
Chest 1: 10 Arrows
Step 1: Head down the stairs from the entrance and walk to the end of the walkway.
Step 2: Ascend through the pillar above you to reach the upper platform.
Step 3: Strike the crystal in front of you. The cage rotates and opens an entrance on the bottom of that side.
Step 4: Walk inside, ignore the center crystal for now, and go to the pillar on the right. Ascend it to reach the chest with 10 Arrows.
Chest 2: Zonai Charge
Step 5: Drop back down, go to the center crystal platform and strike the crystal once.
Step 6: Look for a new hole in the cage floor. Drop through it, look down and to the right, and glide to the platform outside the cage.
Step 7: Climb the ladder and open the chest for a Zonai Charge.
Step 8: Climb back down and Ascend through the cage floor to get back inside. Strike the center crystal one more time.
Chest 3: Strong Zonaite Shield
This chest starts out in a spot you can’t use, so you’ll ride the cage to fix that.
Step 9: From the center platform, find the platform with a chest in the back right corner of the cage.
Step 10: Stand next to that chest, turn around and shoot the center crystal with an arrow. The cage turns with you on board.
Step 11: Make sure you end up on the chest’s platform when the cage stops, then open it for a Strong Zonaite Shield. Nailed it?
Reaching the Exit
Step 12: Drop to the cage floor. The last turn gives you a clear line of sight to the outside crystal: shoot it.
Step 13: Strike the center crystal three times until a long pillar lines up along one side of the cage.
Step 14: Ascend that pillar to the top of the cage. Turn around and you’ll see the stairs to the exit with a gap in front of them.
Step 15: Jump and glide diagonally across the gap to the stairs. If you fall, glide down safely and Ascend the pillar again. Then claim your Light of Blessing at the altar.
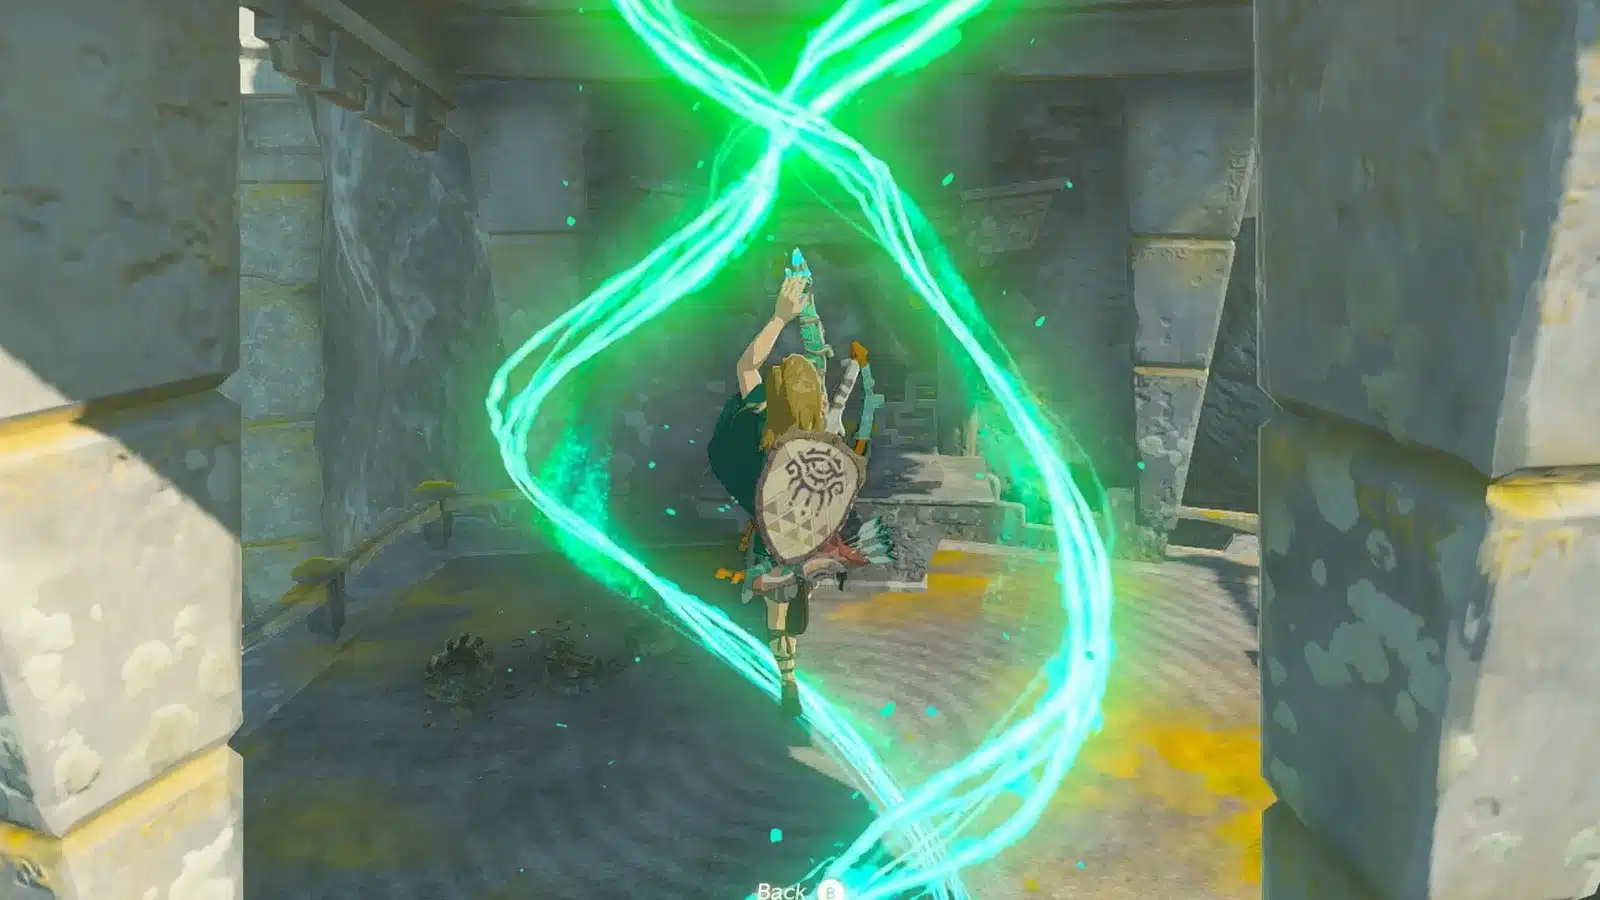
Domizuin Shrine Chests at a Glance
| Chest | Reward | Where it is | How to reach it |
|---|---|---|---|
| 1 | 10 Arrows | Top of a pillar inside the cage | Ascend the pillar on the right after your first rotation |
| 2 | Zonai Charge | Platform outside the cage | Drop through the floor hole and glide over, then climb the ladder |
| 3 | Strong Zonaite Shield | Back right corner platform | Stand by it and shoot the center crystal to ride it upright |
Pro Tips for A Prone Pathway
- Pack arrows: you need to shoot crystals from a distance at least twice. The 10 Arrows chest helps, but bring your own.
- Rotate, then look: after every turn, stop and check which pillars and holes moved. Most of this shrine is solved by observation, not speed.
- Messed it up? Keep striking the same crystal until the cage cycles back to a position you recognize, then pick up the route again.
- Falling is cheap: there’s no damage if you open your paraglider, so experiment freely.
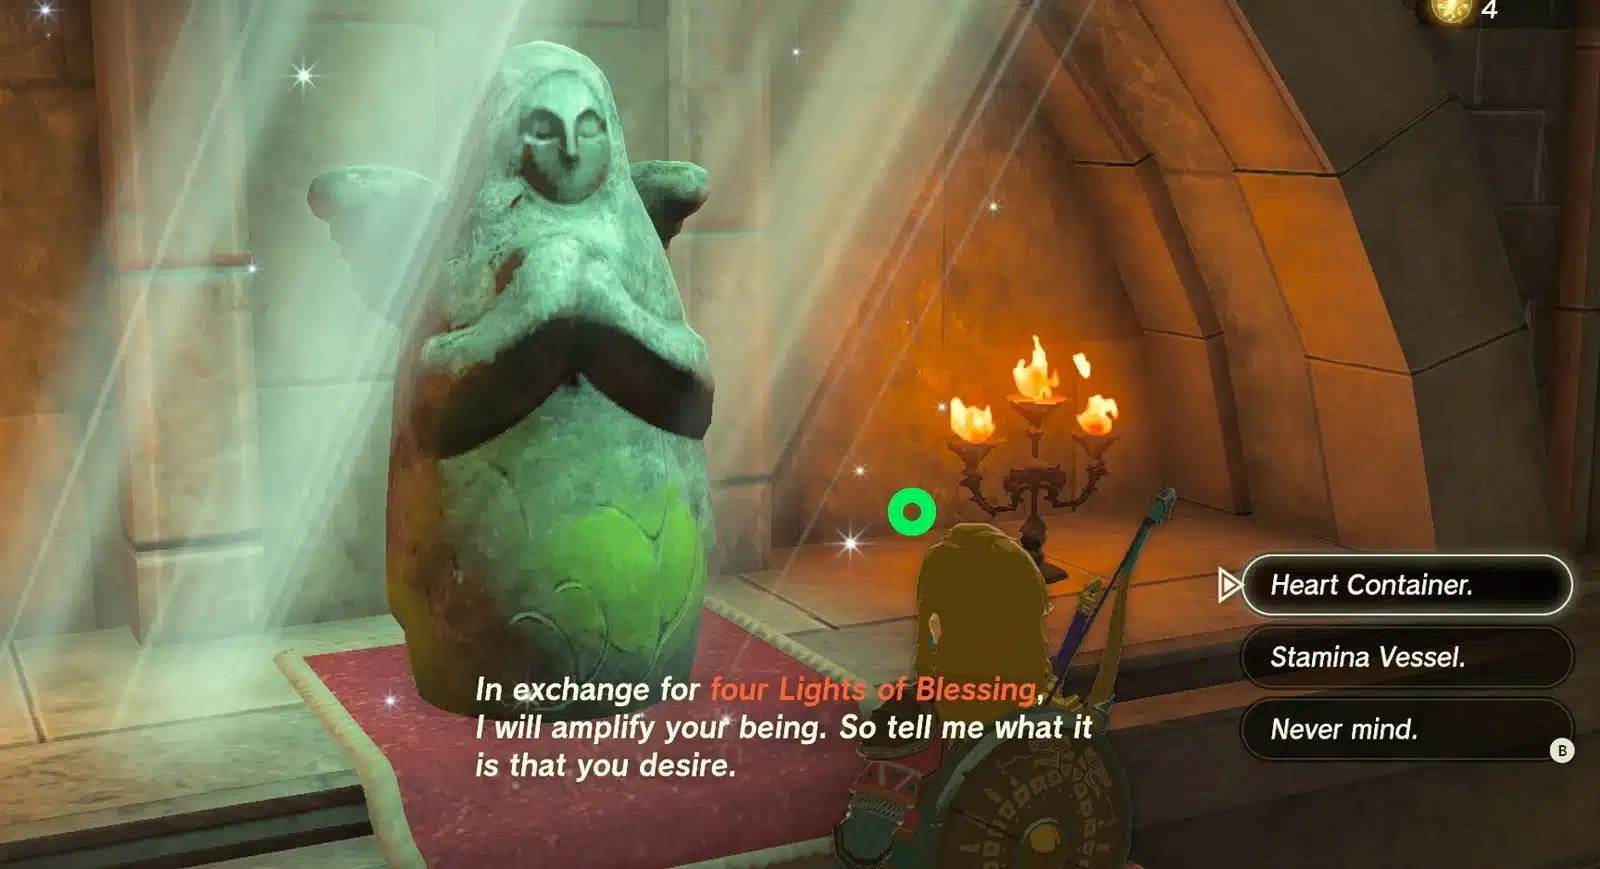
Rewards
- Light of Blessing: trade four at a Goddess Statue for a Heart Container or a Stamina Vessel. There are 152 shrines in total, so every one adds up.
- Strong Zonaite Shield: a solid shield upgrade for early and mid game.
- Zonai Charge and 10 Arrows: small, but you’ll always use both.
- Fast travel: the shrine becomes a travel point right next to the Citadel Ruins.
Hunting the rest of Akkala? Keep the Tears of the Kingdom interactive map open, and grab any Koroks along the way with our Korok Seed locations guide.
Domizuin Shrine FAQ
Where is Domizuin Shrine in Tears of the Kingdom?
It’s on high ground in southern Akkala by the Akkala Citadel Ruins, at roughly 3305, 1443, 0426. Glide in from the Ulri Mountain Skyview Tower.
How many chests are in Domizuin Shrine?
Three: 10 Arrows, a Zonai Charge and a Strong Zonaite Shield.
What is the Domizuin Shrine trial called?
The trial is called A Prone Pathway. It’s a rotating cage puzzle solved with crystals and Ascend.
Do you need Ultrahand for Domizuin Shrine?
No. You only need Ascend, a bow with a few arrows and your paraglider.
Your call: follow the route above for a clean three chest run, or poke at the crystals yourself first and use this as a backup. Either way, Domizuin is a great warm up for how Tears of the Kingdom bends its own rules. Want more? Our Tears of the Kingdom hub has the rest of our guides.