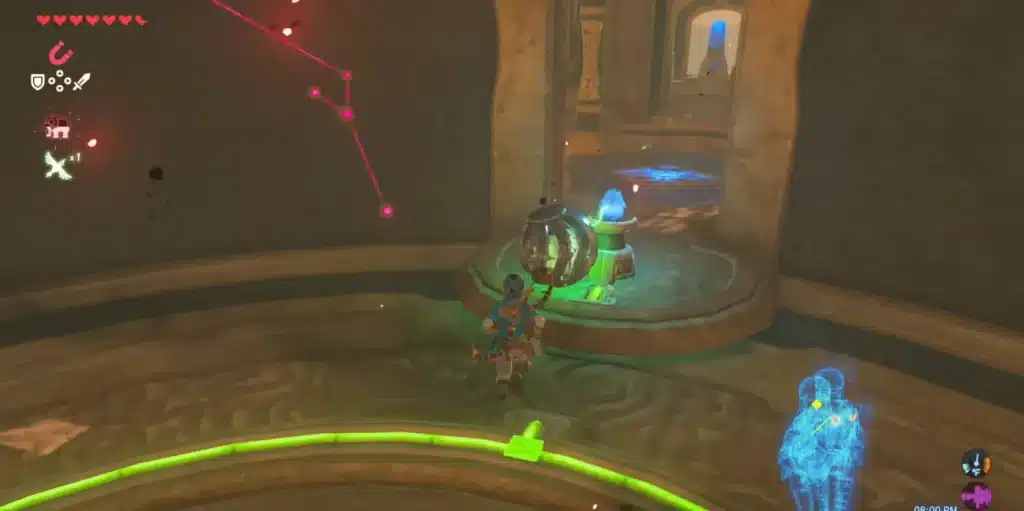
Vah Naboris is the Divine Beast many players leave for last, and with good reason. Before you can even board the giant mechanical camel, you need a disguise to enter Gerudo Town, a stolen helm back from the Yiga Clan, and a sand seal chase through a lightning storm. Then comes the trickiest dungeon of the four and a boss that punishes slow reactions.
There’s no wrong way to approach this, so take it at your own pace. Here’s the whole thing in order, with every chest marked for completionists.
Vah Naboris at a Glance
| Item | Details |
|---|---|
| Region | Gerudo Desert |
| Quest giver | Chief Riju, Gerudo Town |
| Side step | Recover the Thunder Helm from the Yiga Clan Hideout in Karusa Valley |
| Terminals | 5 |
| Optional chests | 8 |
| Boss | Thunderblight Ganon |
| Rewards | Heart Container, Urbosa’s Fury, Thunder Helm |
Step 1: Get Into Gerudo Town
Gerudo Town does not let men in, so you need a disguise. A shopkeeper named Vilia at the Kara Kara Bazaar oasis sells the Gerudo outfit. Wear it, walk in, and head to the palace to meet Chief Riju.
Riju will not let you near Naboris until the Thunder Helm, the Gerudo heirloom that protects against lightning, is recovered from the Yiga Clan. Our Gerudo Wasteland guide covers the town, the tower and the shrines around it.
Lore Connection: Riju is a descendant of Urbosa, the Gerudo Champion who piloted Naboris a hundred years ago (her story is in Memory 9, Urbosa’s Hand). That is why the whole town treats this quest so personally.
Step 2: The Yiga Clan Hideout
Captain Teake in the barracks next to the throne room tells you the hideout is in Karusa Valley, in the Gerudo Highlands northwest of town. A Gerudo soldier named Barta went ahead alone, and you will find her inside.
- Karusa Valley: Yiga footsoldiers and archers ambush you on the way in. They teleport and keep their distance, but go down quickly once you land a hit.
- The hideout: Inside, Yiga Blademasters patrol. Sneak past them or lure them with Mighty Bananas, which the Yiga cannot resist.
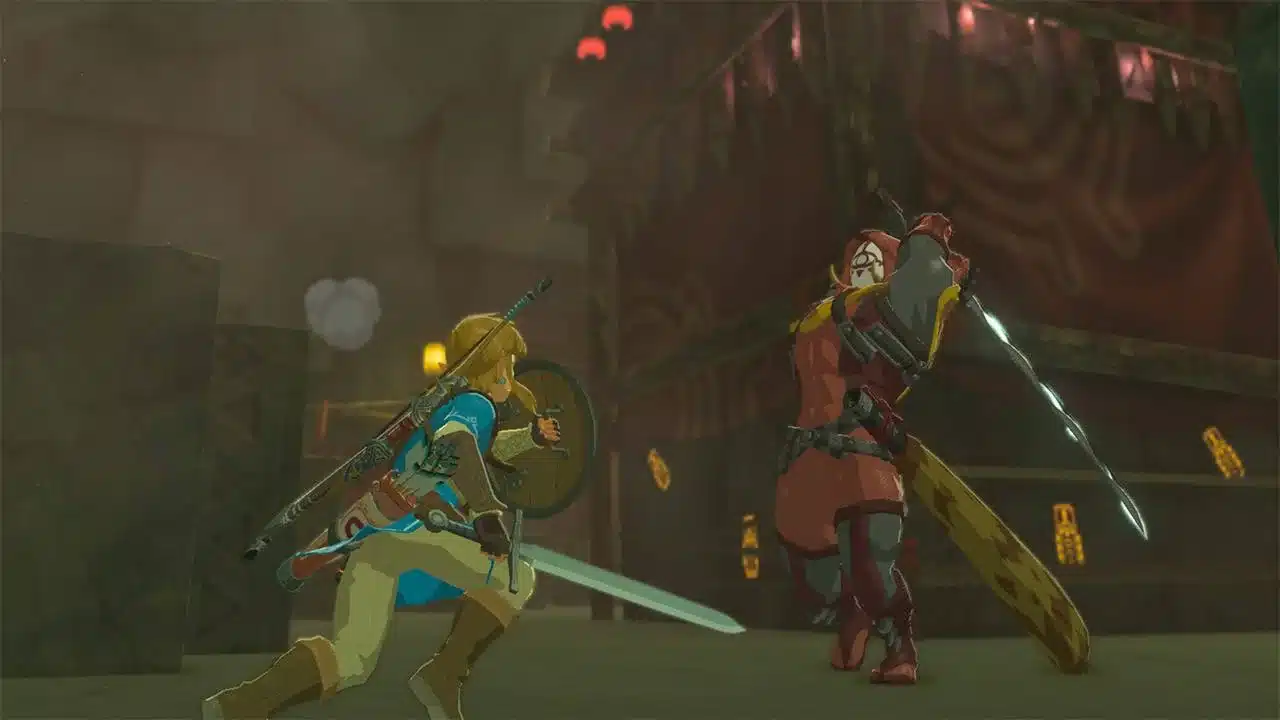
- Master Kohga: The clan leader guards the helm. When he hauls out a giant metal ball, grab it with Magnesis and slam it back into him.
Beat Kohga, take the Thunder Helm, and head back to Riju.
Step 3: Stop the Divine Beast
Riju meets you near the desert and hands you a stack of Bomb Arrows. Then it is sand seal time: you shield surf behind a sand seal while she rides ahead on her own.
- Stay inside Riju’s circle. The Thunder Helm projects a wide protective area around her. Naboris fires huge lightning bolts, and only that circle keeps you safe.
- Shoot the glowing feet. Naboris has four glowing purple foot guards. Only Bomb Arrows hurt them, and each foot needs two hits.
- Do not rush. Dashing ahead takes you out of the circle and right under the feet.
- Board. With all four feet down, Naboris stops and you can climb aboard.
(If you have a Duplex Bow, each shot fires two arrows, which can halve the number of Bomb Arrows you need.)
Step 4: Inside Vah Naboris
Activate the Guidance Stone to get the map. The big mechanic here: Naboris’ body has three cylindrical sections you can rotate in 90 degree steps from the map. Rotating them shifts platforms and connects the circuits along the ceiling. Take your time, because each rotation changes what you can reach.
The Five Terminals
- Front section: Rotate the front cylinder 180 degrees, stand on the platform that ends up at the bottom, then rotate 180 degrees again to carry yourself up to the terminal.
- Rear section: Enter through the doorway right of the control unit, rotate the rear cylinder 180 degrees, climb into the chamber that forms, then rotate another 90 degrees.
- Malice terminal: Destroy the Glowing Eyeball to clear the Malice, power the crystal with the wheel, then shoot the Eyeball under the next Malice pool to reveal the pedestal.
- The head: Use the wheel to line up two crystals so power reaches the neck, then ride the neck up into the head.
- The gate: Place two power orbs on their pedestals. One sits atop the front hump past two Guardian Scouts; the other is halfway up the lowest level of the rear hump, past another Eyeball.
Every Chest Inside
Missable! Here’s your checklist for all eight:
| Contents | Where |
|---|---|
| Ancient Core | Hanging on a rope from the tail; swing it with Magnesis and cut the rope |
| Bomb Arrows x5 | Through the door left of the control unit |
| Ancient Spring | Behind a bombable wall in the front right section |
| Ancient Shaft | Inside the neck, up the ramps after powering the front section |
| Shield | Rotate the middle ring 90 degrees and reach the center block |
| Bow | Rotate the middle ring 270 degrees |
| Ancient Screw | Ledge between the bottom and middle levels of the rear hump |
| Topaz | Top level of the rear hump, among Malice pools |
Step 5: Thunderblight Ganon
Head back to the main control unit and Thunderblight Ganon appears. He is fast, but his patterns are readable. The essentials are below, and our Thunderblight Ganon boss guide goes deeper on prep and every phase.
- Phase 1: He moves twice before he strikes. Perfect Guard or backflip right as the third move starts, then punish.
- Phase 2: He shields himself and drops metal spikes, then calls lightning onto them. Grab a spike with Magnesis and move it into him as the lightning comes down to break the shield.
- Shock hits: Electric attacks make you drop your weapon. Rubber Armor upgraded to two stars or higher makes you immune.
Rewards
- Heart Container: Dropped by Thunderblight Ganon.
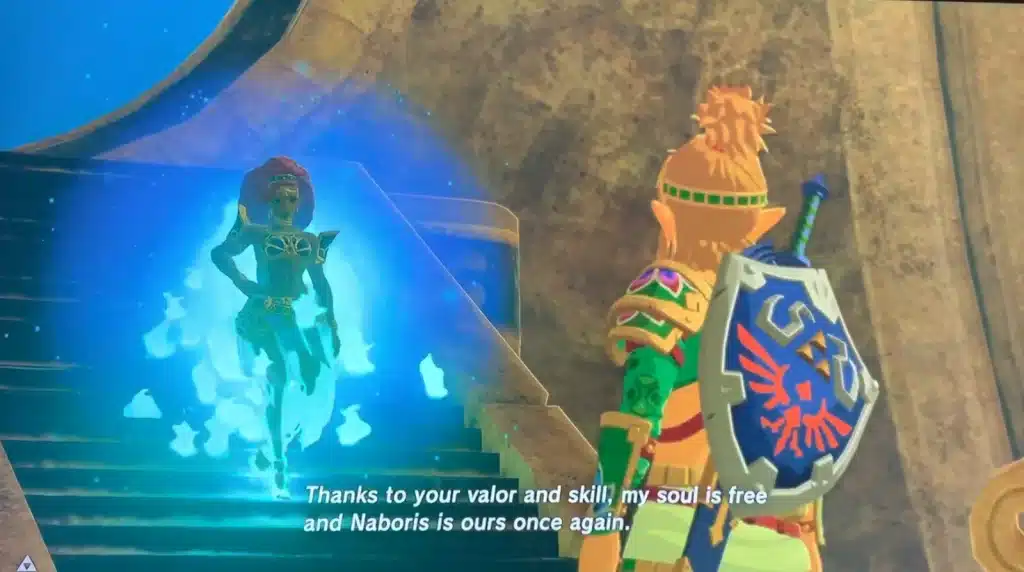
- Urbosa’s Fury: Urbosa’s spirit lends you a lightning strike that hits every enemy around you. Charge it by holding attack and it recharges after use.
- Thunder Helm: Riju lets you keep it. It blocks lightning strikes, which is perfect for stormy days.
- Naboris’ laser: In the final battle, Naboris fires on Hyrule Castle and weakens Calamity Ganon.
One more thing before you move on: the other three Divine Beasts are Vah Ruta, Vah Rudania and Vah Medoh, and our BOTW interactive map helps you plan the trip across the desert. For everything else, start at the Breath of the Wild hub.
Vah Naboris FAQ
How do you stop Vah Naboris?
Ride a sand seal inside Riju’s protective circle and hit each of Naboris’ four glowing feet twice with Bomb Arrows. Once all four are down, you can board.
Where is the Thunder Helm?
The Yiga Clan stole it. It is in the Yiga Clan Hideout in Karusa Valley, guarded by Master Kohga.
How many terminals are in Vah Naboris?
Five, plus the main control unit. You rotate Naboris’ three body sections to reach them.
Does Vah Naboris have chests?
Yes, eight optional ones, including an Ancient Core, a Topaz, a bow and a shield.
Can you keep the Thunder Helm?
Yes. After the dungeon, Riju lets you keep it, and it protects you from lightning strikes.
Take Your Time: Naboris is a marathon, not a sprint. Clear Karusa Valley carefully, rotate the cylinders one step at a time, and you will walk out with Urbosa’s power at your side.