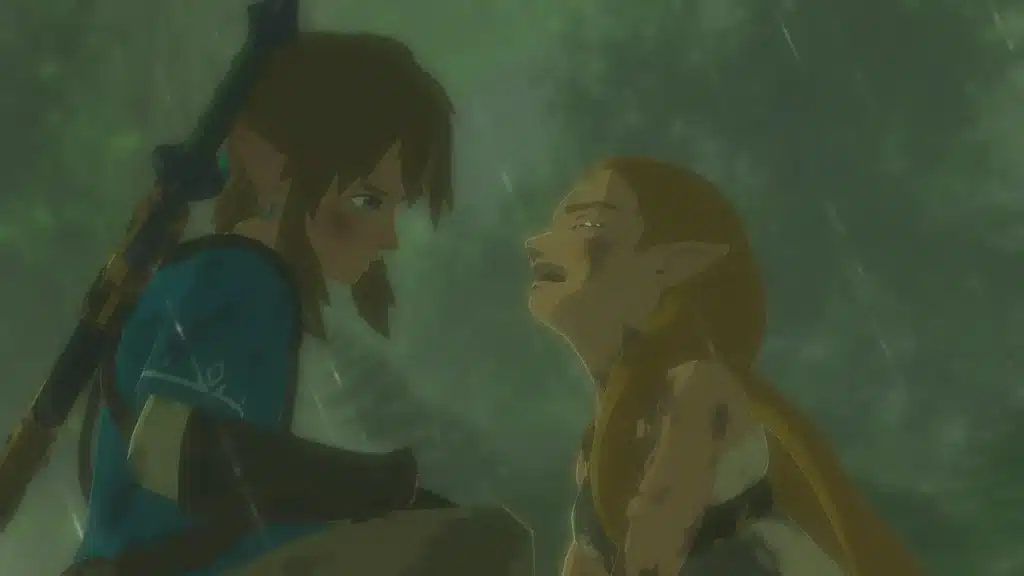
Ever wonder who Link was before his hundred year sleep? Captured Memories is the quest that answers it. Impa hands you twelve old photos from the Sheikah Slate, you track down the spot where each one was taken, and a piece of the past comes back with every location.
This guide lists all twelve photo locations plus the secret final memory, with the nearest warp point for each, so you can tick them off in any order. There’s no wrong way to approach this.
How to Start Captured Memories
Captured Memories is a main quest, but it is optional for beating the game. It unlocks after Locked Mementos: once Purah restores the Camera and Album on your Sheikah Slate in Hateno Village, return to Impa in Kakariko Village. She recognizes the photos as ones Princess Zelda took a hundred years ago and asks you to find each place.
- Your clues: open the Album and study each photo. The game gives no map marker, only the picture.
- The trigger: at the right spot a glowing marker appears on the ground. Step into it and press A to recall the memory.
- Memories only appear once the quest is active, so start it with Impa before you go wandering.
- Rewatching: every recovered memory can be replayed from the Adventure Log.
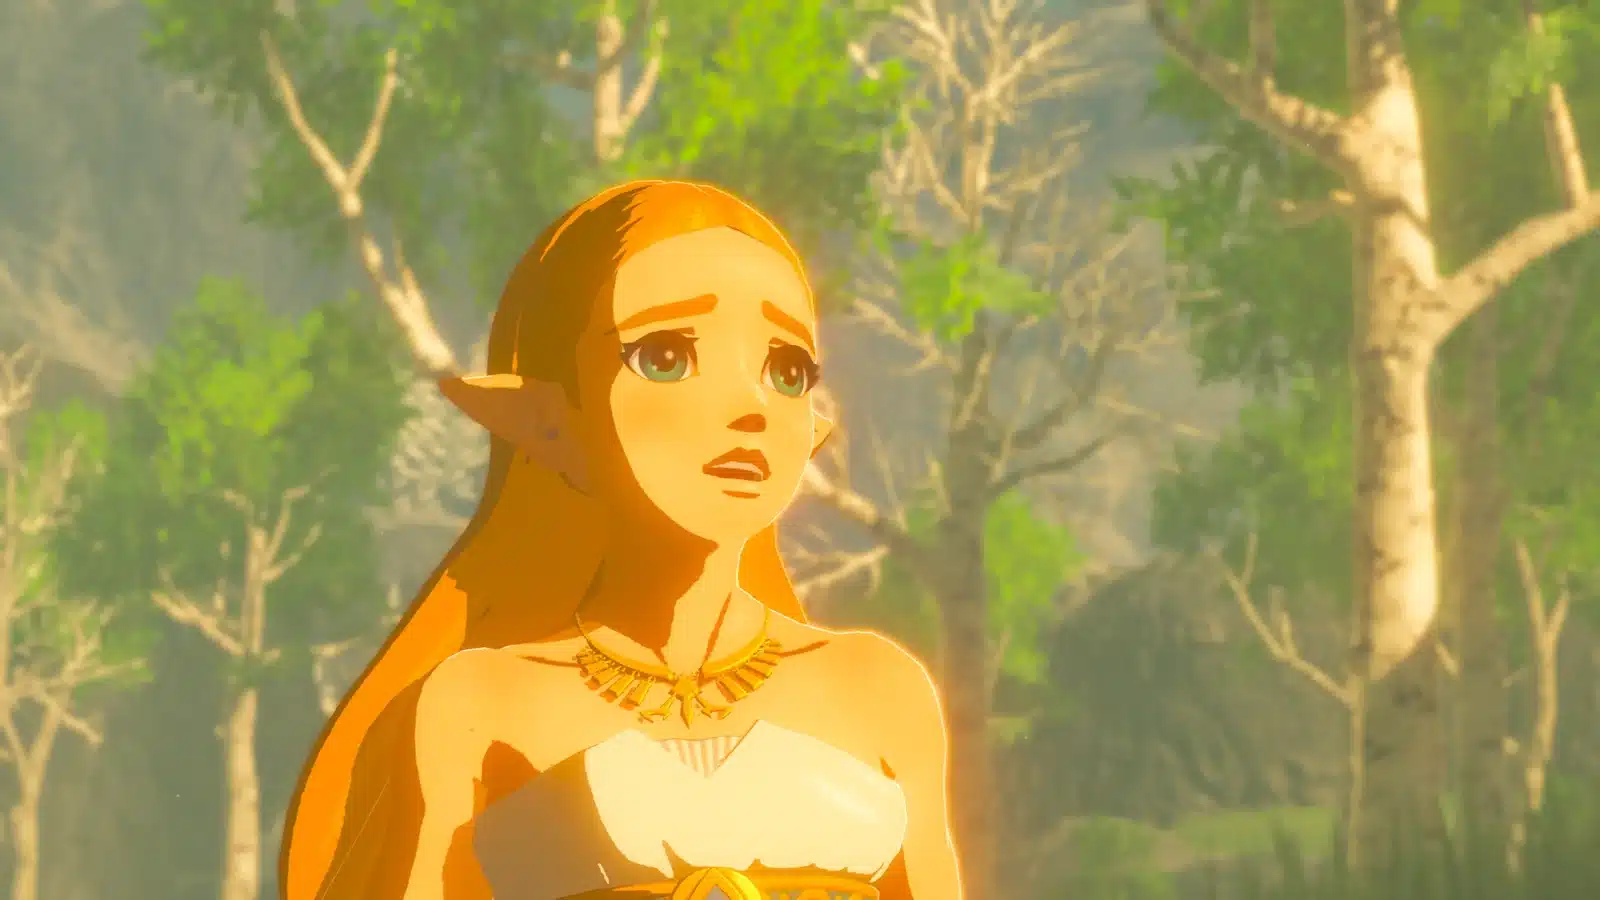
All Captured Memories Locations
Here’s your checklist, in the order the photos appear in your Album. The nearest warp point column is the fastest way in.
| Photo | Location | Where exactly | Nearest warp |
|---|---|---|---|
| 1 | Sacred Ground Ruins | Circular stone area south of Hyrule Castle, Guardians nearby | Katah Chuki Shrine, Central Tower |
| 2 | Lake Kolomo | West side of the lake, north of the Great Plateau | Oman Au Shrine |
| 3 | Ancient Columns | On the path up to Tena Ko’sah Shrine, Tabantha Frontier | Tena Ko’sah Shrine |
| 4 | Kara Kara Bazaar | At the oasis on the road to Gerudo Town | Kay Noh Shrine |
| 5 | Eldin Canyon | Flat area by Goronbi Lake, west of Eldin Tower | Eldin Tower |
| 6 | Irch Plain | Salari Hill, east of Monya Toma Shrine near Serenne Stable | Monya Toma Shrine |
| 7 | West Necluda | Under a tree across the Hylia River from Scout’s Hill | Bosh Kala Shrine |
| 8 | Hyrule Castle | Bridge in front of Princess Zelda’s Study | Saas Ko’sah Shrine |
| 9 | Spring of Power | Beside the spring in southern Akkala | Tutsuwa Nima Shrine |
| 10 | Sanidin Park Ruins | Horseshoe shaped ruins west of Central Tower | Rota Ooh Shrine |
| 11 | Lanayru Road, East Gate | On the road at the foot of Mount Lanayru | Dow Na’eh Shrine |
| 12 | Hyrule Field | Small forest northeast of Bottomless Swamp | Kaya Wan Shrine |
| Final | Ash Swamp | East of Dueling Peaks Stable, among the old Guardians | Ha Dahamar Shrine |
Location Tips, One Photo at a Time
Photos 1 to 4: The Early Ones
- Sacred Ground Ruins: the first memory is also the riskiest. Guardians roam the field, so sneak in, recall the memory, and leave. The Subdued Ceremony memory page covers the scene itself.
- Lake Kolomo: warp to Oman Au Shrine on the Great Plateau and glide north. The memory overlooks the lake. More on Resolve and Grief.
- Ancient Columns: the marker sits right on the path to Tena Ko’sah Shrine, so warping there drops you almost on top of it. See Zelda’s Resentment.
- Kara Kara Bazaar: it is at the oasis itself, a natural stop on your way to Gerudo Town.
Photos 5 to 8: Fire, Fields and the Castle
- Eldin Canyon: look for a flat clearing with stones in a ceremonial arrangement. You are close to Death Mountain, so bring heat protection.
- Irch Plain: match the curved hill and the castle on the horizon from the photo. It sits east of Monya Toma Shrine.
- West Necluda: the photo shows a big tree on a riverbank. Stand across the Hylia River from Scout’s Hill.
- Hyrule Castle: the hardest trip. Activate Saas Ko’sah Shrine inside the castle first, then head to the bridge in front of Zelda’s Study.
Photos 9 to 12: The Far Corners
- Spring of Power: in southern Akkala. Warp to Tutsuwa Nima Shrine, or head west from Katosa Aug Shrine near East Akkala Stable.
- Sanidin Park Ruins: look for the horseshoe shaped stone park west of Central Tower. Outskirt Stable is a good horse start.
- Lanayru Road, East Gate: start from Dow Na’eh Shrine and follow the road toward Mount Lanayru. Lots of enemies, so climb and glide around them if you like.
- Hyrule Field: find Bottomless Swamp on the east side of the field and check the small woods to its northeast.
Take Your Time: you do not need to go in order. Grab whichever photo is closest to your current adventure. If a picture has you stumped, Pikango the traveling painter can give you a hint, and the BOTW interactive map helps with the landmarks.
The Final Memory
Easily missable, so heads up: once you have recovered all twelve photo memories, go back to Impa. She points you to a painting on the wall of her house, which reveals one last location at Ash Swamp, east of Dueling Peaks Stable near Ha Dahamar Shrine.
Lore Connection: this final memory shows the moment Link fell protecting Zelda on Blatchery Plain, which ties straight into the opening of the game. This is one of those moments worth slowing down for.
Rewards Checklist
- Champion’s Tunic: report any single memory to Impa and she gives you the blue tunic made for Link as a Champion. It shows enemy health bars.
- Story: each memory fills in the history between Link, Zelda and the Champions.
- Ending bonus: recovering every memory adds an extra scene to the ending.
- Replays: all memories stay in your Adventure Log.
Captured Memories FAQ
How many Captured Memories are there in BOTW?
Twelve photo locations from the Album, plus one final memory at Ash Swamp that Impa reveals after you find the other twelve.
How do you start Captured Memories?
Finish Locked Mementos so Purah restores your Album, then talk to Impa in Kakariko Village.
What is the reward for Captured Memories?
The Champion’s Tunic after your first memory, plus an extra ending scene for finding them all.
Do you have to find the memories in order?
No. Find them in any order. The game sorts them chronologically in the Adventure Log for you.
Take Your Time: Captured Memories is the heart of Breath of the Wild’s story, spread across the whole map. Collect them as you explore rather than in one big run. It’s a marathon, not a sprint, and the last one is worth the wait.