Twenty Sage’s Wills are hidden across Hyrule’s sky, and most players grab two or three, shrug, and move on. I’m begging you not to be that player.
Here’s the play: collect all 20, trade them in, and every one of your sage avatars hits harder for the rest of the game. Below is every location by island, what’s guarding it, and how to spend them. Let’s get into it.
What Sage’s Wills Do
A Sage’s Will is a small stone that holds a sage’s bond with Link. In practice, it’s the upgrade currency for your sage companions.
- Total: 20 in the game.
- Where: All of them are in the sky, in chests on sky islands. Some are just sitting there, others are behind puzzles, Flux Constructs or a King Gleeok.
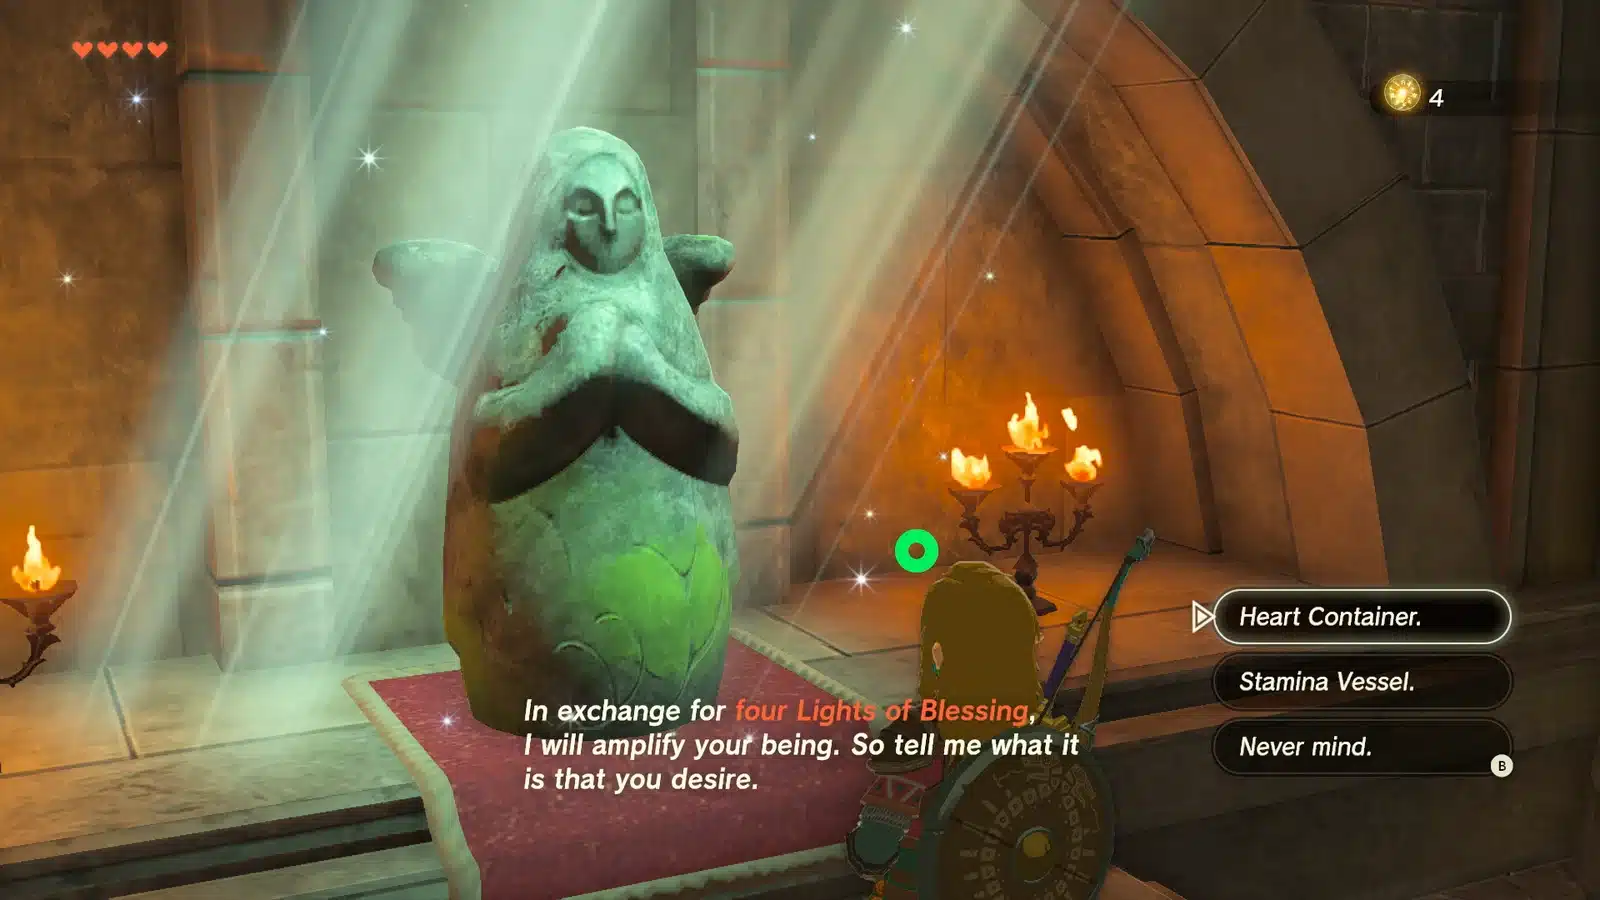
- The Trade: Offer four Sage’s Wills at any Goddess Statue to strengthen one sage of your choice.
- The Boost: That sage’s avatar gets an attack boost, roughly 1.3 times its old damage by community testing, and it covers both their normal hits and their special ability.
- The Limit: Each sage can be strengthened only once.
Do the math: 20 Wills divided by 4 is exactly 5 upgrades, one for each of Tulin, Sidon, Yunobo, Riju and Mineru. No spares, so every chest counts.
Stop Doing This: Don’t spend your first four on a sage you never summon. You’ll get everyone eventually, but upgrade your main first. Tulin and Sidon come from the Regional Phenomena quests, as do Yunobo and Riju, while Mineru joins through the later Guidance from Ages Past quest.
All 20 Sage’s Will Locations
Grouped by what stands between you and the chest. Island names match the in-game map, so pin them as you go. You’ll need the matching Skyview Tower activated to see each sky region on your map.
Free Chests and Traversal (8)
| # | Island | How to Get It |
|---|---|---|
| 1 | Lanayru Sky Archipelago | Turn the crank in the island’s center to open a hole, then take the stairs down to the chest. |
| 2 | North Tabantha Sky Archipelago | Build a rail rider and follow the broken rails to the westernmost island. |
| 3 | South Hebra Sky Archipelago | Ride the rails from the south island up to the northernmost one. |
| 4 | South Eldin Sky Archipelago | Take the mine cart to the southernmost island, Ascend, then burn the thorny vines with a Flame Emitter or fire arrow. |
| 5 | Dragonhead Island | Chest at the tip of the island. |
| 6 | Thunderhead Isles | Blow open the breakable wall with a bomb. |
| 7 | Eldin Sky Archipelago | Climb the highest nearby island and glide over to the chest. |
| 8 | North Necluda Sky Archipelago | Chest next to a large stone. |
Puzzle Chests (4)
| # | Island | The Puzzle |
|---|---|---|
| 9 | East Gerudo Sky Archipelago | Grab the mirror from the middle level and bounce sunlight onto the yellow crystal in the bottom jail cell. Morning light works best. |
| 10 | Starview Island | Same light puzzle as the shrine here, but aim the last mirror at the unlit green crystal by the cage. |
| 11 | South Hyrule Sky Archipelago | The lower of two ponds hides the chest. Hold the floodgate switch open with a log via Ultrahand to drain it. |
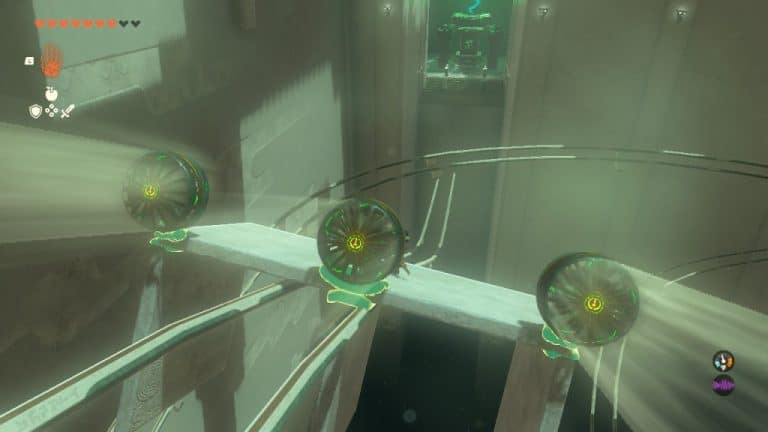
| 12 | Sokkala Sky Archipelago | Rotate the big ball in the central device until its opening lines up with the stairs at the bottom of the island. |
If the pond puzzle is giving you grief, our Ultrahand guide covers how to lock parts in place, and Recall lets you rewind the gate for a second run at it.
Flux Construct Chests (5)
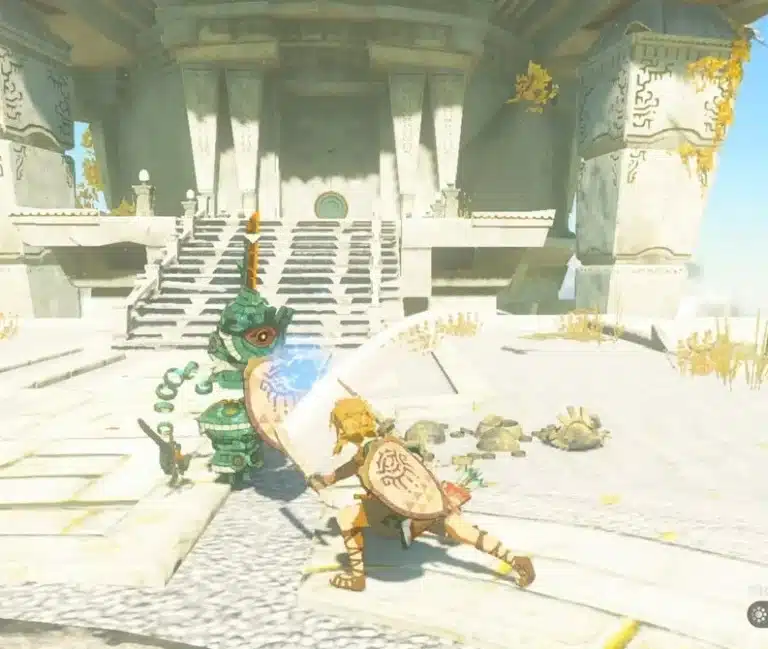
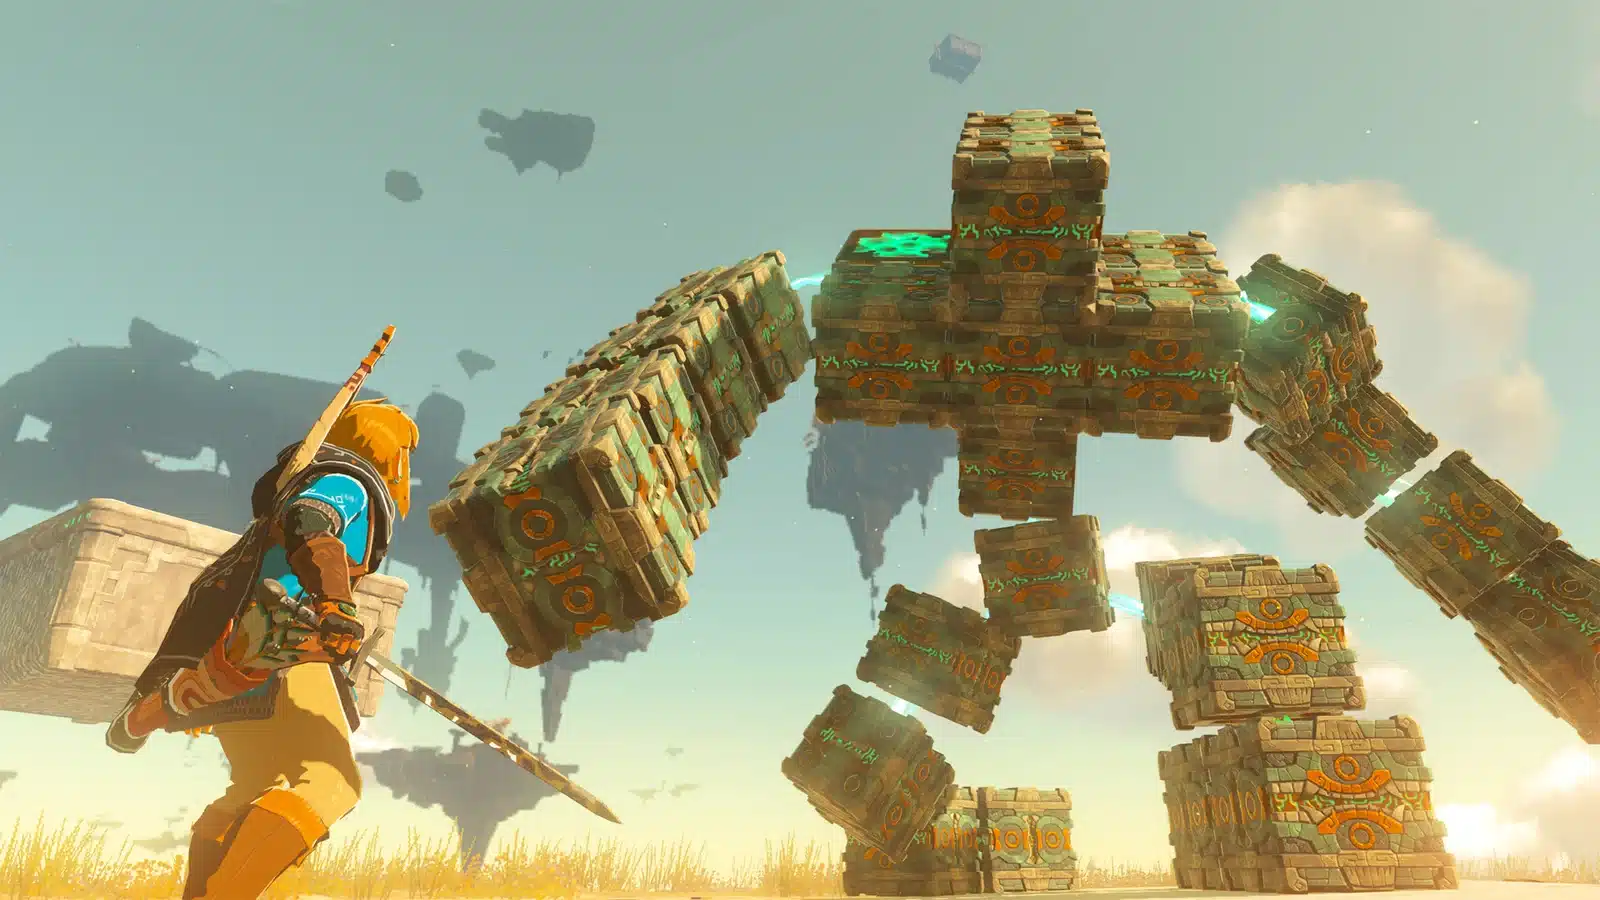
These chests are bolted onto the construct itself. Win the fight, or grab the chest with Ultrahand, rip it off and run. Trust, the cheese works.
| # | Island | Guard |
|---|---|---|
| 13 | Wellspring Island (Water Temple) | Flux Construct II, met during Sidon of the Zora |
| 14 | Lanayru Sky Archipelago | Flux Construct II |
| 15 | South Necluda Sky Archipelago | Flux Construct III |
| 16 | Faron Sky Archipelago | Flux Construct III |
| 17 | West Hyrule Sky Archipelago | Flux Construct III |
King Gleeok Chests (3)
The last three sit in chests behind a King Gleeok: one over Necluda, one over Gerudo and one in the West Hebra Sky Archipelago. These are the hardest Wills in the game, so leave them for when you’ve got hearts, good weapons and a stack of arrows.
How to Farm Them Efficiently
- Unlock the Skyview Towers. Each tower launches you toward its sky region and fills in the map.
- Clear the free chests first. Eight Wills need nothing but travel. That’s two upgrades without a single boss.
- Do the puzzles next. Four more, no combat required. Now you’re at three upgrades.
- Cheese the Flux Constructs. Ultrahand the chest off if the fight is going badly.
- Finish with the King Gleeoks. Gear up, cook, then go. Our best recipes guide has the meals that make these fights survivable.
- Cash in at a Goddess Statue. The one in the Lookout Landing emergency shelter is the easiest to reach.
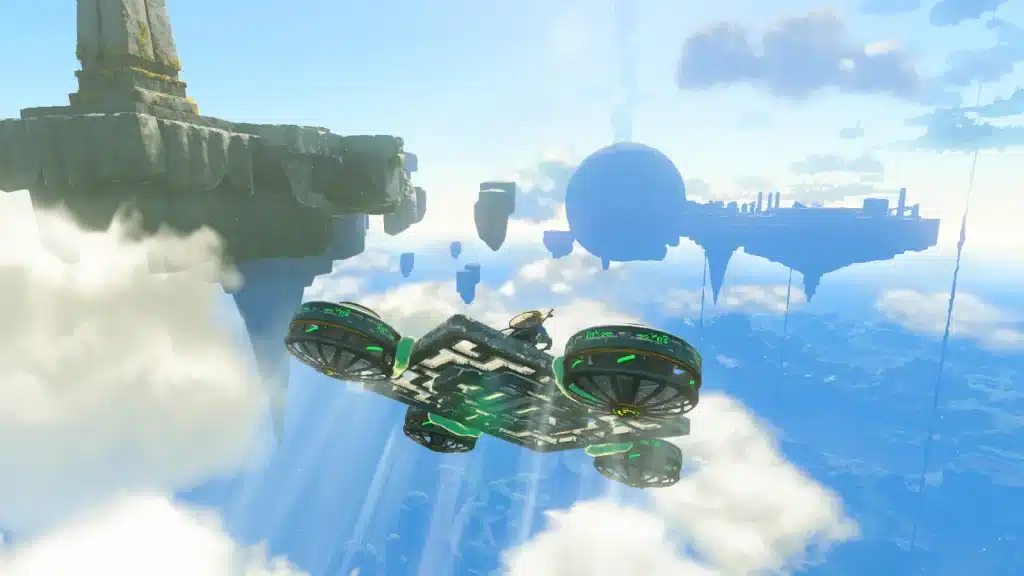
Mobility makes all of this faster. Wings, fans and balloons save you a ton of climbing, and the TOTK interactive map is great for plotting a route between islands.
Which Sage to Upgrade First
- Sidon: His water shield blocks a hit and sends out water waves. A strong defensive pick for any playstyle.
- Riju: Her lightning hits whole groups. Great value if you lean on your bow.
- Tulin: His gust is mostly a traversal tool, but he also fights alongside you.
- Yunobo: His charge smashes rocks, ore deposits and camps, though it takes some aiming.
- Mineru: You ride her construct directly, so she is the sage you control most in a fight.
Why This Slaps: Your avatars fight alongside you all game. A permanent damage bump on every summon is free power, and it never runs out.
Sage’s Will FAQ
How many Sage’s Wills are there in Tears of the Kingdom?
20, all in chests on sky islands. That’s enough to upgrade all five sages once.
Where do you use Sage’s Wills?
At any Goddess Statue. Four Wills strengthen one sage of your choice.
Can you upgrade a sage more than once?
No. Each sage can only be strengthened once, so all 20 Wills cover exactly one upgrade per sage.
Which Sage’s Wills are guarded by bosses?
Five are on Flux Constructs and three sit behind King Gleeoks. The other twelve are free chests or puzzles.
GG: Twenty Wills, five upgrades, zero spares. Hit the sky, clear the easy chests first, rip those chests off the Flux Constructs, and save the Gleeoks for last. Do this. Thank me later.