Motion controls divide Breath of the Wild players like almost nothing else. Some people love tilting a giant cube, and others groan the moment a Shrine hands them a gyro terminal.
If you’re staring at Joloo Nah Shrine wondering why a floating cube keeps blowing wind in your face, you’re in the right place. Here’s exactly what to do, room by room, plus how to snag a free Golden Claymore along the way.
Joloo Nah Shrine Location and Overview
Joloo Nah Shrine sits in the Gerudo region, on the eastern side of the Gerudo Highlands. You’ll find it in the northeast corner of the Koukot Plateau, north-northeast of the Wasteland Tower.
It isn’t available from the start, though. You have to unlock it with a Shrine Quest first (don’t worry, it’s simpler than it sounds).
- Region: Gerudo, in the Gerudo Highlands near Koukot Plateau.
- How to Find It: Head up Mount Nabooru in the Gerudo Highlands and look for the three Goron Blood Brothers (Bayge, Heehl and Kabetta) training just above the path by the plateau.
- Unlock Requirement: Talk to the Gorons to start the Test of Will Shrine Quest. Finishing it makes the Shrine rise from the ground.
- Shrine Type: Motion control puzzles. You’ll use a gyro terminal (a Sheikah apparatus you steer by tilting your controller) in three separate rooms.
- Tools You’ll Need: Magnesis, Stasis, and your paraglider.
- Reward: One Spirit Orb from Monk Joloo Nah, plus a Golden Claymore from a hidden chest.
Lore Note: According to the in-game lore, the ancient Sheikah built these Shrines as trials, and each one has a monk waiting inside. The monk rewards the hero who passes with a Spirit Orb.
Here’s the quick overview of what’s ahead:
| Room | Goal | Key Tools |
|---|---|---|
| Room 1 | Touch every electrical terminal to the power supply | Motion controls |
| Room 2 | Get air streams onto all four fans | Motion controls, Magnesis, Stasis, paraglider |
| Room 3 | Light every torch without touching the water | Motion controls, Stasis |
Ready to unlock it? Let’s start with the Gorons.
Joloo Nah Shrine Walkthrough: Step by Step
Here’s the step-by-step, starting with the quest and then working through each room.
- Step 1: Travel to the northeast corner of Koukot Plateau and find the three Gorons near the hot surface.
- Step 2: Talk to them to trigger the Test of Will quest, then complete it. The Shrine will rise from the ground when you’re done.
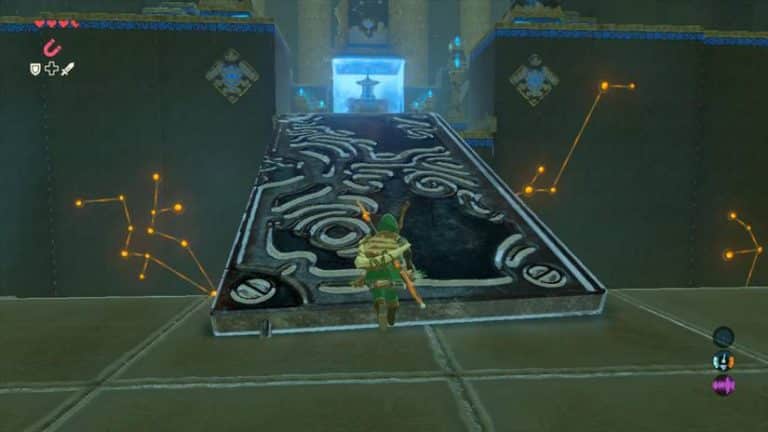
- Step 3: Enter the Shrine and approach the first motion control terminal.
Room 1: The Electric Cube
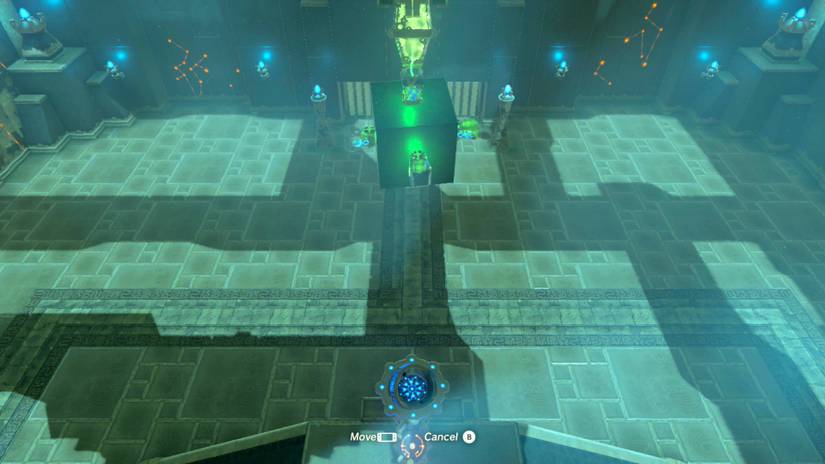
This first room is a gentle warm-up. You’re rotating a cube covered in electrical terminals (the lamps on its sides) so each one touches the power supply.
- Step 4: Take control of the terminal and rotate the cube. Every electrical terminal needs to touch the power supply at least once.
- Step 5: Watch the lamps turn green as they connect. Move any non-green lamp toward the green source on the ceiling.
- Step 6: Once every lamp is green, the bars open and you can head to the next room.
Beginner Tip: Motion controls are fiddly, so no guide can give you an exact tilt-by-tilt recipe. Small, slow movements work better than big swings. Just keep steering unlit lamps toward the power source.
Room 2: The Wind Cube and the Hidden Chest
The second room has a floating cube blowing four streams of air. Before solving the main puzzle, you can grab a treasure chest with a quick detour.
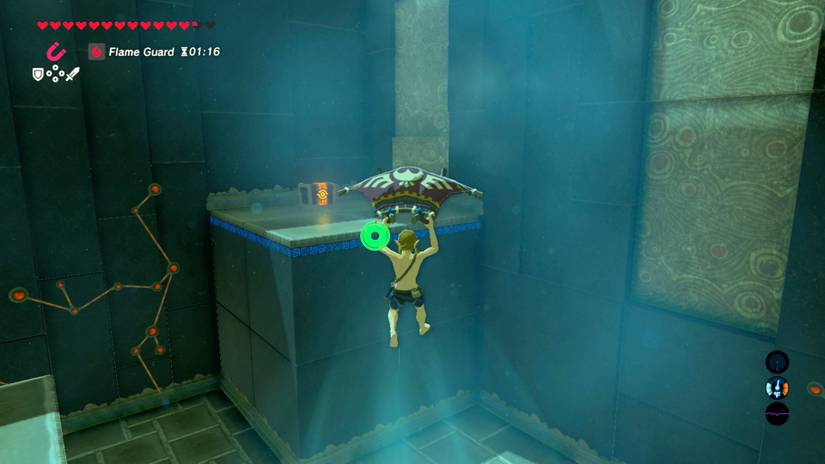
- Step 7: Use the motion control terminal to angle the cube so the lower left air stream lines up with the chest in the lower left corner.
- Step 8: Climb the ramp on the left side of the room.
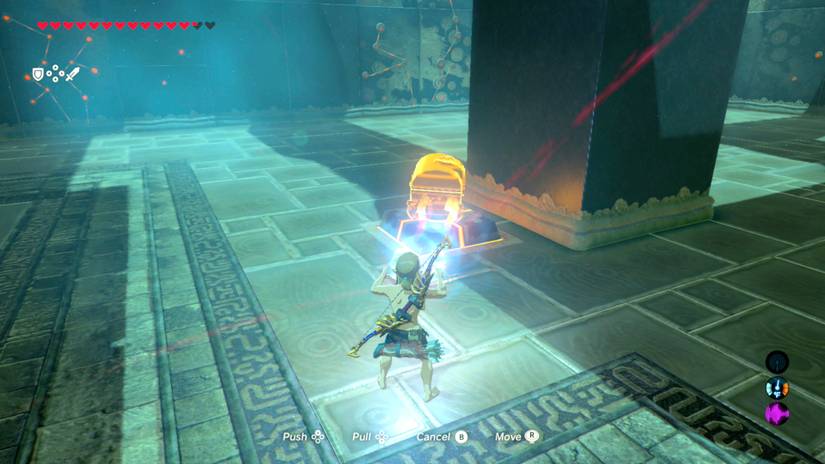
- Step 9: Jump off and paraglide along the wind stream to the chest. Open it to claim a Golden Claymore.
Now for the real puzzle. Your goal is to get all four fans spinning by blowing air through them.
- Step 10: Adjust the cube so the four air streams form a clean “X,” with each stream hitting a fan.
- Step 11: Notice that one fan sits lower than the others and isn’t getting any air.
- Step 12: Use Magnesis (your rune for moving metal objects) to carry the metal block over to the switch under the lower fan.
- Step 13: Place the block on the switch to raise that fan into the airflow.
Here’s the catch. Moving the block causes a nearby fan to drop out of the airflow, so you’ve traded one problem for another.
- Step 14: Glide over to the switch that controls the dropped fan and stand on it. Your weight raises the fan back up.
- Step 15: With all four fans in the air flow, the door opens.
- Step 16: Cast Stasis on the switch you’re standing on, which locks it in place, and run into the final room.
(Pro tip: Dropping 10 apples on the switch has the same effect as standing on it. This is handy if you’d rather not freeze the switch with Stasis.)
Room 3: The Torch Cube and the Water Spouts
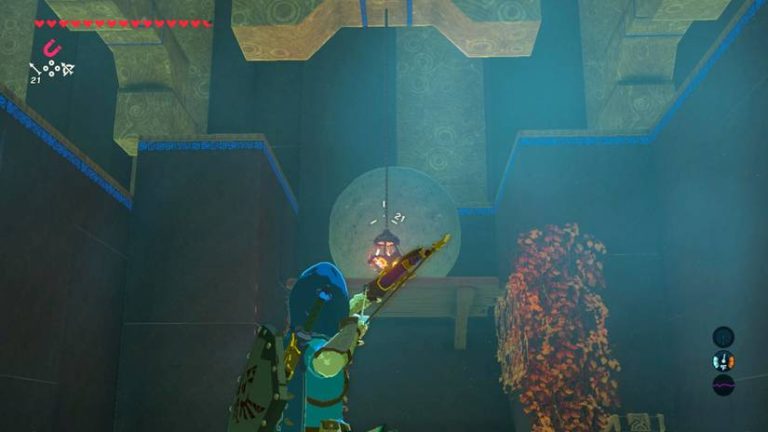
The final puzzle echoes the first, but with a twist. You’re rotating a cube covered in torches and lighting every one, while two streams of water from towering spouts try to put out the flames.
- Step 17: Before you touch the terminal, look up. You’ll spot a metal chest above some flammable objects. Once the torches burn those objects away, the chest drops down, and it holds a Gerudo Spear.
- Step 18: Take control of the cube and turn it so at least four of the torches are lit. Only the torches on the sides should be left.
- Step 19: Release the controls and cast Stasis on the water fountain on the right to freeze it.
- Step 20: Quickly return to the gyro controls and turn the cube to light the remaining torches before the water turns back on.
- Step 21: Once every torch is lit, the gate opens. Head inside to meet Monk Joloo Nah.
Beginner Tip: Stasis only holds for a short time, so have the cube positioned and ready before you freeze the fountain. If the water starts flowing again, just reposition and retry.
Rewards and Benefits
Here’s what you walk away with:
- Spirit Orb: Monk Joloo Nah hands over one orb. Collect four and you can trade them at a Goddess Statue for a Heart Container or a Stamina Vessel.
- Golden Claymore: A two-handed weapon from the chest in the second room. It’s easy to miss if you rush straight to the fans.
- Test of Will Completion: You finish the Shrine Quest that unlocked the Shrine, which means progress on your quest log too.
Here’s what the stats actually mean: a Spirit Orb is the permanent upgrade currency of the game. Each Shrine you complete moves you a quarter of the way toward more health or stamina.
Pro Tips
- Grab the Chest First: Do the Golden Claymore detour before solving the fan puzzle. Once the fans are set, you won’t want to rearrange the cube just to reach the chest.
- Apples Beat Stasis: Carry at least 10 apples into the second room. Dropping them on the switch holds it down and saves your Stasis rune for the final room.
- Stasis Timing: In Room 3, light as many torches as you can before freezing the right fountain. The fewer you have left, the less time you need.
- Slow Hands Win: Motion controls reward tiny adjustments. If the cube overshoots, ease off and nudge it back.
- Check Above You: Always scan the ceiling before starting a motion puzzle. Chests hide in odd places, and the metal chest in the last room is a good example. Fire near flammable objects usually means something interesting happens, so experiment.
- Bring Weapons Durability in Mind: The Golden Claymore is a solid pickup, but save it for tougher enemies so your everyday weapons last.
Why Joloo Nah Shrine Matters
On the surface, Joloo Nah is a short Shrine. But it’s a neat showcase of how Breath of the Wild combines its runes with physics, from Magnesis moving a block to Stasis freezing a fountain mid-spray.
It also rewards curiosity. The Golden Claymore chest and the metal chest overhead both reward players who stop and look around instead of rushing to the exit.
Lore Note: Lore-wise, the Shrines are a long-running test the Sheikah left behind for a hero who would one day awaken. Each monk you meet is a small reminder of how much knowledge the ancient Sheikah poured into this land.
Did you find the Golden Claymore on your first run, or did you only spot the chest after the fans were already running? Share your best motion control struggle in the comments, and tell us which Shrine you want us to break down next.