Hello, fellow shrine-hunters! If you’ve been wandering Hyrule Field and spotted a glowing orange shrine just south of Mount Daphnes, Kaam Ya’tak is a great one to settle into. It’s a Trial of Power, but it’s really a gentle physics playground built around one idea: big rolling boulders open big heavy doors.
Take it at your own pace. You’d be surprised what’s hiding in the side content, and this shrine hides a few chests worth slowing down for.
Kaam Ya’tak Shrine Location and Overview
Kaam Ya’tak sits in the Central Hyrule region, a short trip from the Central Tower. Once you’re standing in the field, it’s easy to find. Here’s your checklist before heading in:
- Location: Southwest of the Central Tower in Hyrule Field, just south of Mount Daphnes.
- Trial: Trial of Power.
- Runes Needed: Magnesis and Stasis. Both are already in your Sheikah Slate from the Great Plateau.
- Bring Along: A bow and a few arrows, plus a way to light them. A torch or a nearby flame works well.
- Key Idea: Large boulders are your door-openers. Almost every puzzle here ends with a boulder smashing, rolling, or swinging into something.
- Chests: Five along the route, including a Silver Rupee behind a breakable block and a diamond hidden in the final room.
(Pro tip: Fire arrows are your friend in this shrine. Wooden shelves, rope, and dry foliage all burn nicely.)
Kaam Ya’tak Shrine Walkthrough: Step by Step
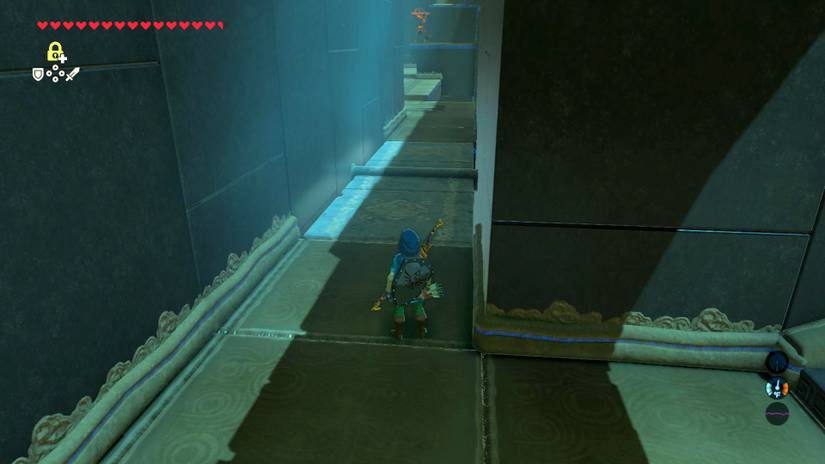
Nothing here is rushed, and there’s no timer. Work through each room one piece at a time.
- Step 1: Swing the First Boulder. Right inside you’ll see a large boulder hanging from a chain. Use Magnesis on the anchor point above it and move the boulder all the way to the right. When you let go, it swings toward the shut doors and opens them.
- Step 2: Dodge the Spiked Boulders. Past the doors, giant spiked balls roll back and forth across the path. Use Stasis on them to freeze them in place, then walk through the gap.
- Step 3: Deal With the Guardian Scouts. You’ll meet some Guardian Scouts in this stretch. Take them out before moving on so you can work in peace.
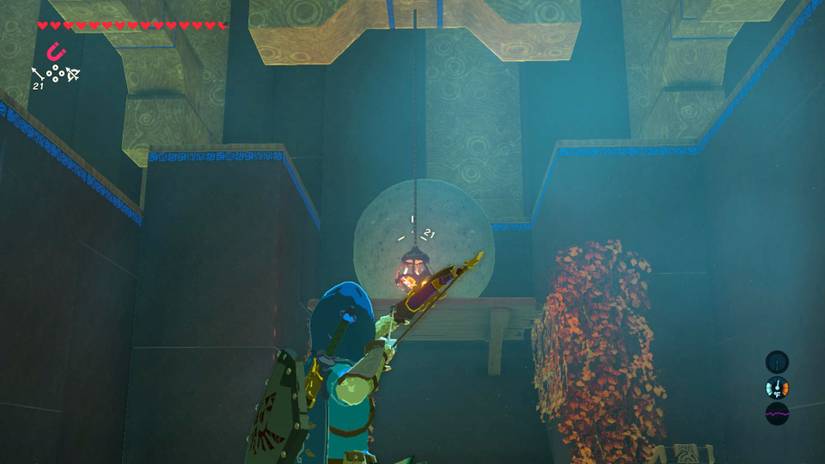
- Step 4: Burn the Wooden Shelf. At the end of the hall, a boulder rests on a wooden shelf surrounded by dry leaves. Shoot or knock down the hanging lantern so it ignites the foliage. You can also fire an arrow lit from a torch at the leaves. The shelf burns, the boulder rolls, and the next door opens.
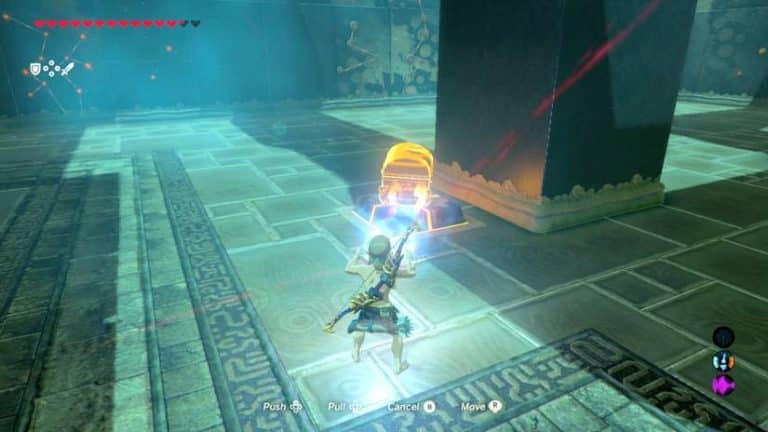
- Step 5: Grab the Chest. Easily missable, so heads up: before you run off, open the chest near the boulder’s platform. It holds the Edge of Duality, a two-handed sword with 50 attack.
- Step 6: Keep Exploring the Hall. Walk through the newly opened doors, turn left, and open the next chest. Keep following the path. You’ll notice a small gate off to your right, which is your final goal. You can’t reach it yet, so walk past it and head down the nearby stairs.
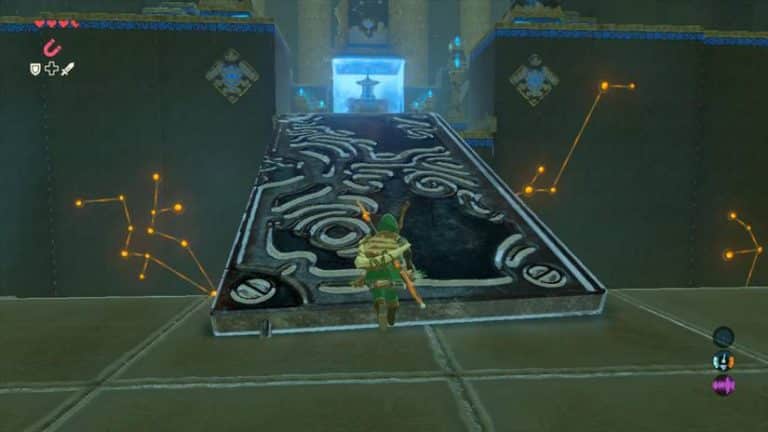
- Step 7: Cross the Tilting Bridge. The stone bridge tips when you step on it. Use Stasis to lock it in place, then walk across.
- Step 8: Swing the Hammer. Activate the motion controller and use it to move the large hammer. Swing it into the smaller boulder on rails. That sends the bigger boulder through the wooden crates, down the ramp, and through the doors. Open the chest to the left of those doors before moving on.
- Step 9: Combine Your Tricks. Up the stairs is a puzzle that blends two earlier ones. A boulder sits on a wooden shelf across a gap, and a tilting stone bridge is on your side. Burn the shelf with a fire arrow or a lit torch, and use Stasis to steady the bridge. The boulder will open the way to the last room.
(Pro tip: If a boulder doesn’t do what you expect, the chain or rail is usually the clue. Look at where it’s meant to travel and work backward.)
The Final Room: Launcher and Crystal Switch
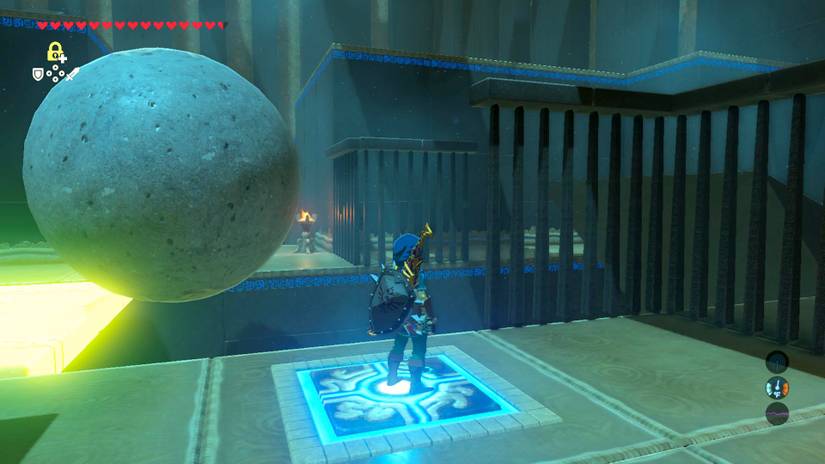
This last room is the fun one. Take a moment and look around before you act.
- Step 10: Step on the Launcher. Stand on the launcher pad, then hit the crystal switch. You’ll be flung into the air.
- Step 11: Glide to the Lower Platform. Open your paraglider and glide to the platform just below the altar. Don’t head straight up yet.
- Step 12: Find the Hidden Diamond. Run behind the pillar to find a treasure chest holding a diamond. Missable! Plenty of players launch straight to the monk and never look back here.
- Step 13: Launch to the Altar. Return to the crystal switch, hit it to bring the platform back down, and use the launcher again. Glide to the top and meet Kaam Ya’tak, who will hand over your Spirit Orb.
Rewards and Completion Checklist
For the record, I checked every single one. Here’s what you’ll walk away with:
- Checklist: Chest 1, near the burned boulder platform: Edge of Duality (two-handed sword, 50 attack). ✔
- Checklist: Chest 2, left of the opened doors in the hall: a Knight’s Broadsword. ✔
- Checklist: Chest 3, by the doors after the hammer puzzle: an Ancient Core. ✔
- Checklist: Chest 4, behind a destructible block in the room with the floor switch that reopens the gate: a Silver Rupee. ✔
- Checklist: Chest 5, behind the pillar in the final room: a diamond. ✔
- Checklist: Spirit Orb from Kaam Ya’tak at the altar. ✔
That’s five chests and one Spirit Orb, and every Spirit Orb is a quarter of your next heart or stamina upgrade.
Pro Tips for Kaam Ya’tak
- Stasis Is Your Safety Net: The spiked boulders and the tilting bridges both respond well to it. If something feels risky, freeze it first.
- Take Your Time: Nothing here punishes slow play. Let the spiked balls swing past and watch their rhythm before you commit.
- Two Ways to Burn: You can drop the lantern or light an arrow from a torch. If you’re low on arrows, the lantern is the easy route. A bomb can also destroy the wooden shelf.
- Clear Enemies Early: Beat the Guardian Scouts before attempting the fire puzzle so you aren’t dodging them while aiming.
- Check Behind Pillars: The diamond chest in the last room is tucked away on purpose. Shrines love to hide things in plain sight.
- Save Before the Hammer: The motion controller can feel fiddly at first. Small, steady movements beat big swings.
(Pro tip: If you’re swapping weapons in the field, keep the Edge of Duality for later. Two-handed swords are slower but hit hard once you’re comfortable.)
Why Kaam Ya’tak Matters for Your Journey
Kaam Ya’tak is a gentle reminder of how Breath of the Wild teaches. The shrine hands you a simple idea, boulders open doors, then keeps combining it with fire, Stasis, and Magnesis until you feel clever. It’s a satisfying little lesson in physics, and it’s a good warm-up for tougher puzzle shrines.
It’s a marathon, not a sprint. Every shrine you clear brings you closer to a sturdier, more capable Link, and the side content along the way is half the fun. Once you’ve finished here, look over your map for the next nearest shrine and keep going.
Which part of Kaam Ya’tak gave you the most trouble: the hammer, the tilting bridge, or the final launch? Share your solution in the comments, and tell me if you found the diamond chest on your first run!