Some shrines are quick little puzzle snacks. Ka’o Makagh is more like a full meal. It has two Guardian Scouts, three chests, one very useful metal door, and a Spirit Orb waiting at the end.
Completionists, you’ll want to know: this shrine has more treasure than most, so it’s worth slowing down. Take your time, poke at every corner, and enjoy the Magnesis tinkering. There’s no wrong way to do this one.
Where to Find Ka’o Makagh Shrine
Ka’o Makagh Shrine, also called “Metal Doors Open the Way,” sits in the Lake Region. It’s close to the Lake Tower, so it’s easy to fold into a tower-and-shrine loop.
- Location: On a ledge just above Highland Stable.
- Region: Lake Region.
- Trial Name: Metal Doors Open the Way.
- Rune Needed: Magnesis. Pick it up early in the game if you haven’t already.
- Bring Along: A few bombs and a bow with some arrows. Both are very handy here.
- Enemies: Two Guardian Scouts patrolling the main hall: one Guardian Scout I and one Guardian Scout II.
A quick note on difficulty. This shrine is a bit more work than the average shrine, with more moving parts. None of it is hard. It just rewards patience.
Take Your Time: Heal up and stock your arrows before heading in. Two Guardian Scouts in one room is much friendlier when you’re prepared.
Ka’o Makagh Shrine Walkthrough: Step by Step
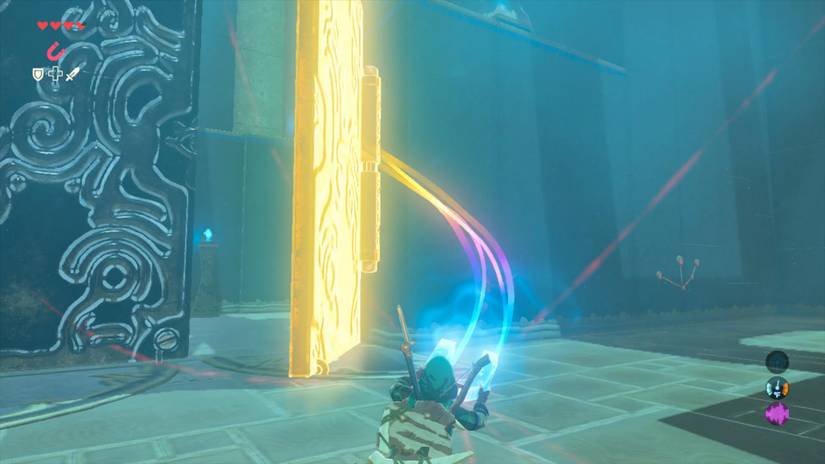
The big idea is that one metal door does most of the work in this shrine. You’ll use it as a bridge, a ramp, and a way to reach every chest. Here’s the full route.
- Step 1: Use Magnesis on the first big metal door to open it, then step into the main hall.
- Step 2: Make a quick right. There are four elevated areas in the hall, but only the right one has a stairway up. Climb it to get the high ground on the first Guardian Scout.
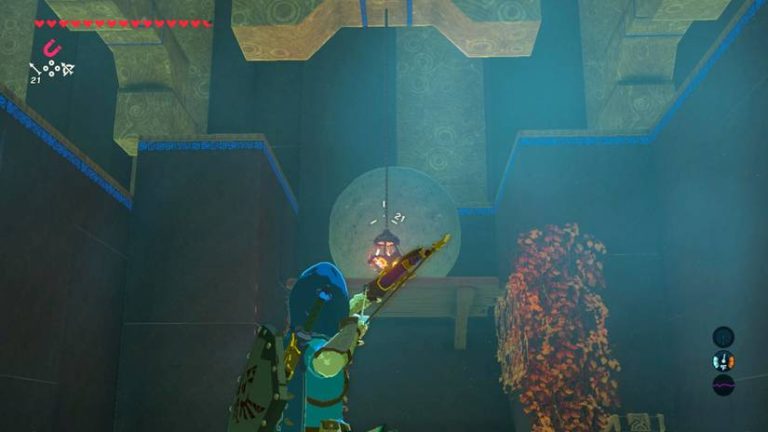
- Step 3: Shoot the Guardian in its eye with arrows from up high. Bombs work too, and so does flurry rush if you get close. Step backward whenever it powers up its beam.
- Step 4: Spot the second Guardian on the other side of the room. Lure it over to your elevated area and take it out the same way.
- Step 5: With the room safe, use Magnesis on the metal doors to the left and open the chest inside for the Traveler’s Bow.
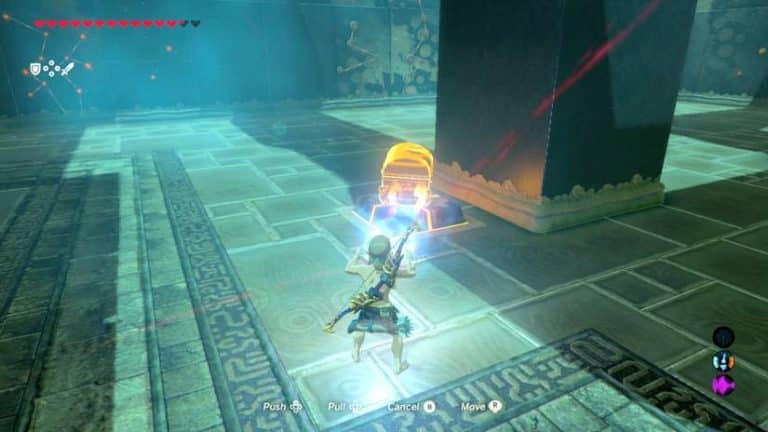
- Step 6: Head back into the big hall and find the elevated area with a removable block on its back. Pull that block out with Magnesis to reveal a chest holding a Gold Rupee.
- Step 7: Notice that one door in the smaller room is attached to breakable blocks. Bomb them to free the door.
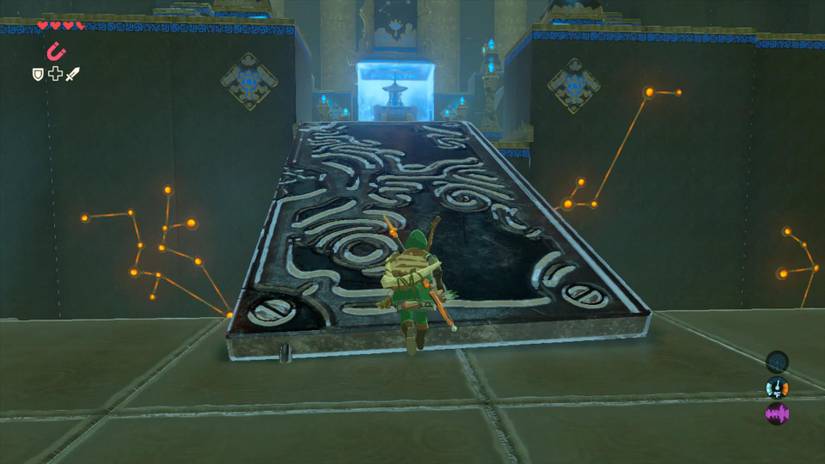
- Step 8: Use Magnesis to lay that door between platforms as a walkway. Climb toward the tall platform where a chest sits on top of a stack of blocks.
- Step 9: Make a ramp close to the chest, then use Magnesis to pull it down and open it for an Opal.
- Step 10: Move the same door to build a ramp from the right platform to the final area. Walk up to the monk and claim your Spirit Orb.
(Pro tip: if Step 3 feels rough, the stairs are your best friend. A drop attack from the platform can help if the Guardian keeps getting the better of you.)
Handling the Guardian Scouts
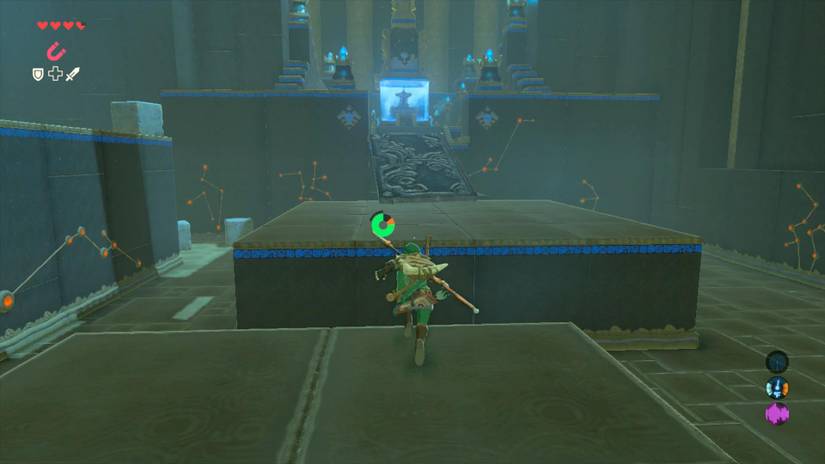
The Scouts look scary, but they’re manageable once you have the high ground. Stay on the stairs side of the room and keep your bow ready. You’ll lose far less health this way.
- Aim: Target the eye. Arrows stun it and do the most damage.
- Dodge: When the beam starts charging, step back. Backing off beats trying to out-trade it.
- Reset: Heal after the first Guardian, then do a quick lap of the room before the second fight.
Lore Connection: These Guardians are the same ancient Sheikah machines that turned on Hyrule during the Calamity. Fighting them inside a shrine feels a little different than meeting them in the wild. Here they’re part of a controlled trial, a reminder of what that technology was built to do before it went wrong.
Getting the Gold Rupee Chest
This one is easy to miss, so don’t skip it. Look at the back of the elevated platform that has the stack of blocks and a chest on top. A large block back there can be removed with Magnesis.
Pull it out, and a chest with a Gold Rupee is revealed. That’s worth 300 rupees, which is a lovely early boost if you’re saving up for gear.
Checklist: The block you pull out isn’t tall enough to get you up to higher ground, because it’s too slippery to climb. That’s your hint that the shrine wants you to find another object, and that object is the metal door.
Freeing the Door and Building Your Ramps
This is the heart of the puzzle. In the smaller room, one of the metal doors is held in place by breakable blocks. Toss a bomb at them, and the door is free to move.
- Walkway: Use Magnesis to lay the door between platforms and cross the gaps.
- Ramp: Tilt the door against a taller platform to climb up to the Opal chest.
- Chest Pull: The Opal chest is metal, so you can also use Magnesis to drag it toward you once you’re in range.
- Final Span: Reposition the door one last time to link the right platform with the final area.
Guides describe a few slightly different routes through the platforms, and they all work. If you’d rather paraglide across to the last platform and then move the door into place, that’s perfectly fine. Pick the method that feels comfortable.
Rewards and Collectibles
Here’s your tracking table for this shrine. Check each one off as you go, so nothing slips by.
| Reward | How to Get It | Found? |
|---|---|---|
| Traveler’s Bow | Chest in the small side room behind the metal doors | 1 of 4 |
| Gold Rupee | Chest behind the removable block on the back of a platform | 2 of 4 |
| Opal | Chest on the tall block stack, reached by door ramp | 3 of 4 |
| Spirit Orb | Finish the trial with the monk at the end | 4 of 4 |
The Spirit Orb is the big prize. Collect enough of them and you can trade them for extra hearts or stamina. That means this shrine helps you at every stage of the game.
The Opal is a useful gem too. It’s worth holding onto in case you want to sell it, or save it for armor upgrades down the road.
Pro Tips for Ka’o Makagh Shrine
- Stock Up First: Bring plenty of arrows and at least a couple of bombs. You’ll need both.
- Use the Stairs: The right-hand stairway is your safe spot against the Guardians. Keep it close.
- Heal Before the Second Fight: Take a breather after the first Scout, then scout the room again.
- Do the Door Last: Grab the Traveler’s Bow and the Gold Rupee first. They don’t need the door, and clearing them first keeps the puzzle simple.
- Bomb the Blocks Carefully: Stand back when you throw so you don’t catch yourself in the blast.
- Don’t Panic if You Drop the Door: You can always grab it again with Magnesis and try a new angle.
- Paraglide Is Allowed: If a gap feels awkward, gliding across to the next platform is a perfectly valid shortcut.
(Pro tip: if the door slides off your ramp, set it down a little flatter and try again. Small adjustments make a big difference with Magnesis.)
Why Ka’o Makagh Shrine Is Worth Your Time
You’d be surprised what’s hiding in the side content. This shrine teaches a core Magnesis idea: one object can solve several problems if you rethink how you use it. That’s the kind of lesson that pays off in tougher shrines later.
It also gives you a bow, a Gold Rupee, an Opal, and a Spirit Orb in one visit. That’s a generous haul for a single stop.
Lore Connection: The shrines are Sheikah trials designed to test a hero’s skills. The Guardian Scouts and the physics-based door puzzle fit that purpose. They check whether you can think your way through, and not only fight.
It’s a marathon, not a sprint. Take it one platform at a time, enjoy each little win, and tick every chest off your list. You’ve got this.
Now it’s your turn. Did you beat the Guardians with arrows, or did you go for a drop attack from the stairs? And how did you build your door ramps? Share your approach in the comments, and let me know which shrine you’re tackling next.