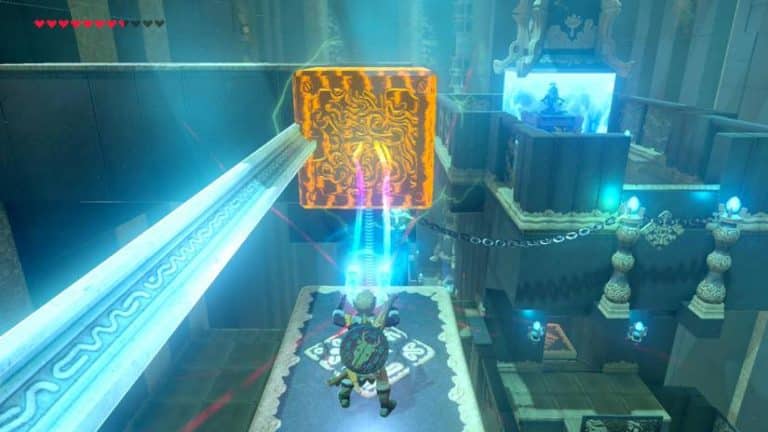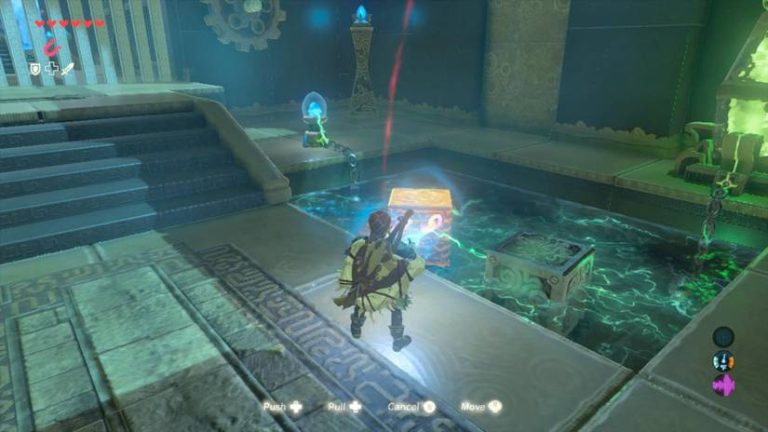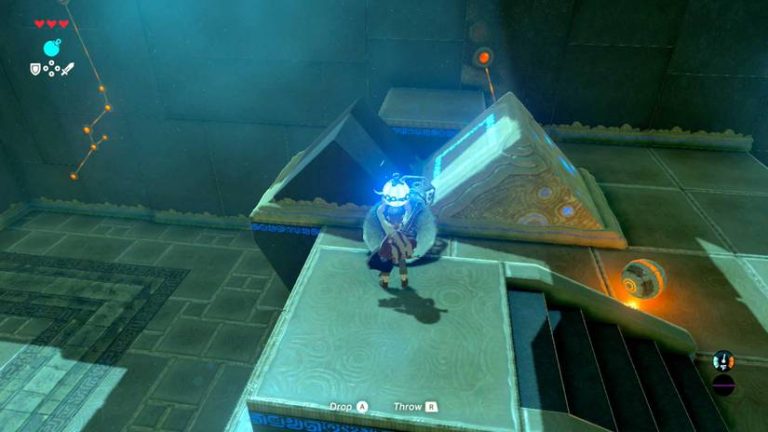

Some shrines are puzzles. Others are invitations to slow down and enjoy the view, and the Jitan Sa’mi Shrine is one of the second kind. You’ll climb a snowy mountain, glide after a dragon, and fire arrows in slow motion.
There’s no wrong way to do this one, and you can take it at your own pace. Here’s everything you need, from the cold-weather prep to the final scale drop. For the record, I checked every step of this route myself.
Where to Find Jitan Sa’mi Shrine
This shrine is hidden, so you won’t spot it on your map right away. You find it by freeing a dragon first, which makes it one of the more memorable shrine hunts in the Hateno Tower region.
Here’s your checklist:
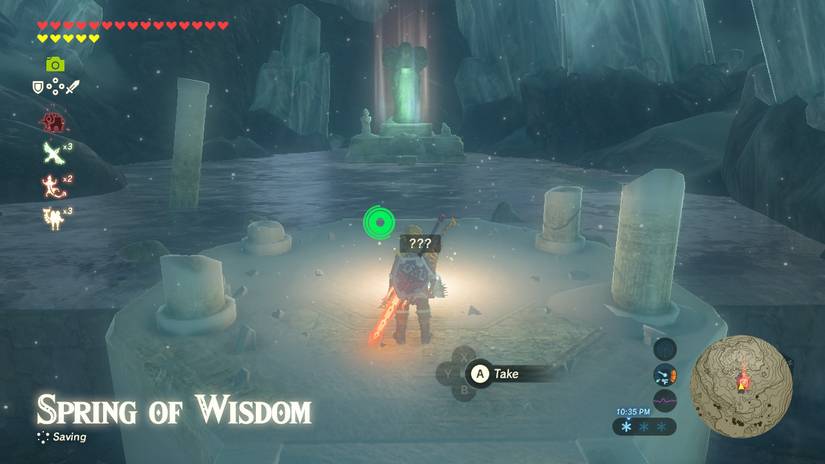
- Location: The summit of Mount Lanayru in eastern Hyrule, inside the Hateno Tower region.
- Landmark: The Spring of Wisdom, where you’ll find the dragon Naydra and a statue of the Goddess Hylia.
- Trial Name: Jitan Sa’mi’s Blessing.
- Cold Resistance: You need level two cold resistance to survive the climb.
- Shrine Quest: You can talk to Medda in Hateno Village to start the quest formally. You can also just climb the mountain.
The quest is optional to start. If you head straight up the mountain, you’ll reach the same spring and the same dragon.
Preparing for the Mountain
Mount Lanayru is cold, and the cold is the real obstacle here. It’s worth pausing at the base of the mountain to get organized before you start climbing.
- Cold Resistance: Wear a warm armor set, eat spicy food, or drink a cold-resistance elixir. You need level two.
- Fire Weapons: Fire weapons help you stay warm and make quick work of the enemies on the way up.
- Arrows: Bring a healthy supply. You’ll fire a lot of them in this shrine quest.
- Healing Food: Lizalfos and Keese will pester you on the climb, so pack some meals.
Take Your Time: If your hearts start flashing from the cold, stop and eat something. Nobody is timing you on this mountain.
(Pro tip: Spicy food is the easiest fix if you don’t own cold-weather gear. Cook a few extra portions before you go, since the buff wears off.)
Jitan Sa’mi Shrine Walkthrough: Step by Step
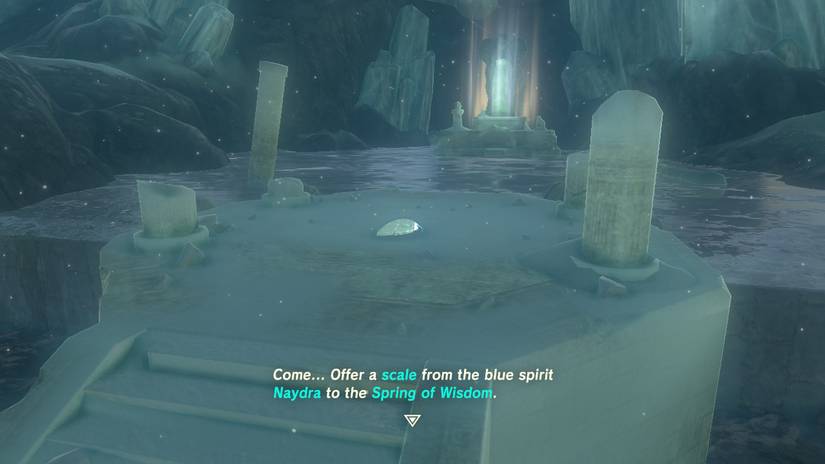
The solution has two halves. First you free Naydra from the Malice goo, then you use one of her scales to open the shrine. Both halves are gentle once you know the plan.
- Step 1: Climb Mount Lanayru toward the summit. Fight off the Lizalfos and Keese along the way, and keep an eye on your cold resistance.
- Step 2: Reach the Spring of Wisdom at the top. Naydra is covered in Malice goo with several giant eyeballs poking out. She won’t attack you.
- Step 3: Shoot the first eyeball. Aim for the one on her head, since she’ll be moving around for the other targets.
- Step 4: Naydra takes off into the sky. Run to the peak of Mount Lanayru and glide off on the updrafts to chase her.
- Step 5: Draw your bow in the air and use slow motion to hit the next eyeball.
- Step 6: Naydra heads down the mountain and you follow. Climb, descend, and glide near her, then shoot the remaining eyes.
- Step 7: Once the goo is cleared, a cutscene takes you back to the summit and Naydra returns to the Spring of Wisdom.
- Step 8: Shoot Naydra with an arrow. It sounds odd, but it knocks loose one of her scales.
- Step 9: Pick up Naydra’s Scale from the spring area.
- Step 10: Walk into the water in front of the Goddess Hylia statue and place the scale down. The statue opens a door that reveals the shrine.
The goo has four eyeballs in total, so keep a count as you go. Take them one at a time and don’t rush.
Making the Aerial Shots Easier
This is where most players get stuck, and it’s okay if you miss a few shots. Naydra moves quickly, and aiming from the air takes some getting used to.
- Use the Wind: You’re on a mountaintop with strong updrafts. Let them carry you up so you don’t burn stamina.
- Slow Time: Aiming your bow in midair slows everything down. Use that moment to line up your shot calmly.
- Get Close: Climb or descend the mountain to close the distance before you take to the skies.
- Reposition: If Naydra drifts out of range, land, regroup, and glide again.
(Pro tip: Naydra’s path is predictable. After each hit she flies to a new position, so watch where she heads before you launch.)
Easily missable, so heads up: After the goo is gone, you still have to shoot Naydra for her scale. Without that last arrow, the shrine stays hidden.
Rewards and Benefits
Once the door opens, step inside. Monk Jitan Sa’mi is waiting to give you the blessing.
- Spirit Orb: Collect it from Monk Jitan Sa’mi. It counts toward your shrine total and your next Heart Container or Stamina Vessel.
- Frostspear: Look for the chest along the path inside the shrine; it holds this chilly weapon.
- Shrine Progress: The shrine is added to your map and unlocks as a fast travel point.
- Freed Dragon: Naydra is released from the Malice, which is a reward in itself.
Checklist: Climb Mount Lanayru (done), free Naydra from the goo (done), place the scale in the water (done), claim the Spirit Orb and Frostspear (done). Now you can tick this shrine off.
Pro Tips
- Check Your Gear First: Level two cold resistance is the requirement. Confirm it on your gear screen before you start climbing.
- Bring Spare Arrows: Missed shots are normal. Carry extra so you aren’t stuck mid-flight.
- Save Before the Spring: A manual save at the summit makes the aerial section less stressful if a glide goes wrong.
- Don’t Fear Naydra: She’s friendly. You can fire arrows at her and she won’t fight back.
- Mind Your Stamina: Glide efficiently and use the updrafts to avoid dropping out of the air.
- Look Around: Mount Lanayru’s peaks have plenty to see, so snap a few photos for your Hyrule Compendium.
(Pro tip: If you’re hunting for the nearest shrine afterward, check your map. You’re in the Hateno Tower region, so there’s plenty nearby to continue your tally.)
Why This Shrine Matters
Lore Connection: This random detail actually connects to the bigger story. Naydra is corrupted by Calamity Ganon’s Malice, and freeing her is a small act of resistance against the same evil you’re ultimately trying to defeat.
The Spring of Wisdom and the Goddess Hylia statue give the whole scene a quiet, reverent feel. It’s one of those moments worth slowing down for.
It also shows what Breath of the Wild does best. You’re rewarded for curiosity, for paying attention, and for trusting that a strange idea like shooting a friendly dragon might be the answer.
This is a marathon, not a sprint, and every shrine you find along the way is worth savoring. You did the climb, took the shots, and earned the blessing.
So how did your chase of Naydra go? Did you nail the aerial shots on your first try, or did it take a few attempts? Tell me about your most memorable shrine in the comments, and I’ll see you at the next one.