Some shrines hide behind a big puzzle. Kah Mael Shrine hides behind a giant slab of rock, and you have to find that slab first.
Don’t worry, I’ll walk you through every step, from the Guardian Skywatchers on Tingel Island to the bonus diamond. Let’s break it down:
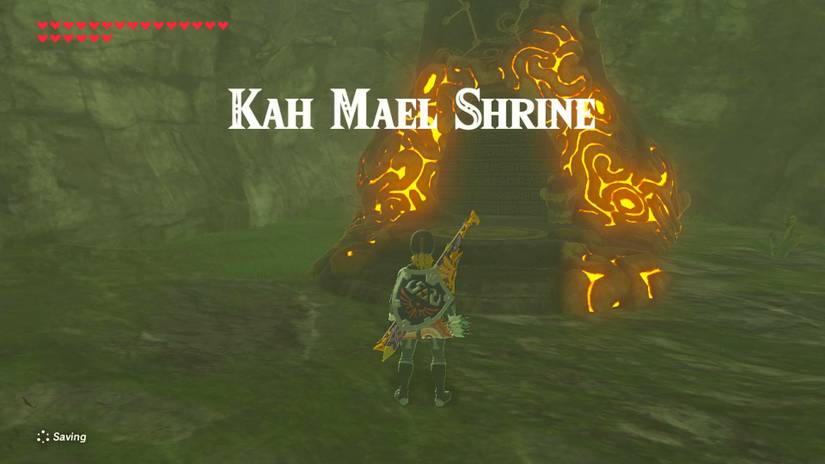
Kah Mael Shrine Location and Overview
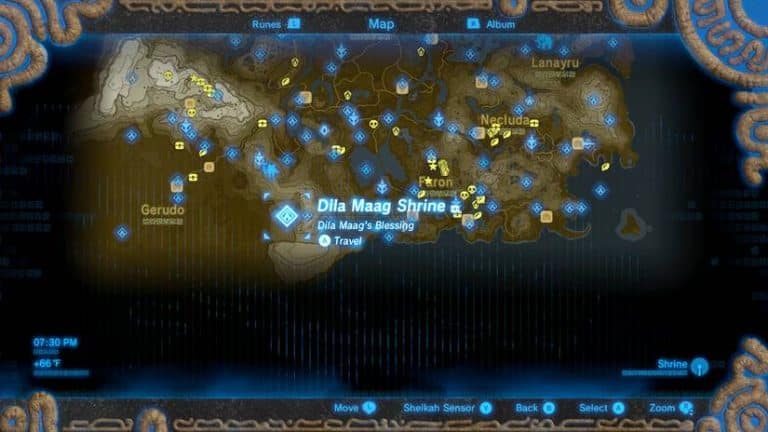
Kah Mael Shrine sits on Tingel Island, off the coast of the Akkala Highlands in the Akkala region of Hyrule. It’s a physics-based puzzle shrine built around a scale, a heavy metal cube, and your Magnesis rune.
- Shrine Name: Drop and Rise.
- Region: Akkala, on Tingel Island.
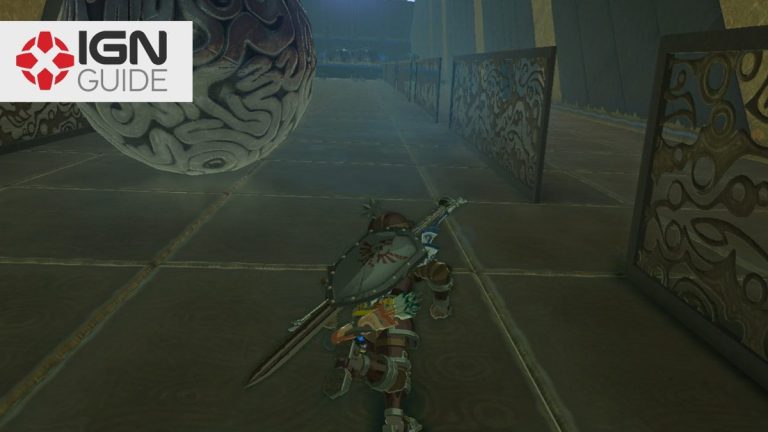
- Hazard: A few Guardian Skywatchers patrol the approach. You can dodge or destroy them.
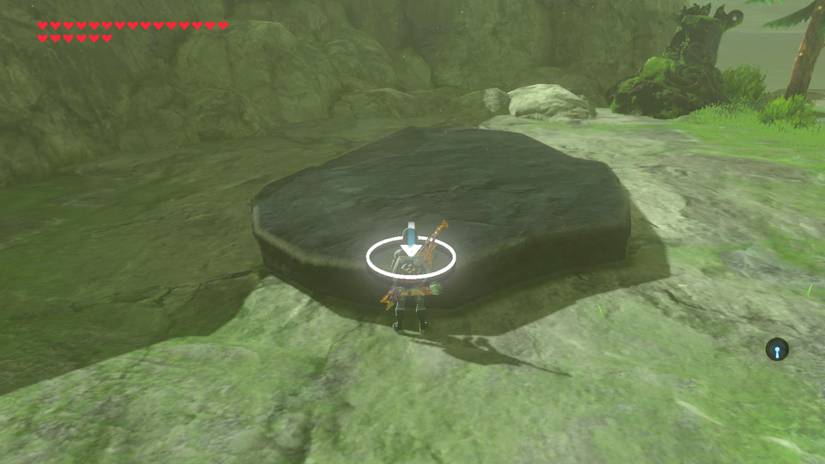
- Entrance: A hole in the valley between the two mountains, covered by a large stone slab.
- Monk: Kah Mael, who hands over your Spirit Orb.
- Runes Needed: Stasis for the slab (optional) and Magnesis for the puzzle.
(If you’re new to this: a Skywatcher is a flying Guardian that spots you from a distance. Stay out of its line of sight and you’ll be fine.)
Lore-wise, every shrine is Sheikah technology, and each one holds a monk who rewards you for finishing its trial. Those Spirit Orbs are what you trade at a Goddess Statue for more hearts or stamina.
Step-by-Step Kah Mael Shrine Solution
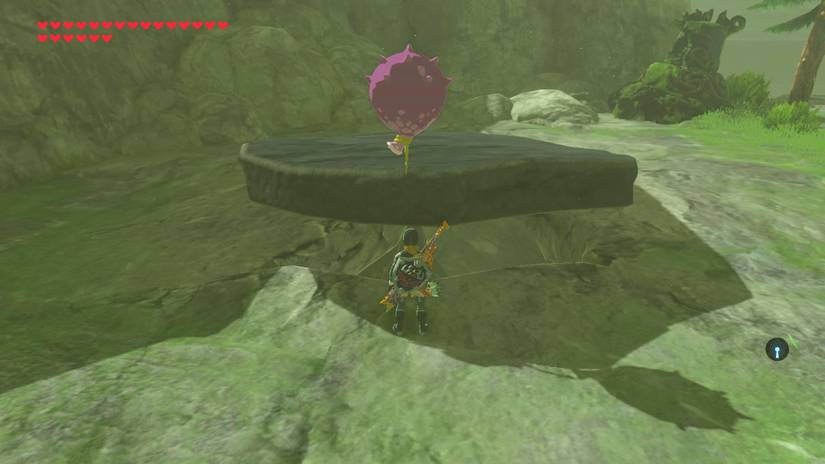
- Step 1: Head to the valley between the two mountains on Tingel Island. Slip past or take out the Guardian Skywatchers on the way.
- Step 2: Find the large slab of stone covering the shrine entrance. Use Stasis on it and hit it with a weapon to knock it aside.
- Step 3: Drop into the hole the slab was covering to enter the shrine.
- Step 4: Look at the room. You’ll see a scale with a metal barrel on one side, and a large metal cube hanging from ropes on a platform above.
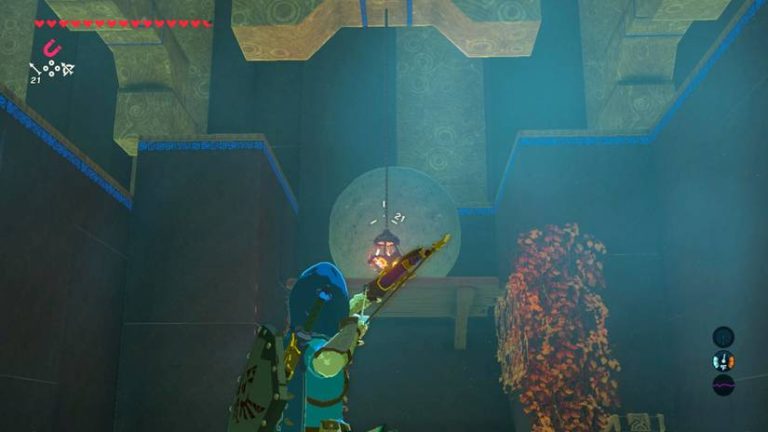
- Step 5: Use your bow to shoot the ropes holding the cube’s platform. The cube will drop onto one side of the scale.
- Step 6: Stand on the opposite side of the scale. When the cube lands, your side shoots up and flings you into the air.
- Step 7: Deploy your paraglider and glide to the end platform. Talk to Kah Mael and collect your Spirit Orb.
(Pro tip: Guides describe the starting position a little differently, so don’t panic if your scale looks different. The rule is simple. The cube pushes its side down, and the opposite side launches you.)
If you’d rather skip Stasis, there’s a more fun way to clear the slab. Stick an octo balloon on it and watch it float away.
The Barrel Shortcut
There’s another route to the Spirit Orb that skips the cube. Use Magnesis to move the metal barrel to the other side of the scale. Your side will rise, and once it’s moving near the top, you can jump onto the platform.
The numbers tell an interesting story:
| Method | Main Tool | Difficulty | Diamond? |
|---|---|---|---|
| Barrel swap | Magnesis | Easy | No |
| Drop the cube | Bow and paraglider | Easy | No |
| Cube drop from high up | Magnesis and paraglider | Moderate | Yes |
How to Get the Diamond Chest
This is the part most newcomers miss. The treasure chest sits on its own platform to the right of the path to the end of the shrine. A normal launch won’t get you there, so here’s the extra step.
- Step 1: After your first launch, don’t glide to Kah Mael. Land on the right platform instead.
- Step 2: Use Magnesis to lift the metal cube high into the air.
- Step 3: Drop it onto the opposite platform of the scale while you stand on your side.
- Step 4: Get flung even higher, then paraglide over to the chest and open it for a diamond.
(Pro tip: If you miss the chest, just use Magnesis to pick the cube back up and repeat the process. The higher you lift it before dropping, the farther you fly.)
Rewards
- Spirit Orb: One orb from Kah Mael, which you can trade toward a Heart Container or stamina upgrade.
- Treasure Chest: A diamond, which sells for a good price and is handy for cooking and trading.
Pro Tips
- Beginner Tip: Magnesis only works on metal objects. The barrel and the cube both qualify, which is why this shrine is built around it.
- Pro Tip: Equip your bow before you drop into the shrine, so you aren’t fumbling through the menu when it’s time to shoot the ropes.
- Safety Tip: Deal with the Skywatchers before you reach the slab. Fighting one while you’re lining up your Stasis hit is no fun.
- Efficiency Tip: If you’re doing the diamond detour, do it on your first run. It saves you a second trip through the puzzle.
- Experiment Tip: Try different drop heights with the cube. Seeing how far each one launches you teaches you how Hyrule’s physics work.
Why Kah Mael Shrine Matters
Kah Mael is a great early lesson in how Breath of the Wild thinks. The game gives you a rune, a bow, and a paraglider, then lets you decide how to combine them.
That same idea of trading height and weight for momentum shows up in later shrines, and in plenty of creative solutions the game never planned for.
Did you take the quick barrel route, or did you go for the diamond? Tell me in the comments how you cleared the slab, and whether you used Stasis or an octo balloon!