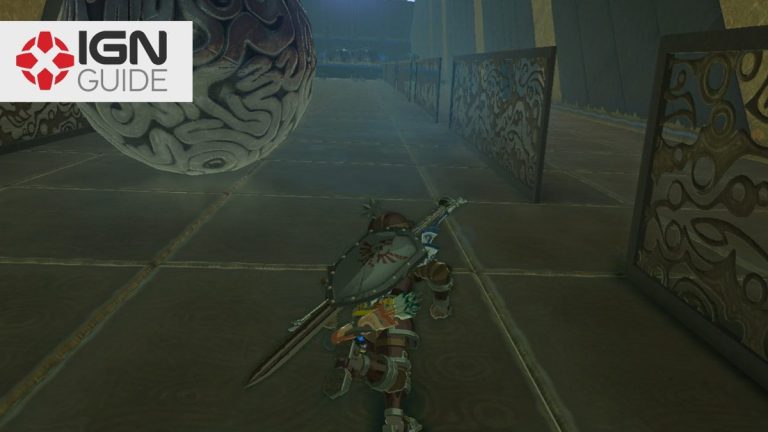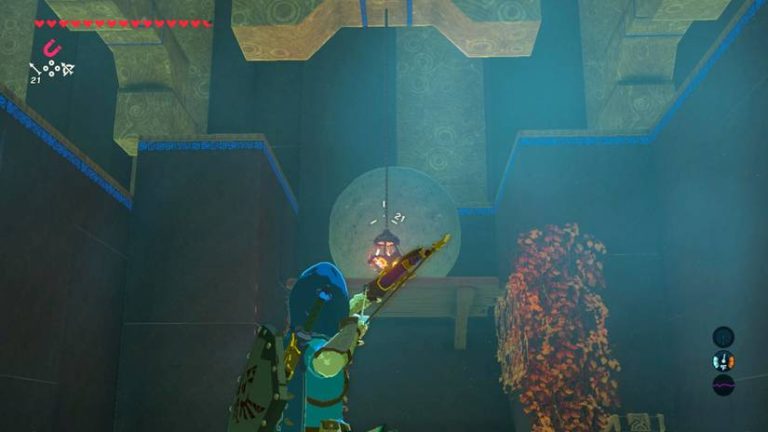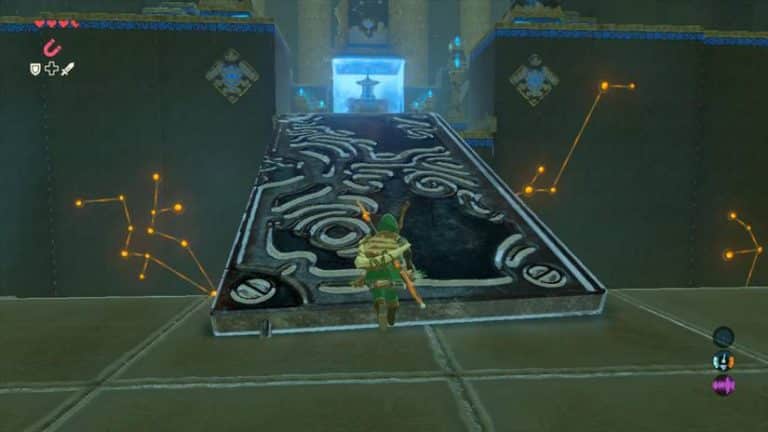
Let’s get into it. Dila Maag Shrine has zero puzzles, zero combat, and zero excuses. The only thing between you and free loot is a giant desert maze that’s about to test your sense of direction.
Here’s the play: I’ve got the whole route mapped out so you can walk in, grab the goods, and walk out like you planned it all along.
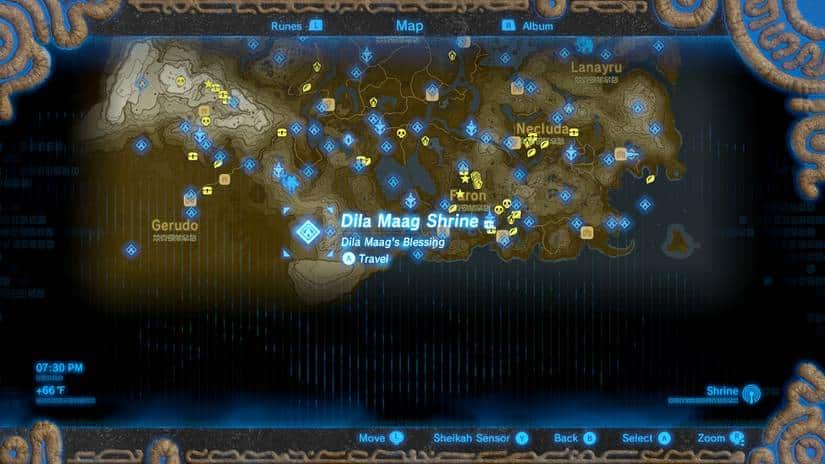
Dila Maag Shrine Location and Overview
This one is hiding in plain sight, right in the middle of a labyrinth. Know what you’re walking into before you go.
- Region: Gerudo Wasteland, one of the 120 Shrines in Breath of the Wild.
- Location: East of Gerudo Town and west of Mount Granajh, inside the South Lomei Labyrinth.
- Shrine Type: No challenges. The maze is the whole test.
- Shrine Quest: The Desert Labyrinth: South Lomei Labyrinth.
- Rewards: A treasure chest with the Barbarian Armor (the chest piece of the Barbarian set), plus a Spirit Orb from the monk.
Yes, you read that right. No puzzle, no boss, no gimmick. Just you, a maze, and a payout at the end.
Dila Maag Shrine Walkthrough: Step by Step
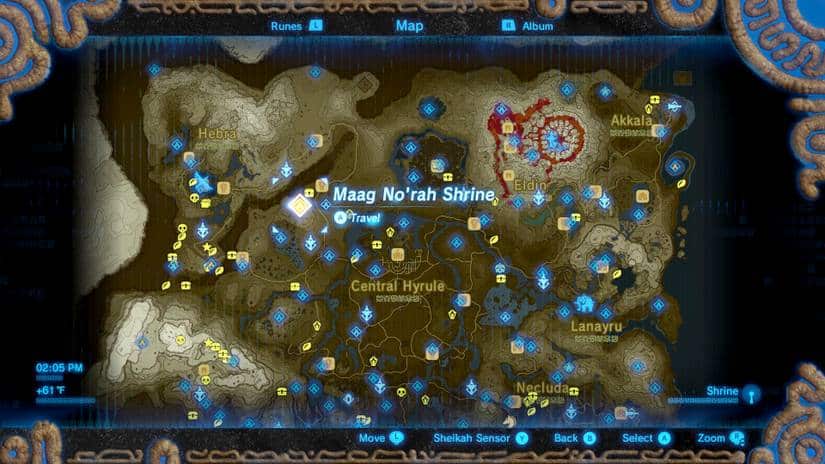
The shrine itself is a victory lap. The real work happens before you ever step through the door, so follow these steps in order.
- Step 1: Head east of Gerudo Town, toward the area west of Mount Granajh. The South Lomei Labyrinth is out there waiting for you.
- Step 2: Pick up the Shrine Quest The Desert Labyrinth: South Lomei Labyrinth. This is your roadmap through the maze, and the guides all agree you need it.
- Step 3: Work your way through the labyrinth toward the central building. Take your time and watch for dead ends. (Pro tip: if you hit the same wall twice, back up and try a different path. Don’t just keep running at it.)
- Step 4: Once you reach the entrance to the central building, climb the stairs all the way to the top. That’s where the Shrine is.
- Step 5: Approach Dila Maag Shrine and activate the pedestal by the door. This unlocks it as a fast travel point and completes the associated Shrine Quest.
- Step 6: Head inside and open the treasure chest for your Barbarian Armor piece.
- Step 7: Run over and talk to the monk, Dila Maag, to collect your Spirit Orb.
Stop Doing This: Wandering the labyrinth with no quest active and no plan. I’m begging you. That’s how you end up lost in the desert at the worst possible time.
Activate that pedestal, and you never have to run the maze again. Next time you want this shrine, fast travel straight to it. GG.
Rewards: What You’re Taking Home
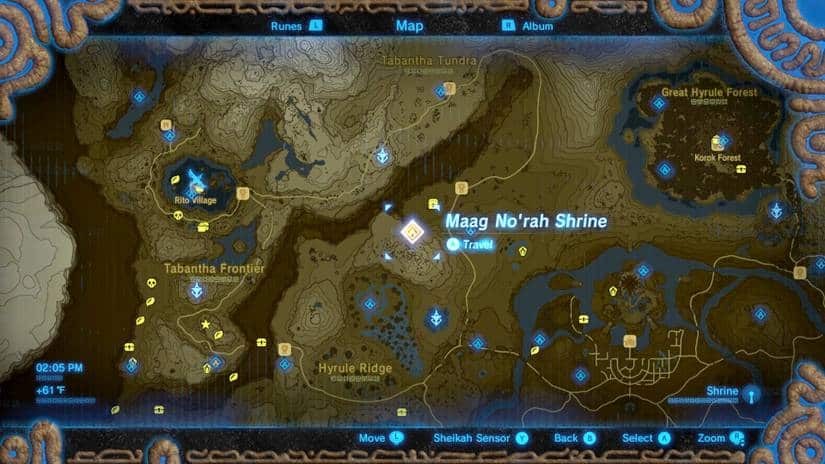
The shrine is all payout, no puzzle. You earned this by surviving the maze.
- Barbarian Armor: The chest always holds the Barbarian Armor, the chest piece of the set. Each labyrinth has its own fixed piece.
- Spirit Orb: Talk to Dila Maag the monk to claim it. Every orb pushes you closer to more hearts or stamina.
- Fast Travel Point: The pedestal outside the door gives you a permanent warp to the center of the maze.
- Quest Completion: Reaching the shrine finishes the labyrinth Shrine Quest.
Why This Slaps: you skip the shrine puzzle entirely and still leave with armor and an orb. That’s a clean win.
Pro Tips for the Labyrinth Run
- Prep Your Gear: Gerudo Wasteland is rough on the unprepared. Bring food, spare weapons, and a plan for the heat and cold. (Pro tip: don’t start the trek at half health.)
- Keep the Quest Active: The Desert Labyrinth Shrine Quest is how you navigate this place. Track it and trust it.
- Don’t Rush the Maze: Fast and lost is slower than steady and sure. Slow down and read your surroundings.
- Know Which Piece Is Where: Each labyrinth holds one fixed Barbarian piece, so the order you do them in doesn’t matter. South Lomei gives the armor.
- Hit the Other Labyrinths: The other two Barbarian pieces are in the other two labyrinths. Collect the full set and flex.
- Use the Pedestal: After activating it, you can warp back anytime. No second maze run needed.
If you’re still skipping the labyrinths because mazes feel annoying… bro. That’s free armor you’re leaving on the table.
Why Dila Maag Shrine Matters
This shrine proves that not every reward needs a hard puzzle. Sometimes the challenge is just finding your way, and the payoff is worth it. A Spirit Orb, Barbarian Armor, and a fast travel point is a stacked haul for one stop.
No cap, this changes how you look at the Gerudo Wasteland. The desert isn’t just sand and heat. It’s hiding some of the best loot in the game.
So here’s my question: did you breeze through the South Lomei Labyrinth, or did the maze beat you down for a while? Drop your best (or worst) lost-in-the-desert story in the comments, and tell me which Barbarian piece you pulled from the chest.