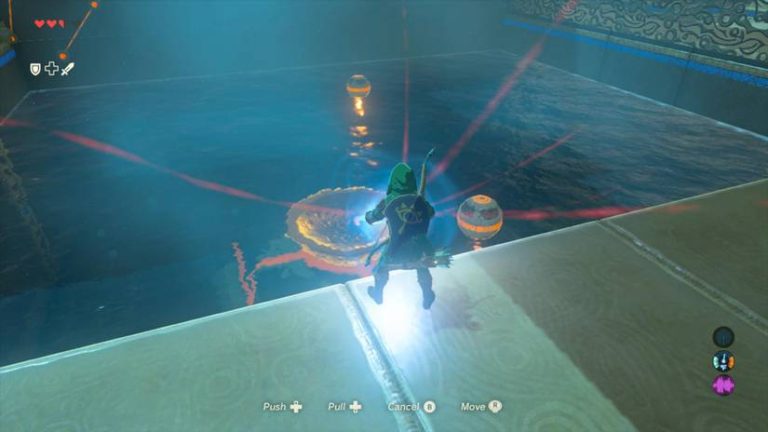
Your first real explosion in Hyrule is waiting for you, and it’s hiding behind a Guardian that wants you gone. Ja Baij Shrine is where Breath of the Wild hands you the Remote Bomb runes and teaches you to think in blast radii instead of sword swings.
If you’re new to this, don’t worry. I’ll walk you through every room, every bomb placement, and every chest, one step at a time.
Where to Find Ja Baij Shrine on the Great Plateau
For context, Ja Baij is one of four shrines on the Great Plateau, the starting area of the game. You need to clear all four to finish the Isolated Plateau quest and earn your Paraglider. The others are Oman Au, Keh Namut, and Owa Daim.
- Location: The eastern side of the Great Plateau, in the Eastern Abbey ruins, east of the Great Plateau Tower.
- Main Obstacle: Decayed Guardians. They’re stuck in the ground and can’t chase you, but their lasers deal enormous damage, enough to one-shot you at starting health.
- The Catch: The shrine sits in an enclosed area behind a mass of rock, so you can’t just walk up to the door.
- Two Ways In: Sneak past and climb the surrounding walls, or bait the Guardian into blasting the rock apart with its own laser.
- Rune You’ll Earn: Both Remote Bomb types, Sphere and Cube.
Lore-wise, these Guardians are leftovers from the Calamity 100 years ago. The ruins around you were once part of a thriving Hyrulean settlement, and the Guardians simply never stopped patrolling. It’s a haunting detail once you notice it.
Getting Past the Guardians Safely
You don’t need to fight them. The crumbling ruin walls block their targeting lasers, which gives you cover to work with.
- Step 1: Stay behind walls whenever a Guardian’s red targeting beam sweeps your way.
- Step 2: Sprint from one piece of cover to the next, and pause behind a wall to recover stamina (the green wheel that drains when you run or climb).
- Step 3: Find the mass of rock covering the enclosed area. Climb up and over the wall to drop inside, next to the shrine.
(Pro tip: Hitting a Guardian’s blue eye with an arrow damages it, but it isn’t worth your arrows this early. Ignore it and move on.)
Have you tried the “bait the laser” method yet? It’s a fun way to see how dangerous these things really are, from a safe distance.
Ja Baij Shrine Walkthrough: Step-by-Step Solution
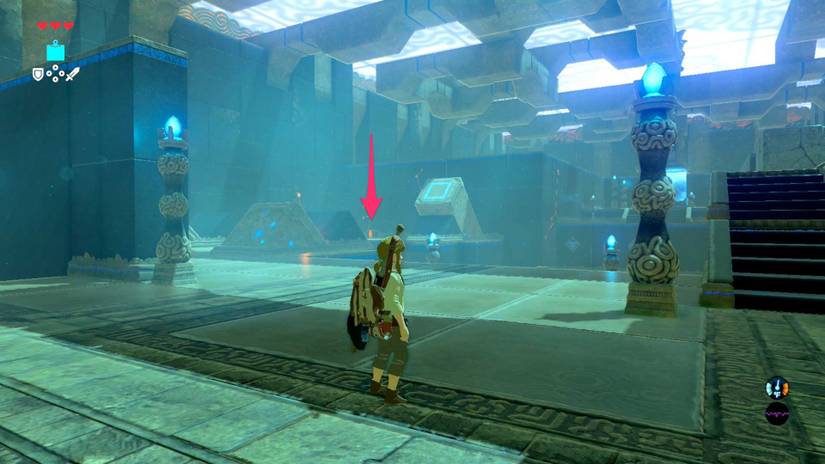
Once you’re inside, the puzzle is a chain of cracked walls. Each one needs a bomb, and each room teaches a slightly different trick. Here’s exactly what to do.
- Step 1: Grab the Runes. Walk to the pedestal on your left and place your Sheikah Slate on it. You’ll unlock Remote Bomb (Sphere) and Remote Bomb (Cube).
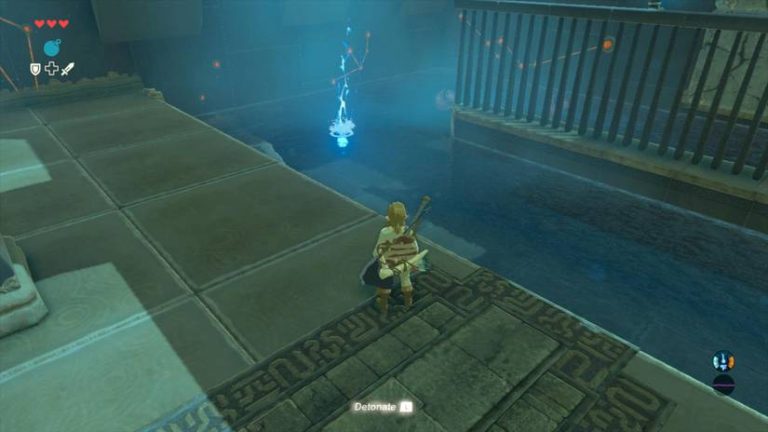
- Step 2: Break the First Wall. A large cracked wall sits at the end of a slope. Detonate a bomb next to the cracked stones in the floor recess to open the way. A Sphere bomb works well because it rolls down the ramp on its own.
- Step 3: Take the Right Turn. In the hallway, go right first. A small cracked wall hides an alcove with a chest holding a Traveler’s Claymore.
- Step 4: Go Left. Back in the hallway, find the two large cracked stones on the left. Detonate a bomb beside them to reveal a ladder.
- Step 5: Climb Up. Take the ladder to the next room, where a moving platform crosses a gap to a sheer wall of cracked stones.
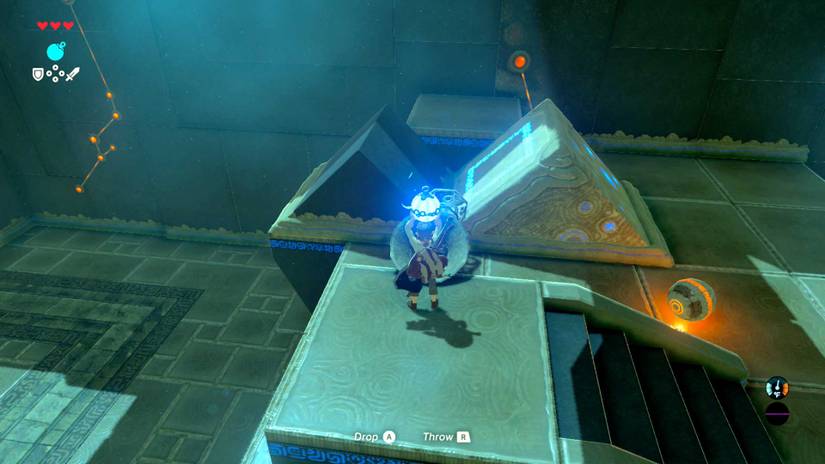
- Step 6: Ride the Platform. You can’t place a bomb at the foot of that wall, so set a Cube bomb on the platform. Ride it across and drop the bomb just before the platform stops. Step away and detonate to clear the wall.
- Step 7: Grab the Amber. In the far left corner of the next room, a chest sits out of reach. Let the launcher fling you across to it and collect your amber.
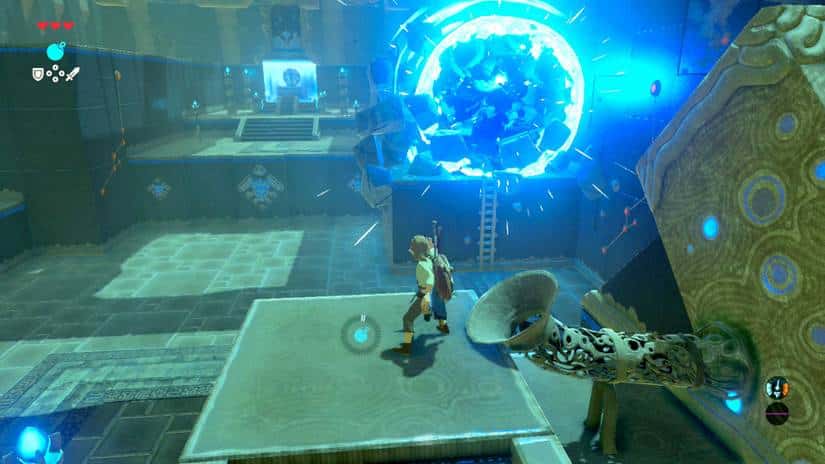
- Step 8: Fire a Sphere Bomb. Head back to the entrance and drop a Sphere bomb into the tube with the big opening. It flies across the room and lands on a pile of cracked cubes. Detonate it to destroy them.
- Step 9: Reach the Altar. Hop down, cross the room, and climb the ladder. Speak to the monk at the altar to collect your Spirit Orb.
(Pro tip: If a bomb misses, just send another. Remote bombs recharge after a short delay, so there’s no penalty for experimenting.)
Sphere vs. Cube Bombs: Which One When?
The numbers tell an interesting story: both bombs do the same job but behave very differently. Picking the right one is the whole puzzle.
| Bomb Type | Behavior | Best Use at Ja Baij |
|---|---|---|
| Sphere | Rolls, bounces, can be thrown | Ramps, tubes, and chutes |
| Cube | Stays where you place it | Moving platform, precise spots |
Rewards and Benefits
Ja Baij pays out well for an early shrine. You’ll leave with more than just a new toy.
- Spirit Orb: Collect these from shrines and trade them to a Goddess Statue for extra hearts or stamina later in the game.
- Remote Bomb Runes: Both bomb types are yours permanently, and they’re a great tool against monsters and breakable terrain.
- Treasure Chests: A Traveler’s Claymore in the hallway alcove, plus amber from the launcher chest.
- Quest Progress: One step closer to the four shrines you need for the Paraglider.
- Bonus Chest: If you own the Expansion Pass, look for a chest on the surrounding wall holding a red Switch shirt.
If you’re new to this, a spirit orb is just a currency. Four orbs get you one Heart Container or Stamina Vessel, so every shrine you clear is real progress.
Pro Tips
- Pro Tip 1: Place your bomb first, then move away before you detonate. Standing too close can hurt you.
- Pro Tip 2: On the moving platform, time the drop just before it rests. Dropping early sends the bomb the wrong way.
- Pro Tip 3: Check every cracked wall for side alcoves. The chest in the first hallway is easy to miss if you rush left.
- Pro Tip 4: Use Sphere bombs for anything that needs to travel and Cube bombs for anything that needs to stay put.
- Pro Tip 5: Keep your health topped up before approaching the Guardians. One laser hit can end your run.
- Pro Tip 6: Don’t rush the chutes. If the first bomb lands wrong, send another and watch where it rolls.
Why Ja Baij Shrine Matters
This shrine is a quiet tutorial in physics-based thinking. It teaches you that bombs aren’t just weapons but tools for solving problems.
The same ideas carry through the rest of the game: rolling, placing, timing, and detonating. Master them here, and a lot of later puzzles will feel familiar.
Lore-wise, it’s also a neat contrast. You’re using ancient Sheikah technology to blow past the ruins of an ancient defense system. Nicely poetic.
So, how did your first run go? Did you sneak past the Guardians or bait the laser, and which bomb trick gave you the most trouble? Tell me in the comments, and I’ll help you with the next shrine.