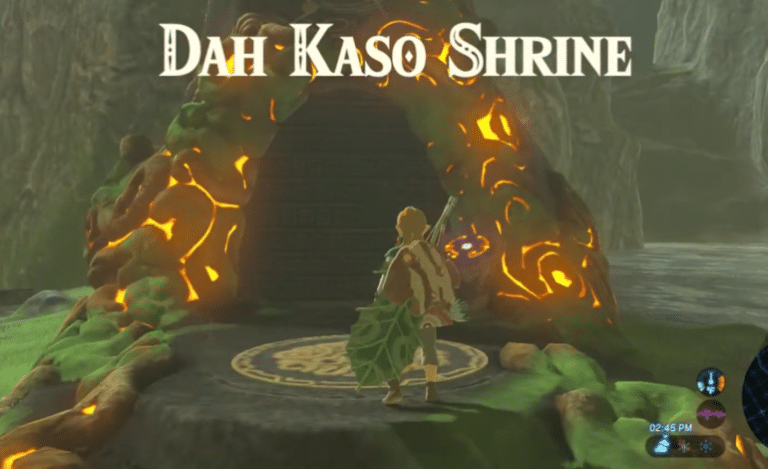
Ever walked up to a shrine and been scolded before you even got inside? That’s the Hila Rao Shrine welcome. This little water-themed trial near the Dueling Peaks is short, but it has a few gotchas that trip up first-timers.
Here’s exactly what to do, from tiptoeing past Magda’s flowers to floating your way to the Spirit Orb (don’t worry, it’s simpler than it sounds). We’ll also cover both chests, the cracked wall, and the floating explosive barrels.
Hila Rao Shrine Location and Overview
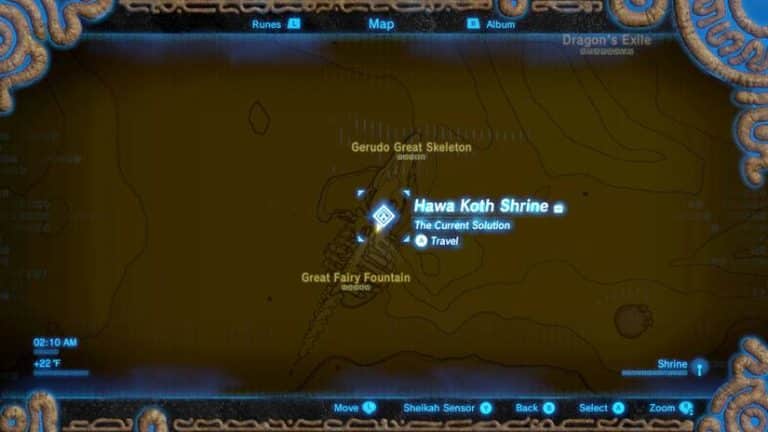
Hila Rao Shrine sits on the outskirts of the Dueling Peaks region, northwest of the main landmarks on the Floret Sandbar. One guide describes it as an island in the Hylia River south of Wetland Stable. Either way, you’re looking for a sandy, flower-covered strip of land.
The trial is called Drifting, and the name tells you the whole concept. Nearly everything in here floats downstream, including planks, chests, and a few things you’d rather avoid.
- Shrine Name: Hila Rao Shrine (trial: Drifting).
- Region: Dueling Peaks, on the Floret Sandbar.
- Difficulty: Easy. It’s a good one for newcomers.
- Required Rune: Cryonis, plus Magnesis and Bombs for the optional treasure and the cracked wall. (If you’re new, runes are the Sheikah Slate abilities you unlock early in the game.)
- Gatekeeper: Magda and her flowers. You’ll see why in a second.
Quick beginner note: shrines are mini-dungeons that reward Spirit Orbs. They’re also a great place to practice the puzzle-solving skills you’ll need later.
Hila Rao Shrine Walkthrough: Step by Step
The shrine is accessed through the quest Watch Out for the Flowers. Complete it and the shrine opens up. Here’s the step-by-step:
- Step 1: Get past Magda. She’s very protective of her flowers, and there’s no way around her. Just don’t step on them. Seriously, walk carefully and take the long way around every bloom.
- Step 2: Reach the shrine. Once the quest is complete, the shrine is yours to enter. If the approach feels awkward, you can also create an updraft with Revali’s Gale and paraglide in safely. (This only works if you’ve already unlocked that Champion ability.)
- Step 3: Cross the first channel. Wait for a wooden plank to float past you. Hop on, ride it across, and head through the door.
- Step 4: Try the Cryonis shortcut. If you’d rather not wait on the planks, use Cryonis to drop an ice block in the middle of the water. You can climb across it instead.
- Step 5: Cross the wider channel. Repeat the plank trick in the next room. Work your way forward and to the right, then let the planks carry you to the door on the far side.
Lore Note: according to the in-game lore, shrines are ancient Sheikah trials left behind to prepare a hero for Calamity Ganon. A water puzzle like this one is a lesson in using your runes creatively, not just in raw combat strength.
The Middle Room: Opal Chest
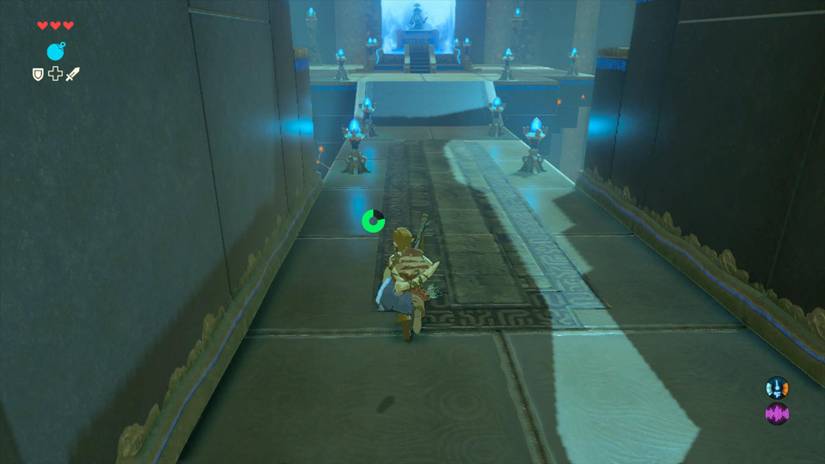
The middle room has you hopping across floating planks to the other side. There’s also a treasure hiding underwater.
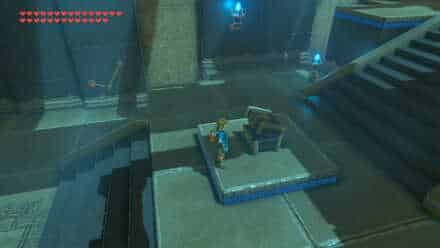
- Step 6: Find the chest. Equip Magnesis and scan the water. You’ll find a chest sitting below the surface.
- Step 7: Pull it up. Stand on the middle raft and use Magnesis to lift the chest. It’s easiest to grab from the second raft before it drifts too far away.
- Step 8: Park it for later. Drop the chest in the hallway ahead so you can open it once you’ve crossed.
- Step 9: Cross and open it. Make a running jump to the third platform and climb the ledge. Open the chest to get an Opal.
(Pro tip: the planks keep respawning upstream, so if you miss one, just wait for the next to float by.)
The Final Room: Ice Arrows and the Cracked Wall
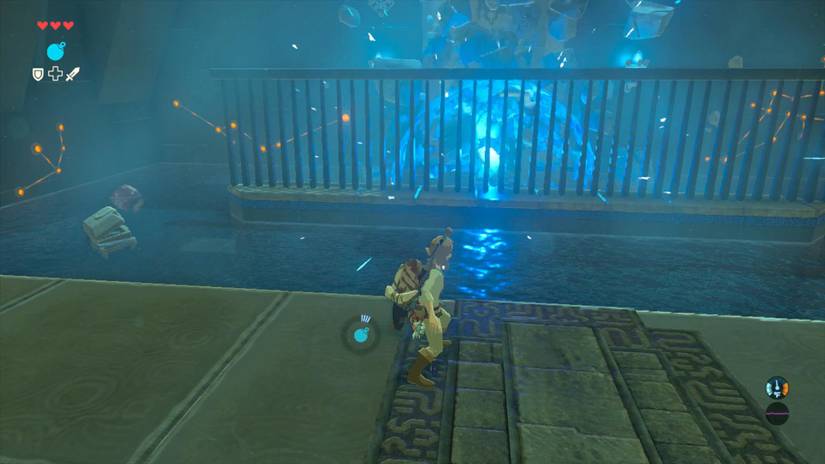
This is the trickiest room, because it has a circulating pool with a chest and explosive barrels drifting around. Take it slowly.
- Step 10: Watch for the chest. A treasure chest floats by in the water. Wait until it passes near you.
- Step 11: Cast Cryonis beneath it. Create an ice block under the chest and it will lift out of the water. Climb up the ice pillar to open it and grab 5 Ice Arrows.
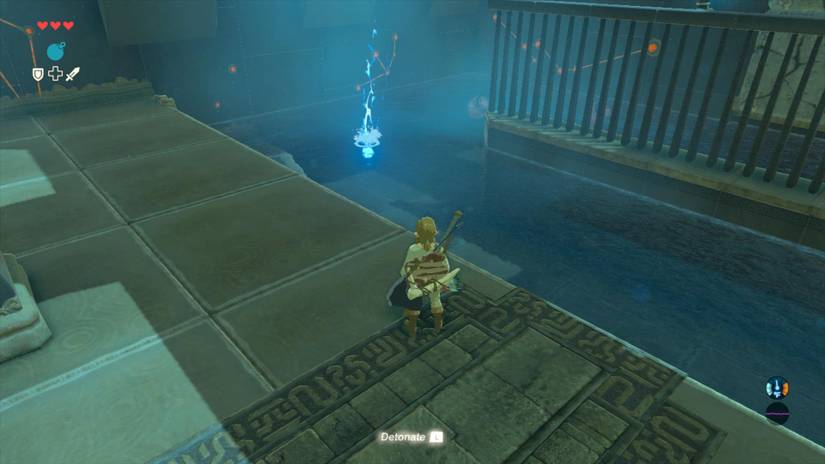
- Step 12: Spot the cracked wall. On the far side of the room, one section of wall is cracked. You only need to break one of the two cracked squares.
- Step 13: Bomb it. Throw a bomb at the wall from your ice block, and be careful not to let the floating explosive barrels catch the blast.
- Step 14: Glide to the other side. Paraglide down from your ice block to the far ledge. You can also swim across, but you’ll need to dodge the floating bombs.
- Step 15: Meet the monk. Climb the ladder and speak with Hila Rao to claim your Spirit Orb.
Rewards
This shrine is generous for how short it is. Here’s the full haul:
- Chest 1: Opal, a gem you can sell or use in cooking and upgrades.
- Chest 2: 5 Ice Arrows, handy for freezing enemies solid (on water, Cryonis is what makes ice platforms).
- Spirit Orb: Collect four and trade them for a Heart Container or a Stamina Vessel.
Pro Tips
- Pro Tip 1: Don’t rush Magda’s flowers. Stepping on them gets you yelled at, so stay on the bare patches.
- Pro Tip 2: Grab the Opal chest early. The chest drifts, and it’s much easier to snag from the second raft before it gets away from you.
- Pro Tip 3: Keep your distance from the barrels. A stray explosion can knock you into the water and cost you stamina.
- Pro Tip 4: Use Cryonis as a safety net. If a plank gets away from you, drop an ice block and climb across instead.
- Pro Tip 5: Check your stamina before swimming. The swim route works, but it’s the riskiest option for newcomers.
- Beginner Tip: Save your Ice Arrows for later. They’re great for freezing enemies and building temporary platforms.
Want to make the run even smoother? Equip a few extra bombs before you go in, so you can retry the wall without leaving.
Why Hila Rao Shrine Matters
Hila Rao is a small shrine, but it teaches a big lesson. Runes are tools that work together, so Magnesis, Cryonis, and Bombs all have a job here. It’s a handy practice run before the tougher shrines ahead.
It’s also a nice reminder that Breath of the Wild rewards curiosity. Both chests are optional, but they’re worth the extra minute. Once you’re done, check your shrine map for the next nearest trial.
Did you step on Magda’s flowers on your first try, or did you make it through clean? And which route did you take through the last room: ice, glide, or swim? Tell us in the comments!