Some shrines make you feel clever the moment you step inside, and Ishto Soh is one of them. Everything you need is sitting right there in the room: a moving platform, a laser, and a crystal switch. All that’s left is working out how they fit together.
This one is a gentle puzzle with two treasure chests tucked into it. Take it at your own pace, and we’ll make sure you leave with all three rewards: a Topaz, an Ancient Core, and a Spirit Orb.
Ishto Soh Shrine Location and Overview
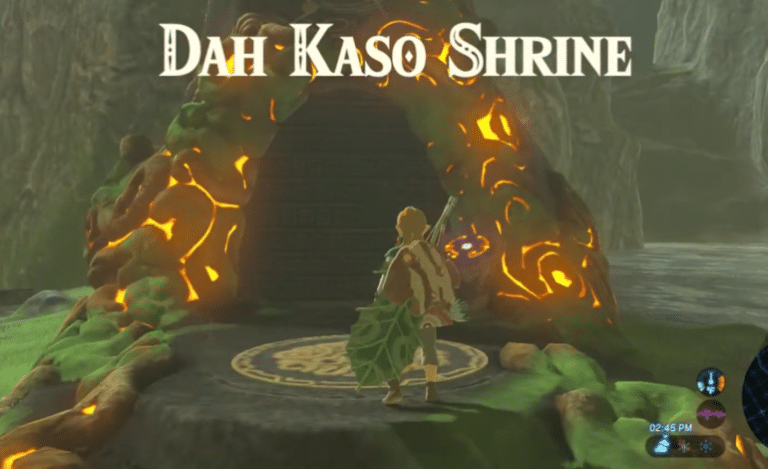
Ishto Soh Shrine sits in the Lake Region, up on a southwestern cliff in the Oseira Plains. If you’re working through the map one region at a time, this is a lovely stop along the way.
- Region: Lake Region, in the Oseira Plains.
- Landmark: Southwest of Lake Tower, just east of the border with the Wasteland tower area.
- Setting: A southwestern cliff, so keep an eye on the high ground as you approach.
- Trial Name: Bravery’s Grasp.
- Puzzle Type: Laser, moving platform, and crystal switch.
- Chests: 2 (Topaz and Ancient Core).
- Final Reward: 1 Spirit Orb from Monk Ishto Soh.
Completionists, you’ll want to know: both chests are optional, but they’re easy to grab once you understand the room. This is a good shrine to do thoroughly the first time, so you don’t have to come back for them.
Ishto Soh Shrine Walkthrough: Step by Step
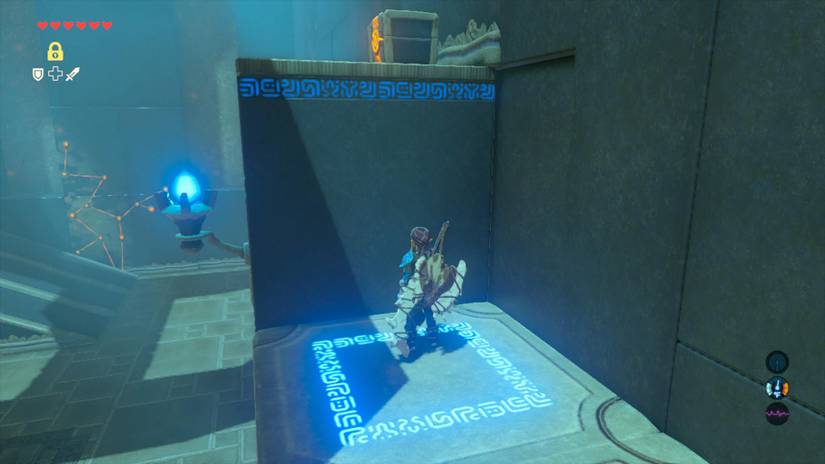
When you drop down to the main floor, don’t rush. Stand still for a moment and look around, because the whole solution is visible from where you land.
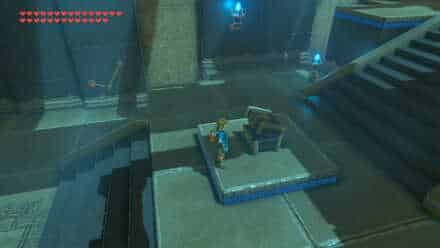
Ahead of you there’s a moving platform, a control crystal, and a set of stone pillars leading to a treasure chest. Behind you, under the spot where you started, there’s a small laser and a second chest.
- Step 1: Look Before You Leap. Take in the moving platform, the crystal in the middle of the room, the pillars, and the laser tucked into the back area. Each of these has a job to do.
- Step 2: Head to the Back Room. Go to the area beneath where you started. The laser and the Topaz chest are both there.
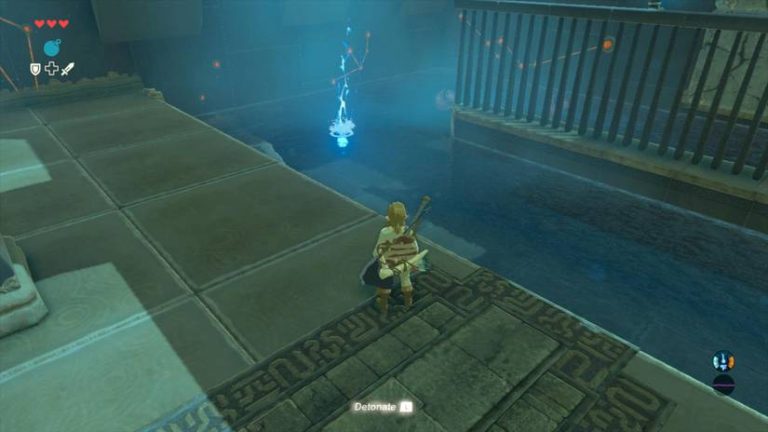
- Step 3: Freeze the Laser. Hit the laser with Stasis. This switches its beam off, so you can run past safely and open the chest for a Topaz.
- Step 4: Knock the Laser Loose. Hit the time-frozen laser with a weapon or a remote bomb to knock it off its stand. You can also wait out your first Stasis and freeze it again.
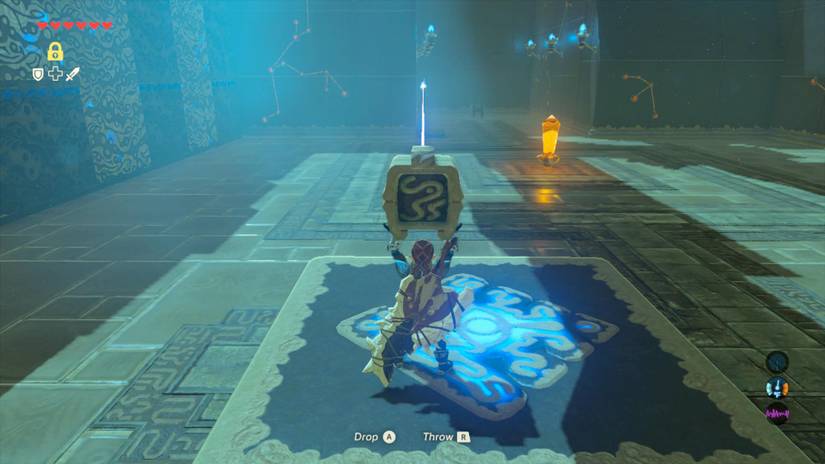
- Step 5: Carry It to the Platform. Pick the laser up and carry it into the main room. Set it down on the moving platform.
- Step 6: Aim at the Crystal. Face the laser toward the back of the room, toward where you started, so the beam strikes the control crystal every time the platform passes. The crystal toggles on and off every few seconds, and that moves all the pillars in the room.
Easily missable, so heads up: the direction you set the laser down matters. If the beam isn’t hitting the crystal on each pass, the pillars won’t cycle. Pick it up and turn it again, and nothing is lost.
Getting Up to the Monk
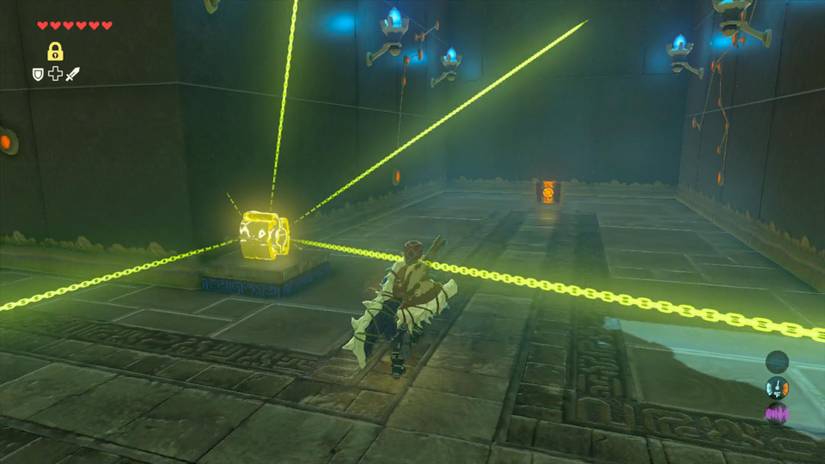
With the pillars moving, the way up to the monk opens. It’s a bit like a staircase that shifts as you climb it.
- Step 7: Ride the Right-Side Pillars. Head to the fenced-off area on the right side of the room. Ride the pillars up toward the monk.
- Step 8: Wait at the Top. When you reach the top, turn around and wait. The pillars you rode up on will descend.
- Step 9: Glide for the Second Chest. A moment before the pillars start moving again, jump toward the wall of pillars and paraglide across the room. Aim for one of the low ones.
- Step 10: Open the Ancient Core Chest. Run to the center of the room along the columns and open the chest for an Ancient Core.
- Step 11: Ride the Escalator. Ride the moving stairs up to Monk Ishto Soh and claim your Spirit Orb.
Take Your Time: The glide across the room can take a couple of tries, and that’s completely normal. The timing is forgiving once you’ve seen the pillars move a few times.
(Pro tip: If the right side keeps giving you trouble, you can make the same glide from the top of the ramp on the left side of the room. It’s quicker to get back to if you miss, though some players find the right-side escalator easier to read.)
Rewards and Completion Checklist
Here’s your tracker for this shrine. Tick these off before you leave, and you won’t have to think about Ishto Soh again.
- Checklist: Topaz chest in the back room (1 of 3).
- Checklist: Ancient Core chest in the center of the room (2 of 3).
- Checklist: Spirit Orb from Monk Ishto Soh (3 of 3).
Lore Connection: Spirit Orbs are what the monks hand over as proof you’ve passed their trial. You can trade them at a Goddess Statue for more hearts or stamina, so every shrine you finish makes the rest of your journey a little easier. The Ancient Core is a piece of Sheikah technology, and it’s useful for crafting ancient gear and arrows later on. Hold on to it, because it’s worth having in your pack.
Pro Tips for Ishto Soh Shrine
- Use Stasis First: Freezing the laser lets you walk past it safely and grab the Topaz without a fuss.
- Remote Bombs Help: A remote bomb is a tidy way to knock the frozen laser off its stand. A solid weapon swing works too.
- Check the Beam: Once the laser is on the platform, watch a full pass to confirm it hits the crystal. If it doesn’t, adjust it before you start climbing.
- Time the Jump: Wait until just before the pillars begin to move again, then glide for the low ones.
- Have a Backup Plan: The ramp on the left side is an alternate launch point for the glide if the right side is giving you trouble.
- Don’t Skip the Chests: They’re quick to grab, and shrines are much easier to finish thoroughly the first time than to revisit.
(Pro tip: If you drop short during the glide, don’t panic. Just head back up and try again. The shrine isn’t going anywhere, and neither is the chest.)
Why Ishto Soh Shrine Is Worth Your Time
Ishto Soh is a small but satisfying puzzle. You carry a laser to a platform, aim it at a crystal, and watch the whole room come alive. It’s a nice reminder that Breath of the Wild often gives you every piece you need and trusts you to put them together.
It also rewards the kind of patience that completionists love. Two chests, one Spirit Orb, and a glide that feels great when you nail it. It’s a marathon, not a sprint, and shrines like this one make the miles enjoyable.
Did you find the glide to the Ancient Core chest easy, or did it take a few tries? Share your own tips in the comments, and let us know which shrine in the Lake Region you’d like us to cover next.