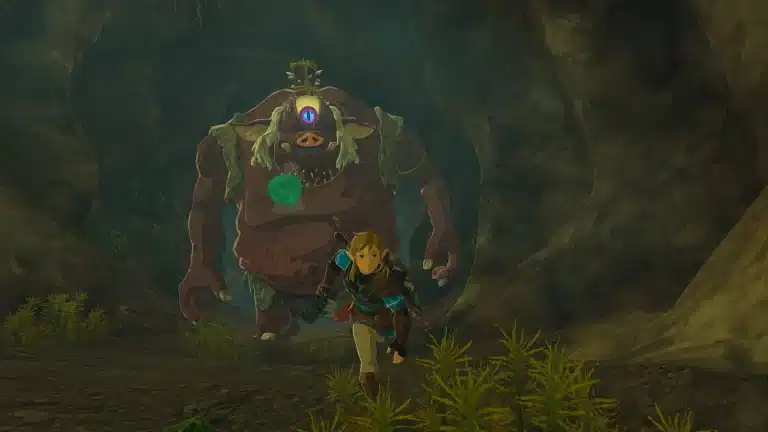
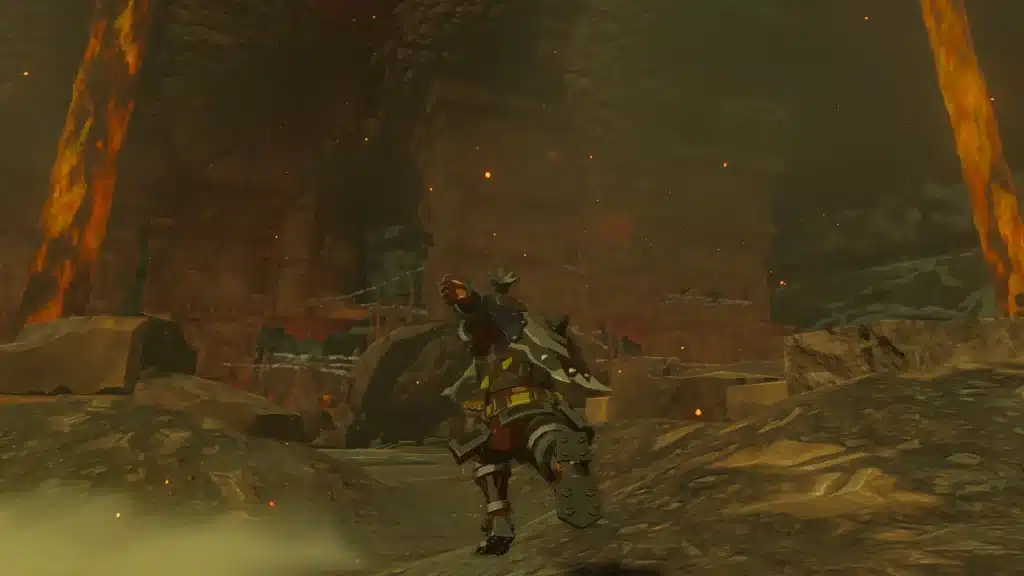
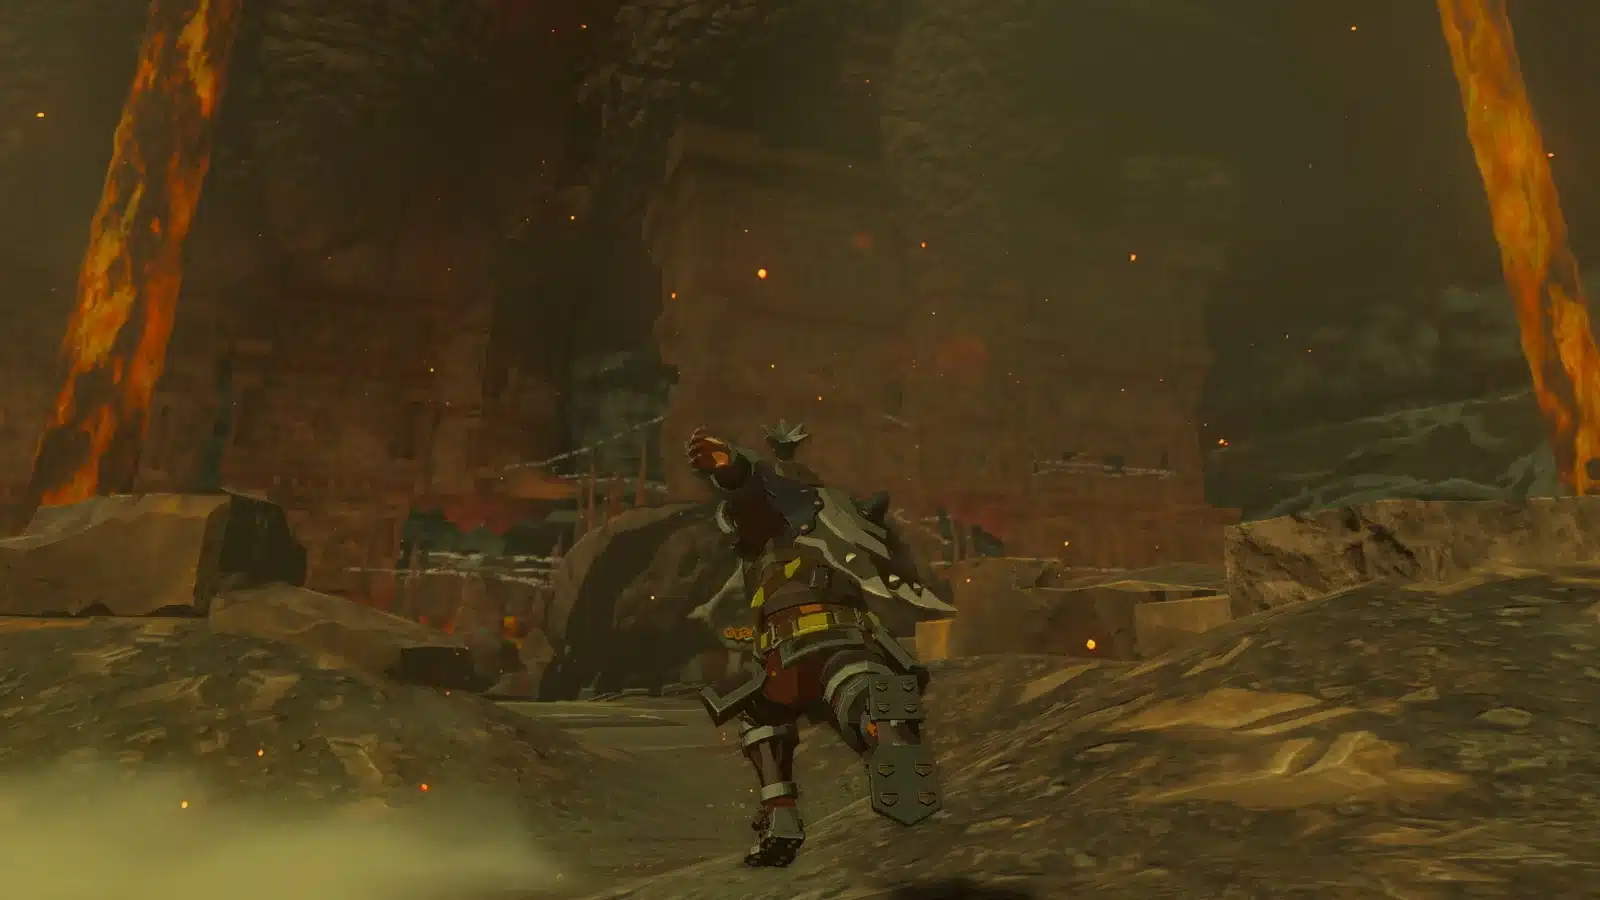
Some shrines are a quick hop inside. Momosik is the other kind. Before the door opens you need to finish its shrine quest, The Death Caldera Crystal, which sends you into a tunnel under Death Mountain, onto a mine cart, and up against an Igneo Talus that is wearing your crystal like a hat.
There’s no wrong way to approach this. Pack some heat protection, take it at your own pace, and this guide will walk you through every step, plus the chest waiting inside.
Momosik Shrine Location
Momosik Shrine sits on the surface at the eastern edge of the Eldin region, on the northeast side of the Death Caldera at the foot of Death Mountain. The closest landmark is the Death Mountain East Tunnel, which is also where the quest takes you.
- Shrine type: a crystal shrine. The entrance stays sealed until you bring back its crystal, and inside it works like a Rauru’s Blessing shrine with no trial.
- Quest: The Death Caldera Crystal, started by touching the glowing glyph at the sealed entrance.
- Depths match: the Kisomom Lightroot sits directly below in the Depths.
- Pack: Flamebreaker armor or fireproof elixirs, a hard hitting weapon, and something water based for the Talus.
| Task | Where |
|---|---|
| Start The Death Caldera Crystal | Glyph at the sealed shrine entrance |
| Break the rock wall | Around the mountain to the right of the green beam |
| Set up the mine cart | Death Mountain East Tunnel |
| Defeat the Igneo Talus | End of the cart track, where the crystal sits |
| Deliver the crystal | Back at the shrine entrance |
| Big Battery chest | Inside the shrine |
| Light of Blessing | Top of the stairs inside |
The Death Caldera Crystal Walkthrough
Step 1: Start the Quest
Reach the shrine and touch the glyph at the sealed entrance. A green beam shoots out toward where the crystal is hidden. Take Your Time: this is the game telling you to come back with the crystal, not that you are in the wrong place.
Step 2: Find the Tunnel
Follow the green beam until the mountain blocks the way. Then circle around the mountain to the right. You will find a passage blocked by breakable rocks.
- Hammer it: any heavy weapon or a boulder fused to a stick works.
- Bomb it: bomb flower arrows clear it from a distance.
- Ask Yunobo: if you have his Vow, his charge smashes the rocks in one go.
Step 3: The Mine Cart
Inside the Death Mountain East Tunnel, a Horriblin hangs from the ceiling. Deal with it first so it does not drop on you mid puzzle. Further in, you will find a mine cart and a Fan.
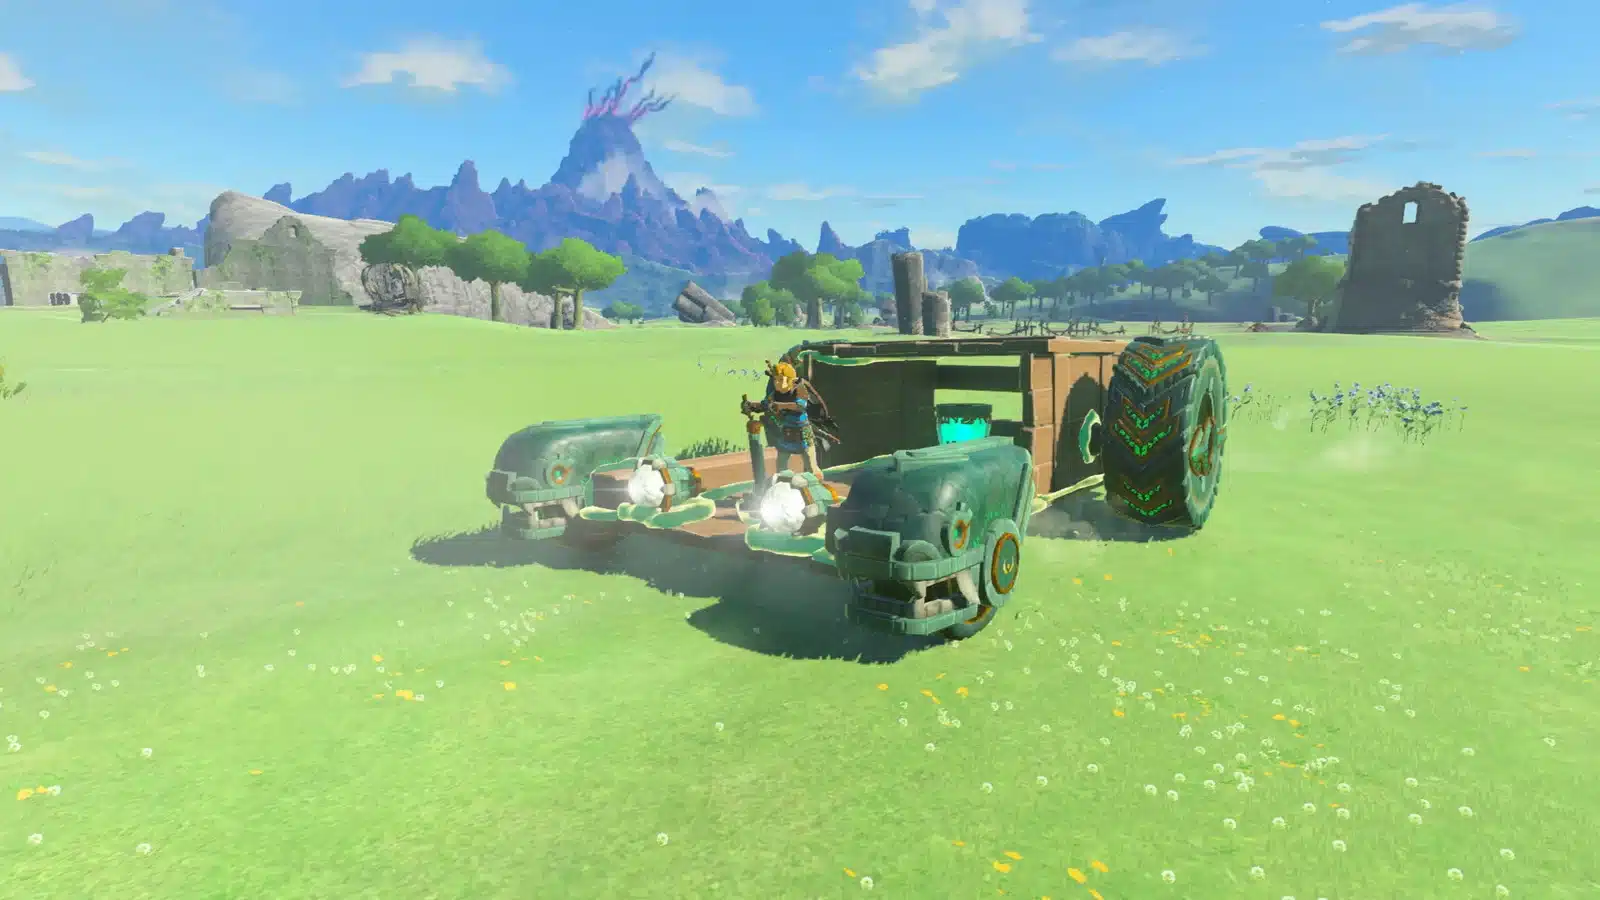
- Place the cart on the rails with Ultrahand.
- Attach the Fan to the back of the cart, facing backward so it pushes you forward.
- Hop in and hit the Fan to ride the tracks toward the green crystal.
Step 4: The Igneo Talus
Here’s the twist: the crystal is stuck to a molten rock formation, and that rock is an Igneo Talus.
- Free hits: before it wakes, hit the crystal with your strongest attacks.
- Cool it down: once it moves, use water attacks (Splash Fruit fused to arrows works well). A cooled Talus stops and collapses.
- Climb and strike: while it is cooled, climb on top and hit the weak point. Repeat until it falls.
- Do not touch it while it is hot: climbing a burning Talus without fire protection hurts.
Step 5: Bring the Crystal Home
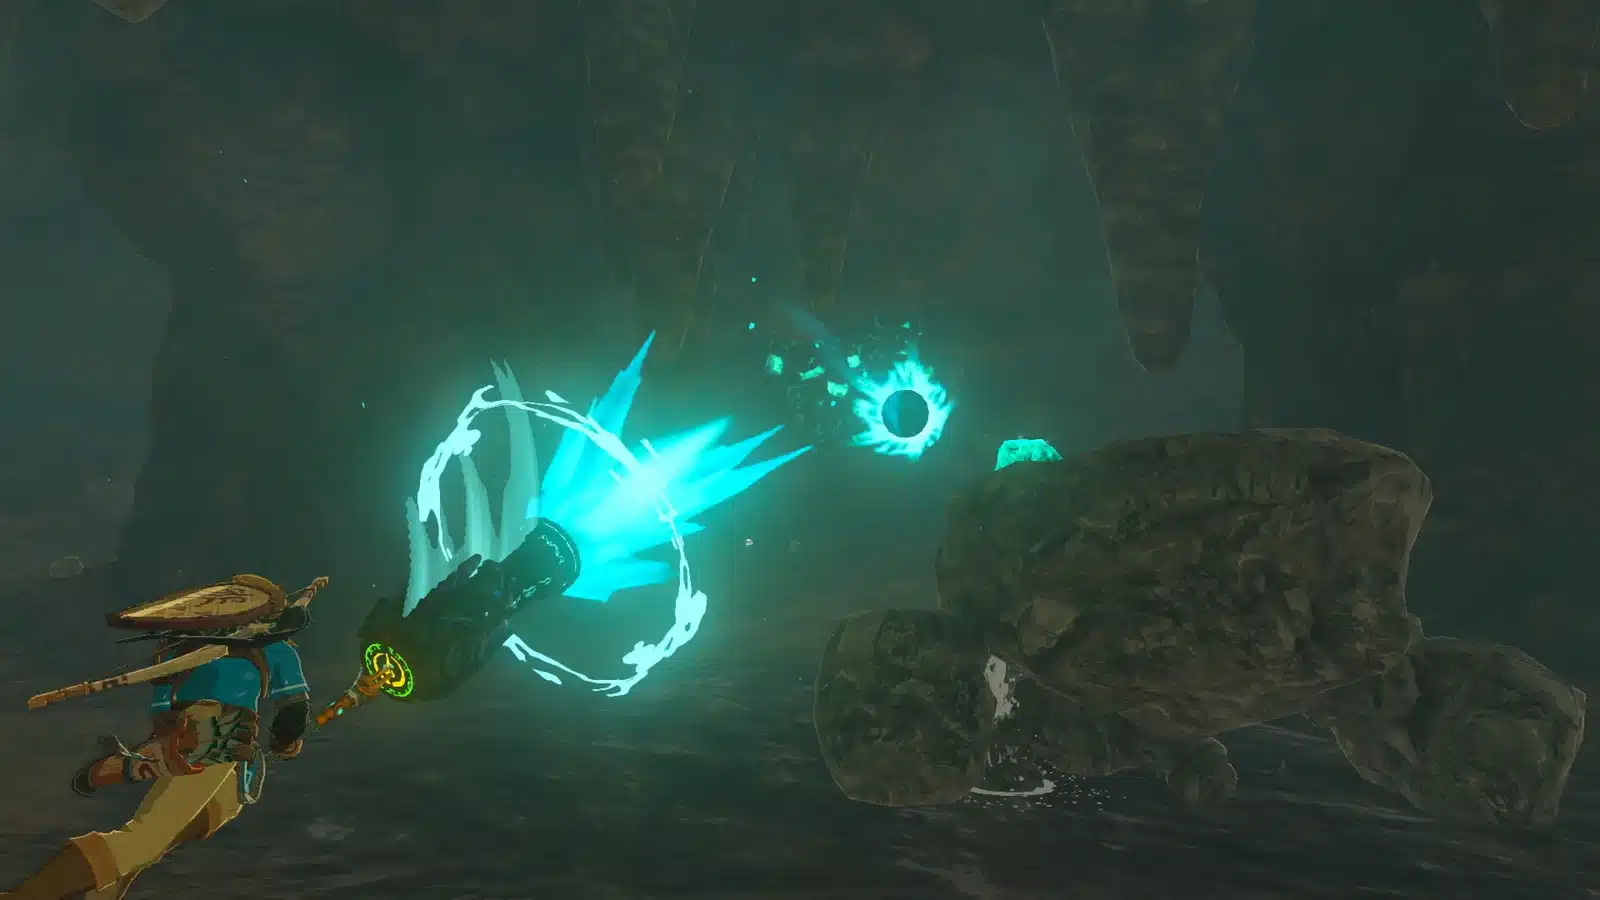
Pick up the crystal with Ultrahand, load it onto the mine cart and ride back along the tracks. Then carry it the rest of the way to the shrine entrance and set it down by the door. The seal breaks and Momosik opens.
Missable! If the crystal falls off a ledge, do not panic. Recall can rewind it back up to where it fell from.
Inside Momosik Shrine
- Chest: right inside the entrance, holding a Big Battery. A Big Battery is a Zonai device you attach to builds to give them a bigger pool of power.
- Light of Blessing: head up the stairs and touch the green glyph.
- Fast travel: the shrine becomes a warp point in this fiery corner of Eldin.
Lore Connection: the green beam from the shrine always points at its missing crystal, so trust it whenever you get turned around in the tunnel. When you call on Yunobo’s Vow to clear the rocks, you are also leaning on the Goron bond that runs through the whole Death Mountain story.
Want to light up the Depths too? The TOTK interactive map shows the Kisomom Lightroot right under the shrine.
Momosik Shrine FAQ
Where is Momosik Shrine?
On the northeast side of the Death Caldera at the foot of Death Mountain, in eastern Eldin, near the Death Mountain East Tunnel.
How do you open Momosik Shrine?
Complete The Death Caldera Crystal: ride the mine cart through the Death Mountain East Tunnel, defeat the Igneo Talus holding the crystal and bring the crystal back to the entrance.
What is in the Momosik Shrine chest?
A Big Battery, just inside the entrance.
How do you beat the Igneo Talus?
Hit the crystal before it wakes, then cool it with water attacks so it collapses, climb on and strike the weak point.
Take Your Time: Momosik is a little adventure wrapped around a shrine: a tunnel, a cart ride, a Talus and a crystal delivery. Gear up for the heat, enjoy the ride, and tick one more shrine off your list.