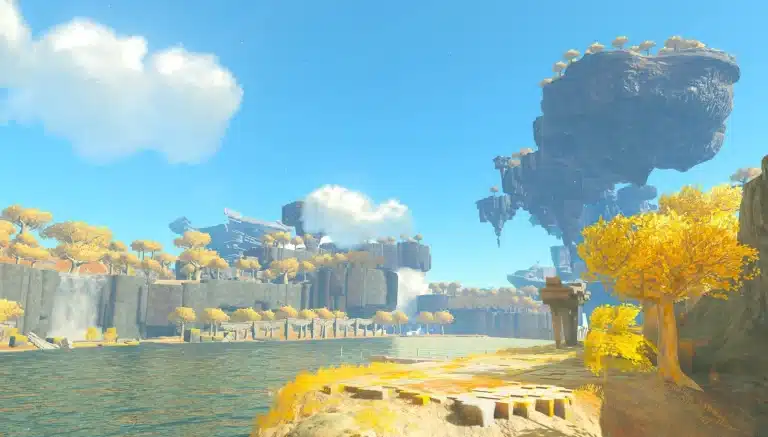
Kadaunar Shrine floats high above Eldin, and its trial, Water Makes a Way, asks one simple question: what happens when you point a Hydrant at a pool of lava? The answer is a bridge, and building it is a lot of fun.
There’s no wrong way to approach this one. This guide covers the sky island climb to reach the shrine, every room of the puzzle, the chest you can easily walk past and a few tips for when a slab sinks.
Kadaunar Shrine Location
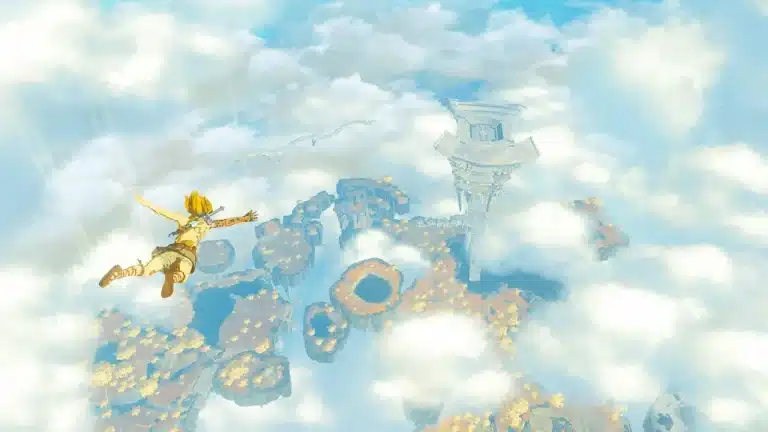
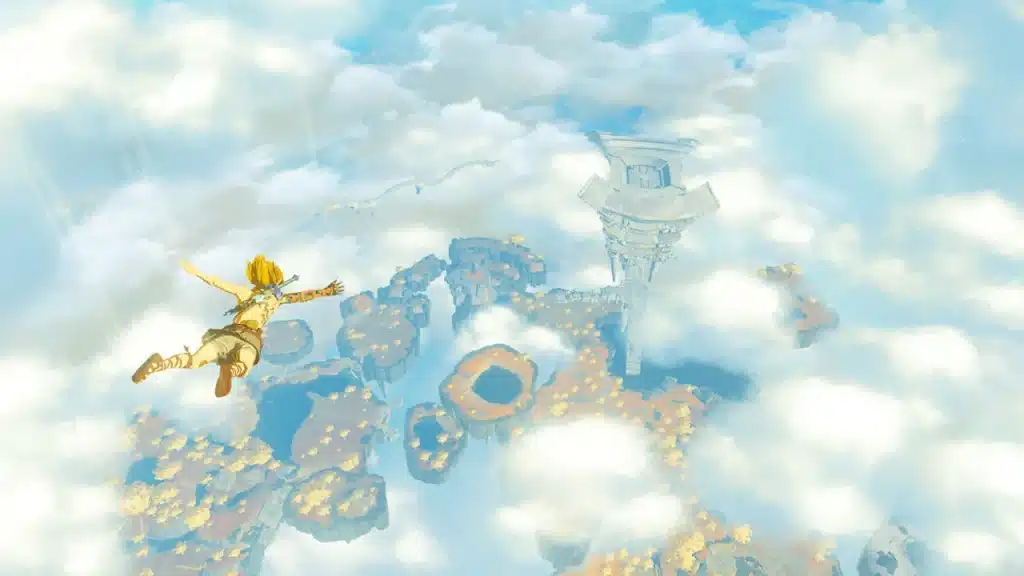
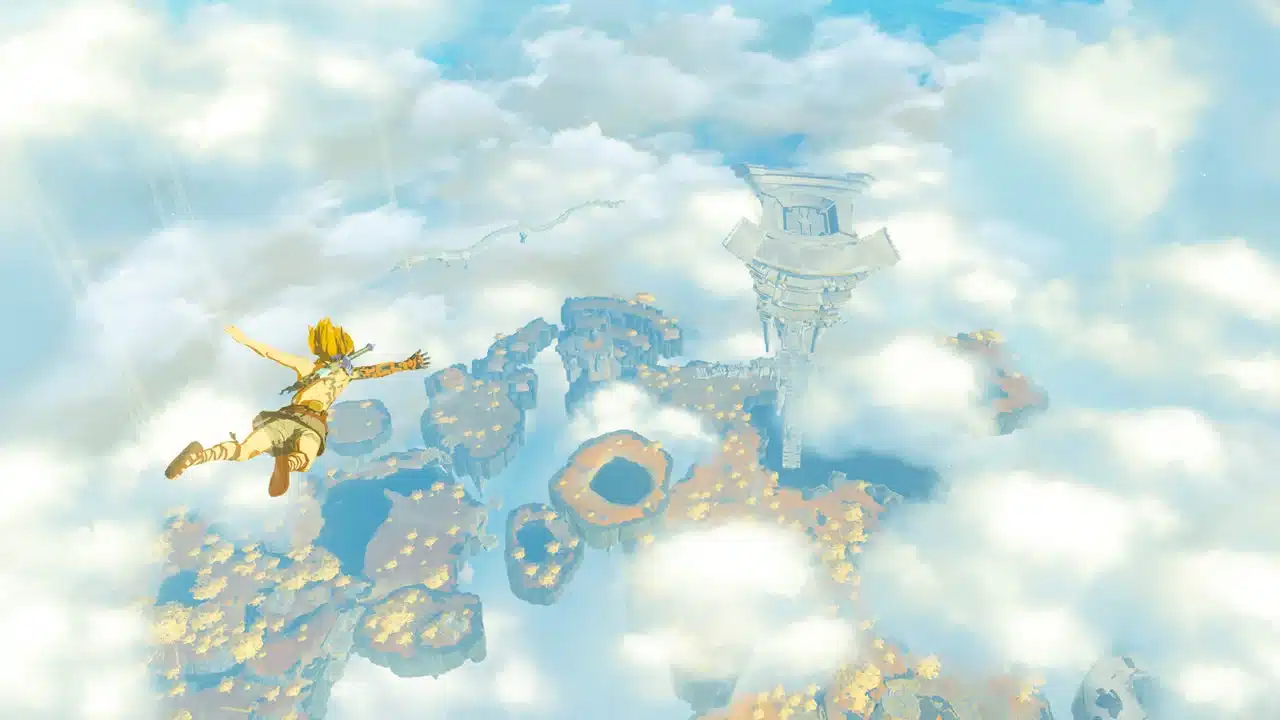
Kadaunar Shrine sits on a sky island in the South Eldin Sky Archipelago, part of the Eldin sky. Launch from the Eldin Canyon Skyview Tower and glide to the archipelago; the first island you land on has mine cart rails leading toward the shrine.
| Detail | Info |
|---|---|
| Trial | Water Makes a Way |
| Region | South Eldin Sky Archipelago (Eldin sky) |
| Launch point | Eldin Canyon Skyview Tower |
| Abilities used | Ultrahand, Fuse, Ascend (on the way up) |
| Key device | Hydrant |
| Rewards | Light of Blessing, Strong Construct Bow from the chest |
The TOTK interactive map helps you line up the glide before you jump.
Part 1: Reaching the Shrine
The climb is a little adventure of its own, with Soldier Constructs and fan powered mine carts. Here’s your checklist:
- Clear the landing: defeat the Soldier Construct on the first island. A second one rolls in on a mine cart, so take it down too.
- Prep a cart: use the cart that already has a Fan attached. Turn it so the Fan is behind you, and add a Battery if it needs one; there is one on the ground nearby.
- Ride: hit the Fan to start it and ride the rails to the next island.
- Climb up: on the lower part of this island, use Ascend to reach the next level. Clear it for loot, including a treasure map, then Ascend again to the top.
- Second cart: on the east rails, set up another Fan cart the same way and ride across.
- Final hop: glide over the small gap to the north platform and climb to the cross shaped island. The shrine is on the left.
Easily missable, so heads up: the loot on the middle island is easy to skip if you Ascend straight through. Take a look around before you go up.
Part 2: Water Makes a Way Walkthrough
Room 1: Your First Lava Bridge
- Find the Hydrant on the left as you enter and hit it to switch it on.
- Point the water at the lava. Wherever it lands, the surface cools into a sturdy slab, just like the example next to it.
- Pick the Hydrant up with Ultrahand and sweep it across the lava as you go, or lift the cooled slabs out with Ultrahand and link them into a bridge.
- Cross to the far side.
The Chest: Strong Construct Bow
Don’t skip this one. On the left side of the room, opposite a cracked wall, a chest sits on a ledge above more lava. Add a couple more slabs to your bridge, then angle it up to the ledge as a ramp. The chest holds a Strong Construct Bow.
Room 2: Break the Wall
You need something heavy for the cracked wall. Grab one of your cooled lava slabs, then Fuse it to a weapon. A Rusty Claymore lying in the room works perfectly and turns into a giant hammer. Smash the wall and walk through.
Already carrying a hammer or a rock-fused weapon? Use that instead and save yourself a step.
Room 3: The Moving Lava
The last room has two Hydrants, and the lava here flows with a current, so slabs drift away if you leave them. The Hydrants run forever though, so you have all the time you need.
- Move the Hydrants to the edge of the lava and switch them on.
- Lift the cooled slabs out with Ultrahand as they form.
- Link them end to end into a long bridge to the exit, then lay it across.
- Walk over and claim your Light of Blessing at the altar.
If a slab slides off or your bridge comes up short, don’t worry. The Hydrants keep spraying, so just make another slab and try again.
Rewards
- Light of Blessing: four of them trade for a heart container or more stamina at a Goddess Statue.
- Strong Construct Bow: from the ledge chest in the first room.
- Treasure map: from the middle sky island on the way up.
- Fast travel point: a warp spot high in the Eldin sky, handy for future sky exploring.
Completionists, you’ll want to know: Tears of the Kingdom has 152 shrines, so every sky shrine like this one is a nice tick on a long list.
Tips for Kadaunar Shrine
- Go slow with the Hydrant: a steady sweep gives you evenly sized slabs that link together cleanly.
- Angle the ramp: for the chest ledge, tilt the bridge upward instead of laying it flat.
- Batteries matter: a cart with spare power makes the ride up much less stressful. Our Ultrahand guide covers how to attach parts cleanly.
- Fuse practice: the Claymore hammer trick is a classic. The Fuse guide has more combos worth knowing.
- Eat before the Constructs: the Soldier Constructs on the way up are not tough, but a full set of hearts helps.
One more thing before you move on: Ascend does a lot of the heavy lifting on the climb. If you are still getting used to it, our Ascend ability guide is worth a quick read.
Kadaunar Shrine FAQ
Where is Kadaunar Shrine?
On a sky island in the South Eldin Sky Archipelago. Launch from the Eldin Canyon Skyview Tower and follow the mine cart rails across the islands.
What is in the Kadaunar Shrine chest?
A Strong Construct Bow, on a ledge above the lava in the first room.
How do you break the cracked wall in Kadaunar Shrine?
Fuse a cooled lava slab to a weapon, such as the Rusty Claymore in the room, and use it as a hammer.
Why does my lava bridge drift away?
The lava in the final room has a current. Build the bridge quickly from fresh slabs and lay it across in one go.
Take Your Time: this is one of those shrines worth slowing down for. A mine cart ride, a hidden chest and a lava puzzle that makes you feel clever. Take it at your own pace.