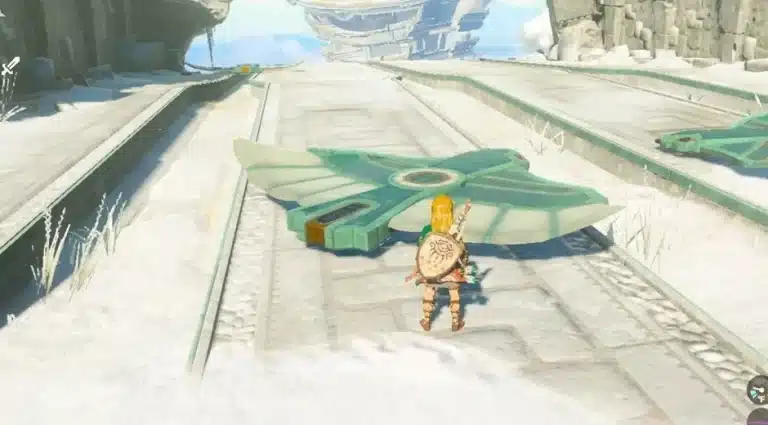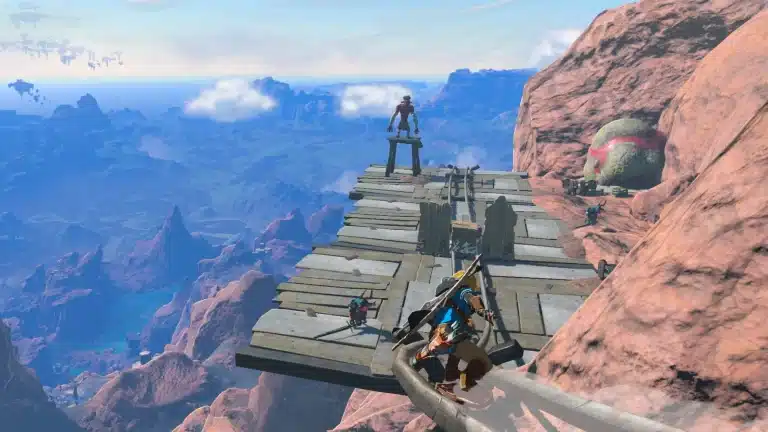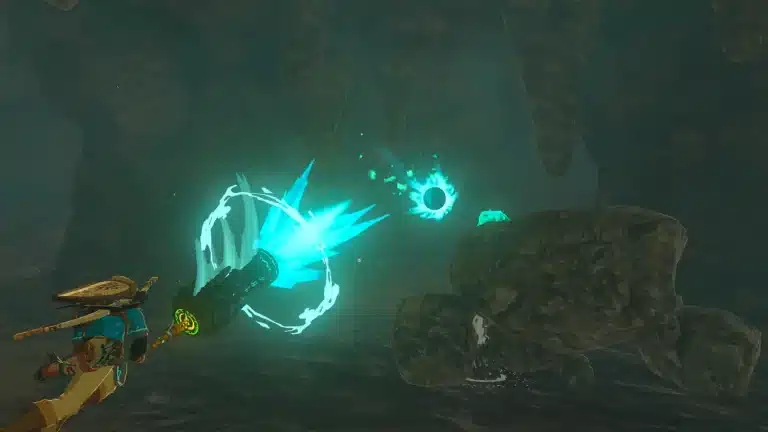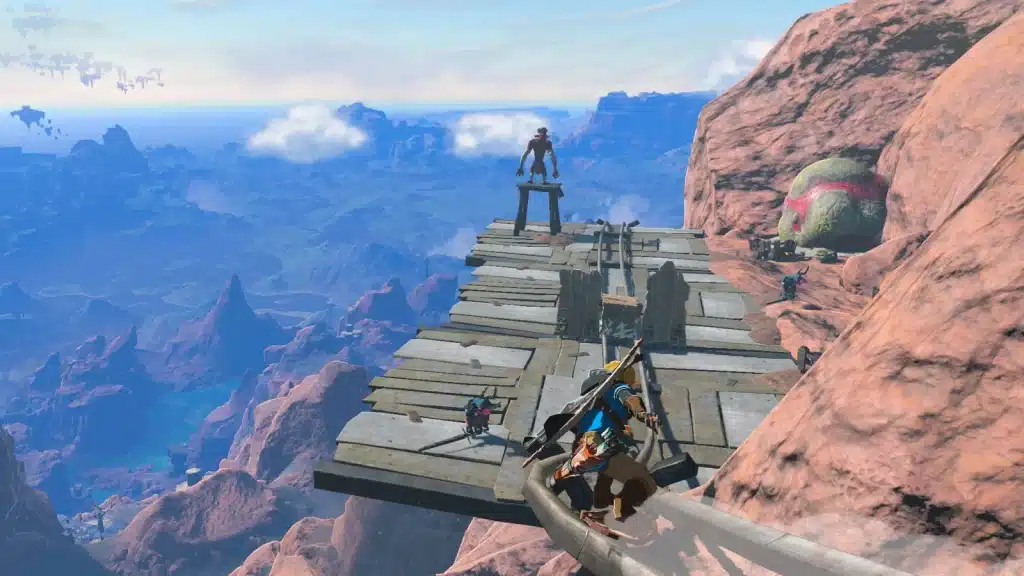
Kudanisar Shrine drops you into a room where the floor itself is a river of sand. Its trial, Bridging the Sands, asks you to cross that river with drifting wooden planks, a few Zonai sleds and some patient Ultrahand work. It looks chaotic at first, but every piece you need is already in the room.
This guide covers where the shrine is, the safest way in, the full solution, and both treasure chests, which are easy to miss if you rush to the exit. There’s no wrong way to approach this, so take it at your own pace.
Kudanisar Shrine Location
Kudanisar Shrine is a surface Shrine of Light in the northern Gerudo Desert, close to the entrance of Karusa Valley and below the cliffs of the Gerudo Highlands. The shrine sits on top of a small stone structure in the middle of a field of flowing sand.
That structure has company: a squad of Soldier Constructs (three Soldier Construct IIIs led by a Soldier Construct IV) patrols the ground around it. They hit hard if you arrive on foot early in the game.
The Calm Way In
- Start high: unlock and launch from the Gerudo Highlands Skyview Tower, or simply walk to the cliff edge north of the shrine.
- Glide south: head past Karusa Valley and aim for the top of the stone structure.
- Land on the upper level: touching down on the higher ledges lets you climb straight to the entrance and skip the Construct squad entirely.
- Optional: if you want the Zonai materials, fight the squad at range from the platform once you have activated the shrine.
Activating the shrine from the outside also unlocks it as a fast travel point, so even a quick touch on the way past is worth it.
Kudanisar Shrine at a Glance
| Detail | Kudanisar Shrine |
|---|---|
| Trial name | Bridging the Sands |
| Region | Gerudo Desert (surface), near Karusa Valley |
| Abilities used | Ultrahand, Recall, bow |
| Enemies inside | Several Soldier Construct Is |
| Treasure chests | 2 (10 Arrows, Hasty Elixir) |
| Reward | Light of Blessing |
Bridging the Sands Walkthrough
The whole chamber is a current of moving sand. You can wade through it, but it drains your stamina, and it carries anything you drop downstream. Planks floating in the current are your bridges.
Step 1: Cross the First Stretch
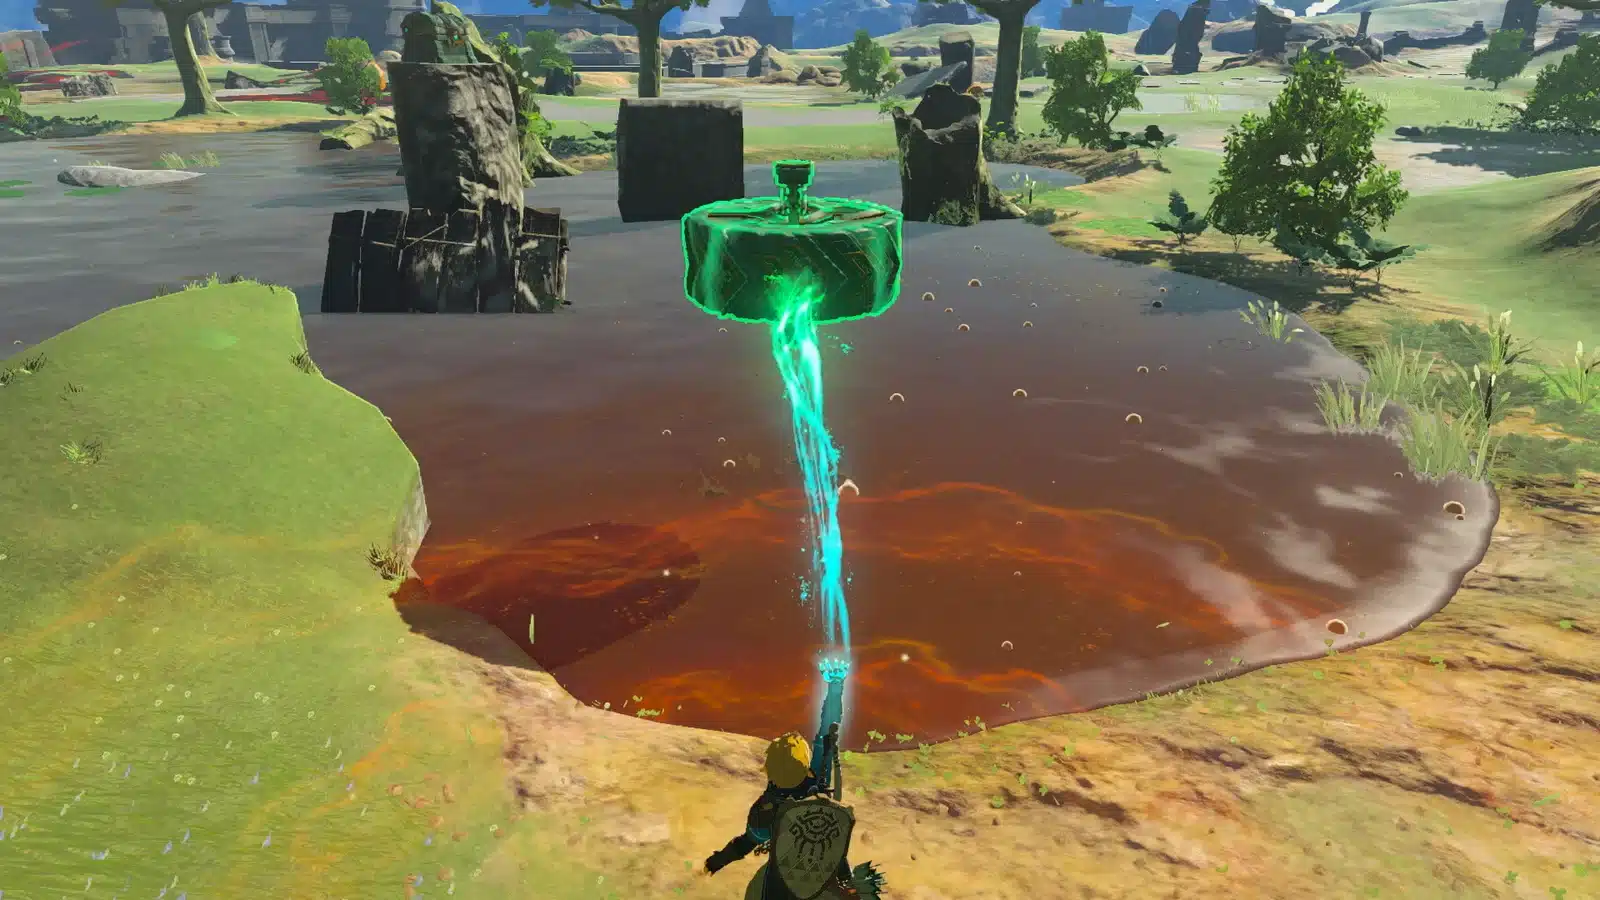
Go down the stairs and face upstream. Grab a floating plank with Ultrahand and lay it across the gap, or hop between planks as they drift past. If a useful plank floats out of reach, hit it with Recall and it will drift back toward you along the path it took.
Step 2: Get Over the Fence
The next platform ends at a fence. Pick up the planks here and lean them against the fence to make a slope, or attach two together with Ultrahand for a longer ramp. Run up and over.
Step 3: Deal With the Hidden Construct
A Soldier Construct I hides behind an upright plank in the next section. Shoot it, or lift the plank and drop it on the Construct. Then use that plank (and another if you need the length) as a bridge to the large structure ahead.
Step 4: Launch the Ball
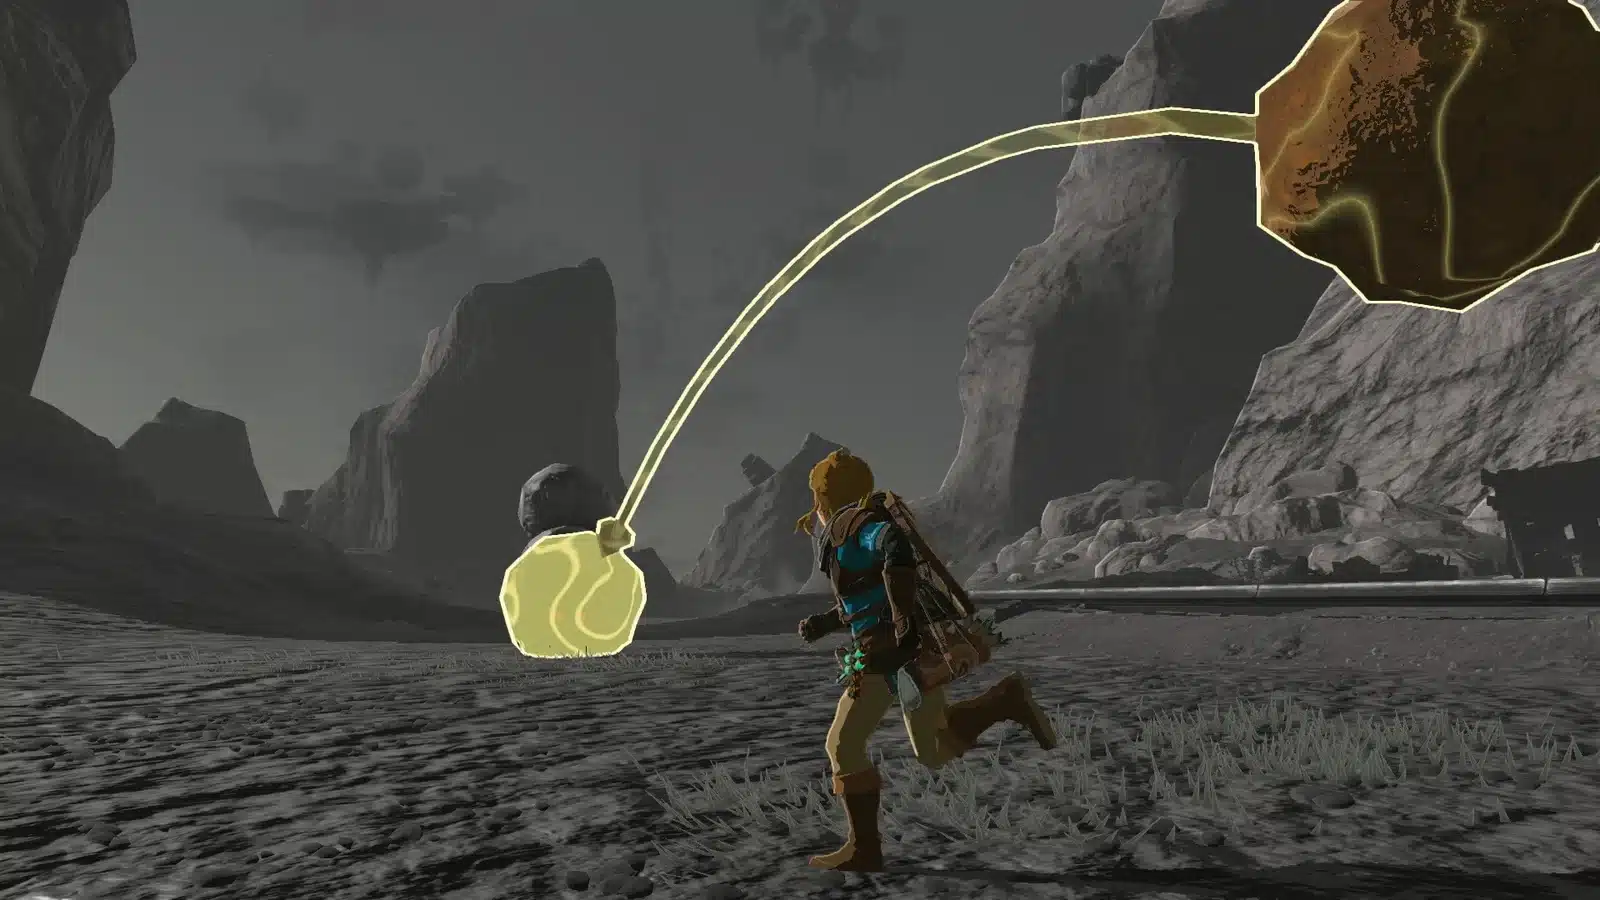
Climb the ladder on the large structure. At the top you will find the sealed exit, a bowl-shaped switch, and a raised tile. Step on the tile and the shrine fires the ball you need clear across the room to a structure on the far side.
Missable! Do not chase the ball yet. Both treasure chests are easiest to grab from here.
Both Kudanisar Shrine Chests
Completionists, you’ll want to know: this shrine has two chests, and neither one is on the main path.
Chest 1: The Hanging Chest (10 Arrows)
From the top of the ladder, look to the left. A chest hangs from a rope above a platform. Shoot the rope with an arrow. If the chest lands in the sand, the current will start carrying it away, so be ready with Recall to stop it, then use Ultrahand to set it down on solid ground and open it.
Chest 2: The Far Right Platform (Hasty Elixir)
Below the ladder you will find a ready-made sand sled with a fan. Activate it and steer toward the small platform in the far right corner of the room. One Soldier Construct I guards it.
- Park the sled: stop against the platform wall so it does not drift off.
- Clear the guard: shoot the Construct before you climb.
- Build a ramp: lean two planks against the wall to climb up and open the chest.
Bringing the Ball Home
- Ride to the ball: take a sled to the structure where the ball landed. Two Soldier Construct Is wait there.
- Climb in: scale the grates, drop inside and defeat the Constructs.
- Load up: attach the ball to a sled with Ultrahand, then step on the button to open the gate.
- Sail back: drive the sled back across the sand to the exit structure.
- Bridge the stairs: the stairs up are broken, so fuse planks together (three does it) and lay them as a ramp.
- Finish: carry the ball up and drop it into the bowl switch. The exit opens and the Light of Blessing waits beyond it.
Take Your Time: if the ball rolls off the sled into the sand, Recall rewinds it. Nothing here is on a timer, so there is no need to panic.
Rewards Checklist
Here’s your checklist:
- Chest 1: 10 Arrows (hanging chest, shoot the rope).
- Chest 2: Hasty Elixir (far right platform).
- Light of Blessing: from the altar at the end.
- Fast travel point: unlocked when you activate the shrine. Its Depths counterpart is the Rasinaduk Lightroot, the shrine’s name spelled backwards.
Four Lights of Blessing become a Heart Container or a Stamina Vessel at any Goddess Statue. The Hasty Elixir is a handy speed boost for crossing the rest of the desert, and you can learn to brew more with our cooking and elixir guide.
Lore Connection: the sleds you drive here are the same Zonai devices you will build with all over Hyrule. This shrine is really a gentle lesson in steering a fan sled, and the desert outside is full of sand you can cross the same way. If you like planning your route, the TOTK interactive map helps you line up the other desert shrines nearby.
Kudanisar Shrine FAQ
Where is Kudanisar Shrine in Tears of the Kingdom?
In the northern Gerudo Desert near the entrance to Karusa Valley, on top of a stone structure surrounded by flowing sand. Glide in from the Gerudo Highlands cliffs to the north.
How many chests are in Kudanisar Shrine?
Two. A hanging chest with 10 Arrows (shoot the rope) and a chest on the far right platform with a Hasty Elixir.
How do I get the ball back in Bridging the Sands?
Sled to the structure where it landed, attach it to a sled, press the button to open the gate, drive back and carry it up a plank ramp to the bowl switch.
How do I avoid the Constructs outside the shrine?
Glide from the northern cliffs and land on the upper levels of the stone structure. You can reach the entrance without touching the ground where the squad patrols.
Take Your Time: Kudanisar is one of those shrines that rewards slowing down. Watch how the planks drift, grab both chests before you chase the ball, and the sand stops feeling like an enemy. One more shrine ticked off, and a very pretty corner of the desert to come back to.