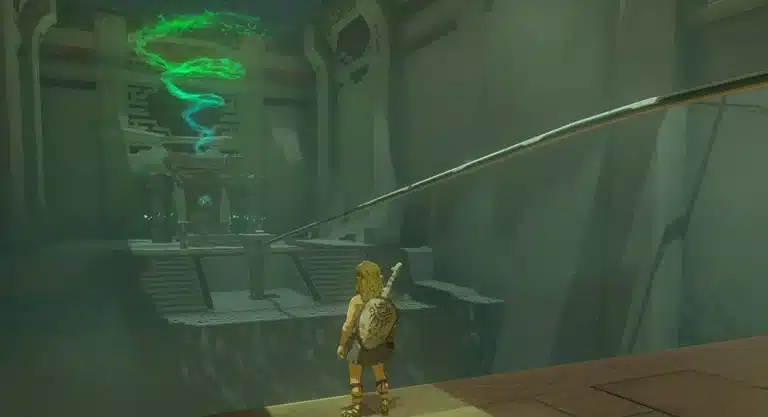
Kitawak Shrine is one of those quiet little puzzle rooms that teaches you more about Ultrahand than any tutorial. Its trial is called Upward and Forward, and the whole thing runs on a handful of stone slabs that you keep picking up, reusing and repositioning until the room carries you to the exit.
This guide covers where to find Kitawak Shrine in Tears of the Kingdom, the full solution room by room, and the one chest that is easy to walk past. Take it at your own pace. Nothing in here can kill you, and every mistake can be undone.
Where to Find Kitawak Shrine
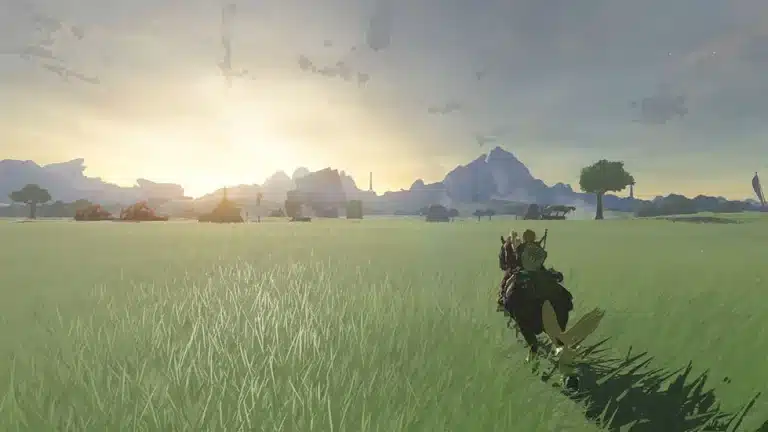
Kitawak Shrine sits out in the open on top of the East Gerudo Mesa, in the northeast part of the Gerudo region on the Surface. The nearest named spot is Stalry Plateau, and the closest fast travel option is the Gerudo Canyon Skyview Tower.
- From the Skyview Tower: launch from the Gerudo Canyon Skyview Tower and glide southeast, past Spectacle Rock and the Yarna Valley area, toward the mesa.
- The last stretch: you may come up a little short of the top. If so, land on the mesa wall and climb the rest of the way.
- Map tip: the shrine glows on the mesa top once you are close, and the TOTK interactive map helps if you want to plot the glide before you jump.
| Detail | Kitawak Shrine |
|---|---|
| Trial name | Upward and Forward |
| Region | Gerudo (Surface), East Gerudo Mesa |
| Coordinates | About -1529, -2928, 0321 |
| Nearest Skyview Tower | Gerudo Canyon Skyview Tower |
| Main ability | Ultrahand (plus a bow for the switch) |
| Chests | 1 (10 Arrows) |
| Reward | Light of Blessing |
Bring a bow with at least one arrow. The finale asks you to shoot a switch, and arriving with an empty quiver is the one way to get stuck here.
Kitawak Shrine Walkthrough: Upward and Forward Solution
The idea behind the whole shrine is simple: hinged slabs stand upright or tilted, and you add weight to them with Ultrahand to change their angle. Once that clicks, every room reads like a sentence you already know.
Step 1: Lower the First Bridge
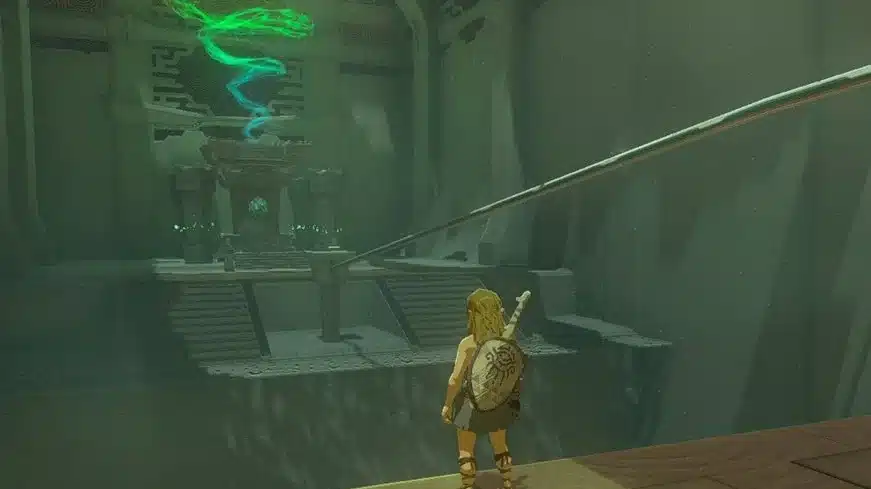
Head down the stairs into the big room with platforms at different heights. Ahead of you is a raised bridge with no obvious way to drop it. Grab the loose stone slab to the right of it with Ultrahand and attach it to the raised end of the bridge. The added weight tips the bridge down across the gap, and you can walk over.
Step 2: Ride the Spinning Gear to the Chest
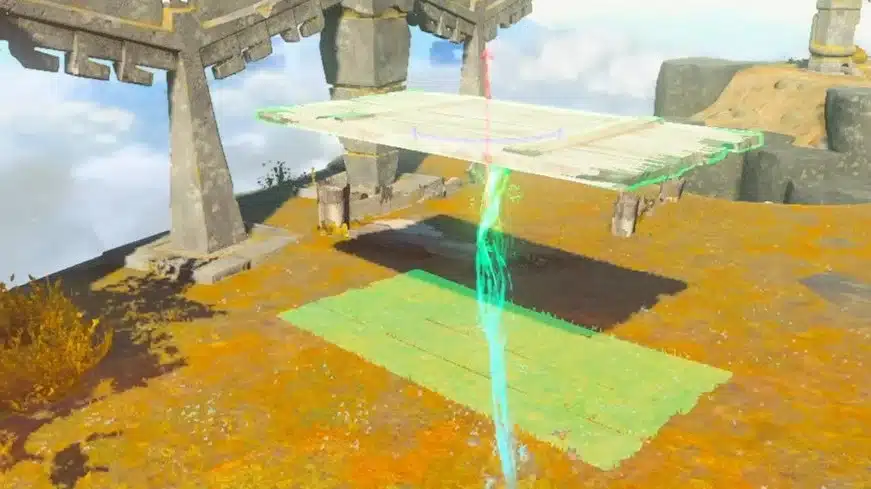
On the far side, look left. A gear is turning on its own, with a sloped path rising beyond it. Detach the slab from the bridge you just crossed and attach it to the outer rim of the gear so it becomes a rotating platform.
Wait for the slab to swing around to you, hop on, and jump off when it reaches the inclined path. Follow the ramps to the top for the chest. Watch one full rotation first and the timing becomes obvious.
Step 3: Build the Ramp to the Upper Ledge
Glide back down to the main area and collect your slab again. Carry it to the next hinged slab and attach it to the top end so the slab tilts into an inclined bridge you can climb.
There is a second slab near the fence. Use it to finish the ramp up to the next ledge. It does not need to be pretty. It only has to be high enough that you can jump or climb onto the upper platform.
Step 4: Shoot the Switch and Launch
The upper area holds the shrine’s namesake trick. A hinged slab rests over a piston, and a switch sits within bow range. Attach a slab to the end of that hinged slab to make a long arm, walk out to its far end, then turn and shoot the switch with an arrow.
The piston fires up under the slab and flings you into the air. Open your paraglider right away and glide to the far end of the shrine, where the altar with the Light of Blessing is waiting.
- Launch too weak? Stand closer to the very end of the arm. The farther from the hinge you are, the higher you go.
- Launched sideways? Grab the slab again and straighten it so the arm points toward the exit before you shoot.
Kitawak Shrine Rewards
Here’s your checklist. Kitawak is light on loot, but it counts toward your shrine total like any other.
| Reward | Where | Missable? |
|---|---|---|
| 10 Arrows | Chest at the top of the ramps past the spinning gear | No, but easy to skip |
| Light of Blessing | Altar at the end of the shrine | No |
| Fast travel point | Activates when you enter | No |
Easily missable, so heads up: the chest sits off the main route. If you go straight from the first bridge to the ramp, you will finish the shrine without it, so ride the gear first.
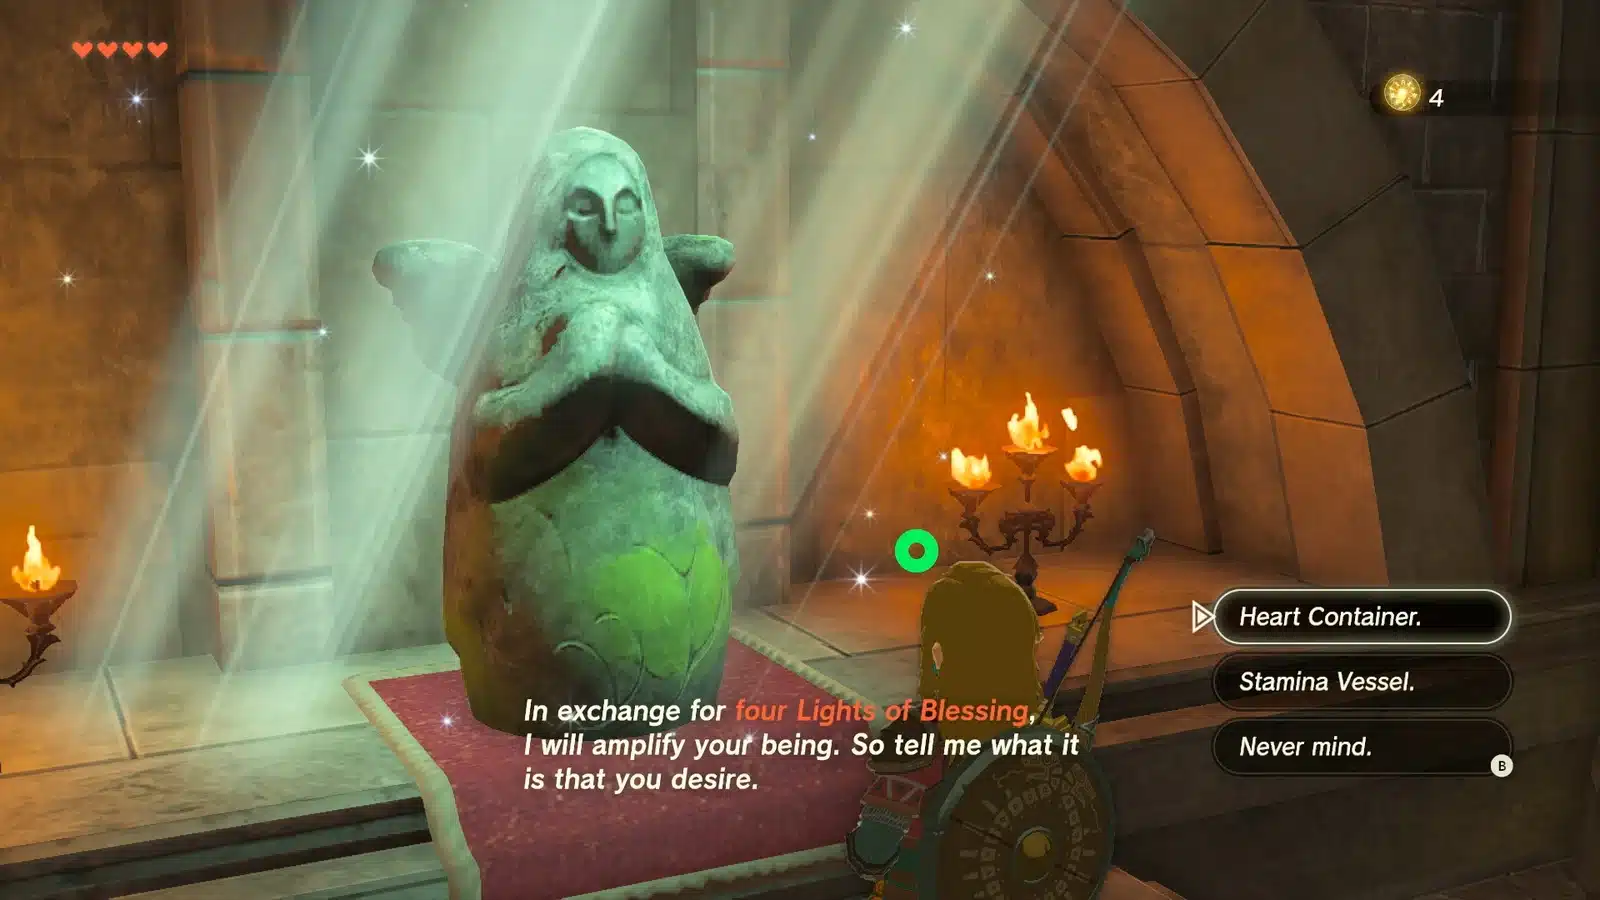
Four Lights of Blessing trade for a Heart Container or a Stamina Vessel at any Goddess Statue, so Kitawak is a quarter of your next upgrade. In the Depths, its counterpart is the Kawatik Lightroot, the shrine’s name spelled backwards.
Lore Connection: Shrines of Light are trials built around the powers of the arm Rauru gave Link, and Kitawak is a near perfect example of an Ultrahand lesson. The same “add weight, change the angle” thinking is exactly what you will use later when you start gluing slabs, fans and wheels into vehicles with Ultrahand and saving the good ones with Autobuild.
Tips for Upward and Forward
- Slabs travel with you: every room expects you to recycle the same slab. If you lose track of it, check the last contraption you used.
- Attach at the edge: weight at the far end of a hinged slab tips it much harder than weight near the hinge.
- Glide early: after the launch you have plenty of height, so open the paraglider straight away and steer calmly.
If you are still getting used to how the building powers fit together, our Tears of the Kingdom hub collects the ability guides in one place, and the Fuse guide is worth a read before you head back into the Gerudo wilds.
Kitawak Shrine FAQ
Where is Kitawak Shrine in Tears of the Kingdom?
On top of the East Gerudo Mesa in the northeast of the Gerudo region, near Stalry Plateau. Launch from the Gerudo Canyon Skyview Tower and glide southeast.
What is in the Kitawak Shrine chest?
10 Arrows. The chest is at the top of the ramps you reach by riding a slab attached to the spinning gear.
How do you launch yourself in Kitawak Shrine?
Extend the hinged slab with another slab, stand at its far end, then shoot the switch with an arrow. A piston fires under the slab and throws you into the air.
Do you need a bow for Kitawak Shrine?
Yes. The final launch is triggered by shooting a switch, so bring a bow and at least one arrow.
Take Your Time: Kitawak is a short shrine, but it is a nice one to savor. Once the bridge drops, the gear turns and that piston throws you skyward, you will look at every loose slab in Hyrule a little differently. It’s a marathon, not a sprint, and this is one more Light of Blessing in the bag.