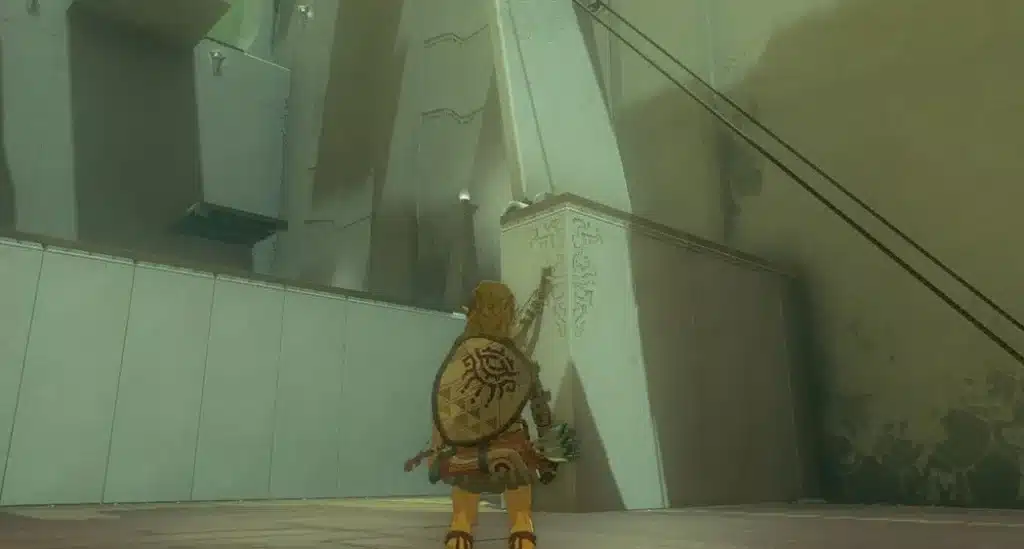
Ever stared at a rope and thought, “I should probably cut that”? Good, because Gasas Shrine is built around exactly that instinct. Its trial is called Well-Timed Cuts, and it teaches you to pair your bow with Ultrahand.
Here’s the full breakdown: where to find it, every step of the solution, two ways past the one tricky climb, and the chest you don’t want to miss.
Gasas Shrine Location
Gasas Shrine sits out in the open on the surface, at the far west end of Tanagar Canyon, southwest of Tabantha Bridge Stable. No side quest or cave stands in the way.
- Coordinates: (-4151, 0099, 0040).
- Trial: Well-Timed Cuts.
- Getting there: fast travel to Tabantha Bridge Stable, cross the bridge, leave the road and head southwest toward the canyon. Once you crest the ridge, the shrine’s glow is easy to spot.
- Abilities used: Ultrahand and Ascend (or Recall), plus your bow.
- Rewards: a Light of Blessing and a Large Zonai Charge from the optional chest.
(Pro tip: drop a pin on the coordinates in your map first. Our TOTK interactive map helps you plan the glide.)
Gasas Shrine Walkthrough
Room 1: Drop the Cube
- Grab arrows. Break the wooden barrels near the entrance for a few spare arrows.
- Cut the rope. A giant cube hangs above the first gap. Shoot the rope holding it and the cube drops into the gap, forming a bridge.
- Cross. Walk over the cube to the next area.
Room 2: Get Up the Ledge
The next ledge is too high to climb. You’ve got two ways up, so your call.
- Ascend method: lift the cube you just crossed with Ultrahand, carry it to the ramp and attach it to the second cube so part of it overhangs the high ledge. Drop down, stand under the overhang and use Ascend to pop up through it onto the top.
- Recall method: place the cube against the wall, lift it up beside the ledge and let it fall, then stand on it and use Recall. The cube rewinds upward and carries you with it.
Room 3: Build a Bridge and Catch the Chest
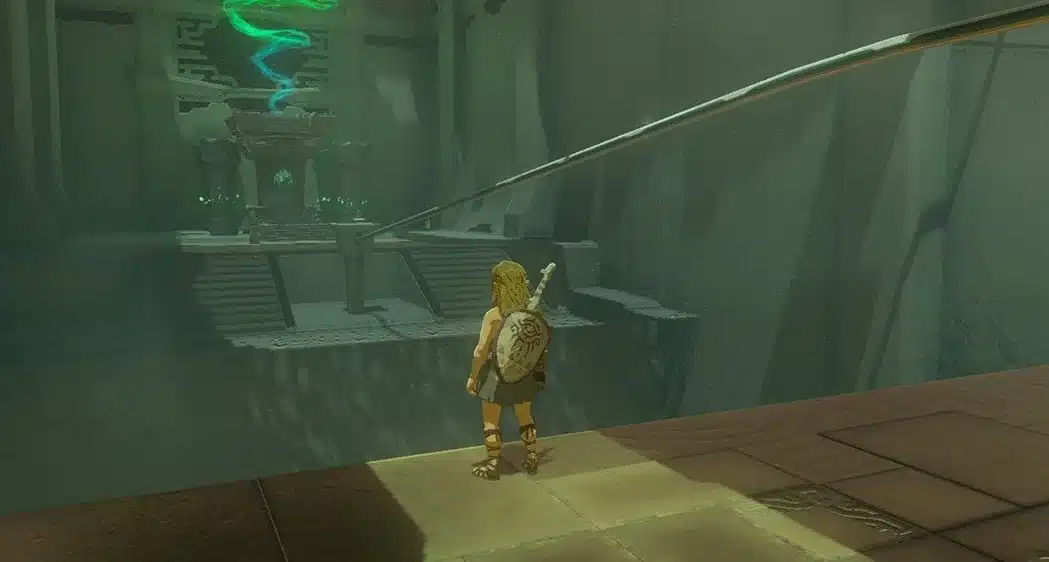
- Make a bridge. Two long slabs lie on the ground. Glue them together along their short sides with Ultrahand.
- Cross the gap. Push your slab bridge across and walk over.
- Line up under the chest. A chest hangs from a rope over the drop. Slide your bridge directly underneath it.
- Cut the rope. Shoot the rope and the chest lands on your bridge. Open it for a Large Zonai Charge.
Oh, and if the chest keeps landing badly, try swinging it first. Grab it with Ultrahand, let go so it swings, and shoot the rope as it comes toward you.
Room 4: The Key Chest and the Swinging Sphere
A second chest hangs along the wall of the bridge room, and it holds the Small Key you need to move on. It sits farther out over the drop, so a plain bridge tips into the abyss. You need a counterweight.
- Grab the large cube in the corner and attach it to one end of your slab bridge with Ultrahand.
- Slide the bridge under the hanging chest, shoot the rope and open the chest for the Small Key.
- Use the key on the green door to reach the final room.
- A big sphere hangs from a long rope here. Grab it with Ultrahand to set it swinging, then shoot the rope while it is over solid ground, not the abyss. (Jumping and opening your paraglider slows time while you aim, but you rarely need it.)
- With the sphere safely on the ground, the way opens. Head to the altar and claim your Light of Blessing.
Nailed it? That’s the whole shrine. The trick is that one bridge does three jobs, and the shrine keeps asking you to reuse it in a smarter way.
Rewards at a Glance
| Reward | Where | Use |
|---|---|---|
| Light of Blessing | Altar at the end | Trade four at a Goddess Statue for a Heart Container or Stamina Vessel |
| Large Zonai Charge | Hanging chest in Room 3 | Feed it to a Device Dispenser for Zonai devices |
| Arrows | Barrels at the start | Topping up for the rope cuts |
Pro Tips
- Collect your arrows: arrows that hit walls can usually be picked back up. You don’t need many, but don’t waste them.
- Slow down your shots: drawing your bow in midair slows time, which helps when the chest is swinging.
- Use Recall as an undo: if a cube or slab ends up somewhere awkward, rewind it instead of resetting the shrine.
- Always counterweight: any time a bridge overhangs a drop, glue something heavy to the back end.
Want a refresher on the tools? Check out our Ultrahand guide, Ascend guide and Recall guide.
Common Mistakes
- Cutting before lining up: if the bridge isn’t directly under the chest, the chest falls into the void and the Large Zonai Charge goes with it. Position first, shoot second.
- Gluing slabs side by side: join them end to end along the short sides, or the bridge is too short to reach.
- Forgetting the counterweight: the bridge for the Small Key chest tips into the abyss without the cube on one end.
- Running out of arrows: grab the barrel arrows at the start before you shoot anything.
Gasas Shrine FAQ
Where is Gasas Shrine in Tears of the Kingdom?
At the far west end of Tanagar Canyon, southwest of Tabantha Bridge Stable, at coordinates (-4151, 0099, 0040).
What is in the Gasas Shrine chest?
A Large Zonai Charge. Catch the hanging chest on your slab bridge by shooting its rope.
How do you get up the high ledge in Gasas Shrine?
Attach the cube so it overhangs the ledge and use Ascend from underneath, or ride the cube up with Recall.
How do you stop the bridge from tipping?
Glue the large cube from the corner to one end of the bridge as a counterweight before you slide it under the Small Key chest.
The Payoff: four rooms, one bridge, a free Large Zonai Charge and a Light of Blessing. You’re winning! For more shrine guides and the rest of our Tears of the Kingdom coverage, head to our TOTK hub.