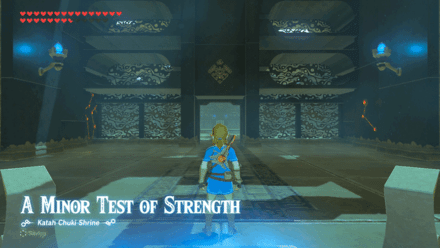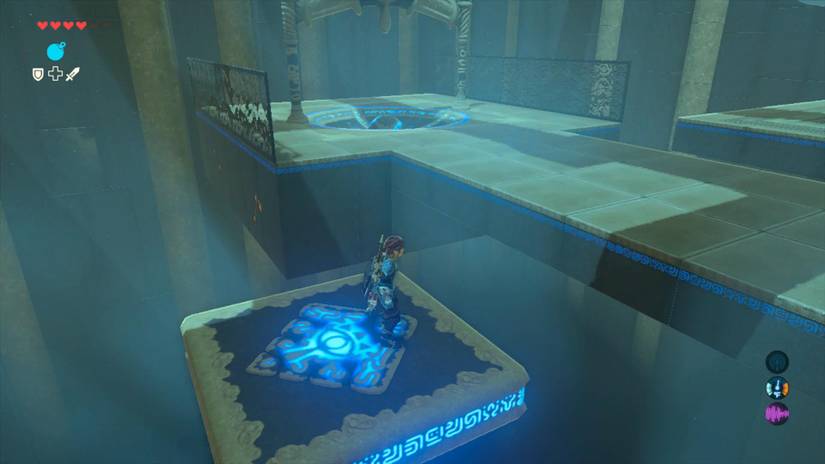
Motion controls and shrines don’t always get along. Katosa Aug Shrine hands you a giant hammer and asks you to swing it by tilting your controller, so one twitchy wrist can send your orb off the edge. Don’t worry, you’ve got this.
This guide walks you through both orb puzzles, the hidden chest, and the small tweaks that make the whole thing far less frustrating. Let’s roll that orb!
Katosa Aug Shrine Location and Overview
Katosa Aug is one of the shrines in the Akkala region, and it’s easy to find. You’ll practically trip over it if you’re heading toward the Akkala Ancient Tech Lab.
- Region: Akkala, in the Akkala Tower area.
- Starting Point: Right outside East Akkala Stable, where the roads from East Akkala Beach and Ordorac Quarry meet.
- Nearby Landmark: It sits on the path to the Akkala Ancient Tech Lab, so you can knock it out on your way.
- Trial Name: Katosa Aug Apparatus.
- Puzzle Type: Two motion-controlled orb puzzles using a giant hammer, a bit like miniature golf.
- What You Need: Steady hands and a little patience. No special gear required.
Oh, and expect to restart a few times. Everyone does (seriously, the puzzle practically expects it).
Katosa Aug Shrine Walkthrough: Step by Step
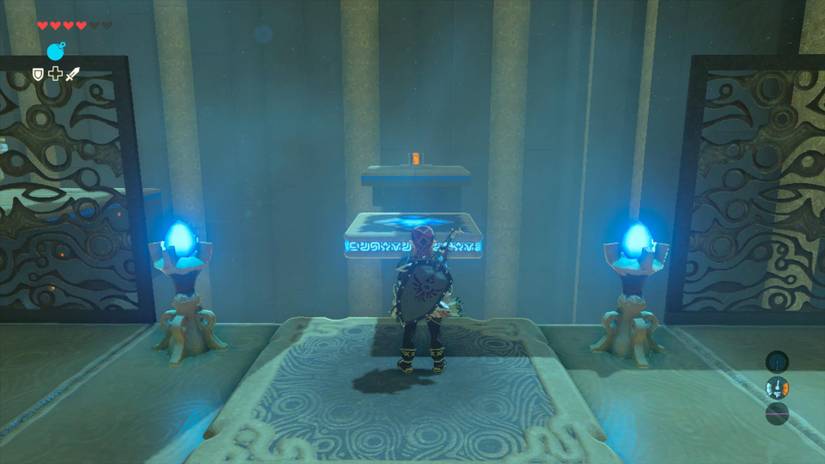
Both puzzles use the same basic setup. You step up to an apparatus, tilt your controller to swing the hammer, and try to get the orb into a receptacle (some guides call it a bowlswitch).
Puzzle One: The Warm-Up
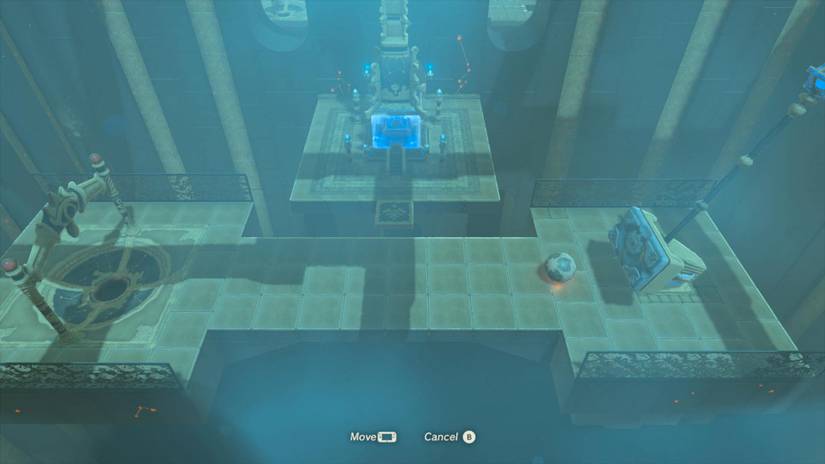
- Step 1: Walk into the shrine and turn right. You’ll spot an odd apparatus. Interact with it to take control of the hammer.
- Step 2: Switch to motion controls and give the orb a gentle tap. You’re aiming to roll it straight across to the receptacle on the platform ahead.
- Step 3: Watch the orb until it actually drops into the receptacle. If you back out too early, you’ll have to start over.
- Step 4: If the orb falls off the edge or stalls in the middle, exit the apparatus screen (hit B) and try again.
Once the orb drops in, a floating platform kicks into motion. It carries you from near the start to the monk and the exit. Nailed it? Don’t hop on and finish just yet.
Puzzle Two: The Tricky One
Skip the Spirit Orb for now. Head behind the monk and down the stairs to find a second room with another apparatus.
- Step 5: Activate the second control. This course is curved and banked, with ramps in the middle, so it needs more precision than the first.
- Step 6: Get your hammer in a neutral starting position before you begin. Hold your controller flat and level when you activate the apparatus.
- Step 7: Don’t try to blast the orb up and over the center ramps. Hit it at a medium speed and at an angle, aiming just right of the middle of the curve.
- Step 8: Let the orb roll gently around the bend and into the receptacle.
You’ll need a bit more power than on the first puzzle, but not a full-force swing. Think firm tap, not home run.
When the orb drops in, a second floating platform appears to your right. Ride it to the treasure chest, then work your way back to the monk.
Rewards
- Treasure Chest: A Great Frostblade, waiting at the end of the second floating platform.
- Spirit Orb: Talk to the monk to complete your trial and collect it.
Not a bad payout for a bit of wrist work, right? The Frostblade is a handy weapon to have in your pack as you push deeper into Akkala.
Pro Tips
- Go Small: Tiny movements work best. Most failed attempts come from swinging too hard, so start gentle and work up.
- Reset the Hammer: If the orb misses on the second puzzle, put the hammer back in its starting position before you exit. A badly placed hammer can knock the fresh orb back out of play.
- Go Solo With the Joy-Con: Detach the right Joy-Con and use it alone to control the hammer. It’s easier to keep flat and level, which gives you a cleaner start.
- Stay Put: Don’t exit the apparatus until you see the orb fall into the receptacle. Leaving early means starting from scratch.
- Embrace the Retries: Restarting is part of the fun. (Pro tip: take a breath between attempts and reset your wrist position.)
Why This Shrine Matters
Katosa Aug isn’t a combat test or a brain-bender. It’s a test of finesse, and finesse is exactly what motion-control puzzles demand. Once you learn the trick of soft taps and angled shots, the whole thing clicks.
It’s also a quick stop. You grab a Spirit Orb and a Great Frostblade, and you’re back on the road to the Akkala Ancient Tech Lab in no time. Your best bet is to treat it like a mini golf course and enjoy the ride.
So, how many tries did the second puzzle cost you? Drop your best (or worst) attempt count in the comments, and check out our other Akkala shrine guides to keep your orb count climbing. You’re winning!