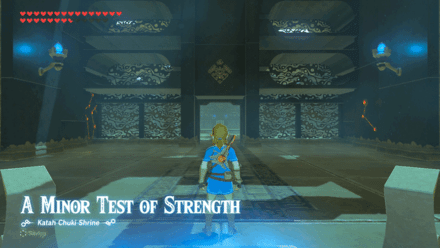
Think a shrine called Tempered Power is going to be a gentle stroll? Think again. Mirro Shaz hands you a sledgehammer, a floating orb, and a very strict idea of how golf should work.
Let me break this down for you. The main puzzle needs exactly five hits. The bonus chest needs 5.5 hits, which is a sentence I never expected to type with a straight face.
This guide covers where to find the shrine, how to solve every puzzle, and how to grab the Giant Ancient Core most players walk right past. (Pro tip: save before the bonus room. Your future self will thank you.)
Where to Find Mirro Shaz Shrine
Mirro Shaz sits in the Great Hyrule Forest region, inside the Woodland Tower area. It’s a Tempered Power trial, which tells you the shrine is built around hitting things hard and precisely. The name is not subtle.
- Region: Great Hyrule Forest, under the Woodland Tower map area in central Hyrule.
- Landmark: Find Woodland Stable, then look across the adjacent Pico Pond. The shrine is right there.
- Fast Travel Route: No stable discovered yet? Warp to Woodland Tower and look south.
- Glide Path: Paraglide south from the tower to reach the stable, then head left toward the shrine. With enough stamina, you can make it in one glide.
- Road Route: Follow the road northwest from the Lanayru Wetlands if you’d rather keep your feet on the ground.
- Trial Type: Tempered Power, which means Stasis plus a hammer plus patience.
(Pro tip: Pico Pond makes a handy landmark. If you see water and a stable, you’re close. Don’t overthink it.)
The Math: The shrine is easy to navigate but a bit hard to conquer. That’s one fast route in, two puzzles, and a pile of ways to whiff your swing. Spoiler: it’s not even close to as scary as it looks, once you know the numbers.
Mirro Shaz Shrine Walkthrough: Step by Step
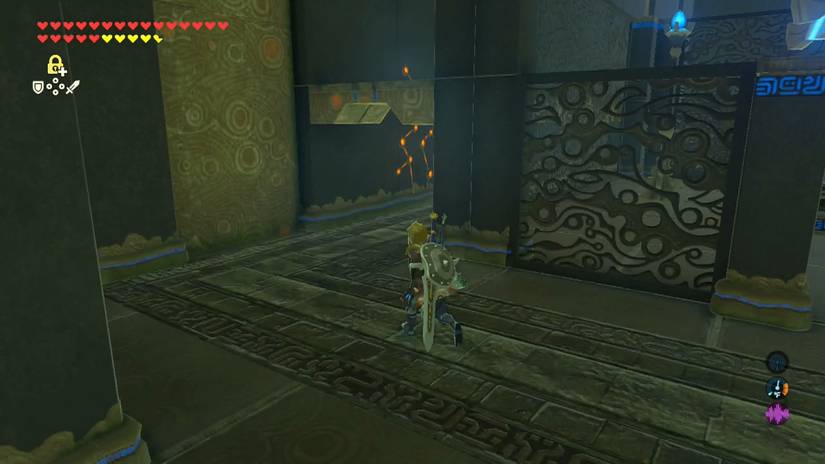
The core loop is the same all the way through. Line up, freeze with Stasis, hit the object the right number of times, and let physics do the rest. Here’s the route.
- Step 1: Head Down. Go forward and follow the balcony to your right until you reach an elevator. Ride it down to the shrine’s lower floor.
- Step 2: Grab the Hammer. Head forward again. You’ll find an orb on a pedestal, a crystal switch to your right, and a treasure chest to your left. Open the chest for the Iron Sledgehammer and equip it.
- Step 3: Line It Up. Stand so you’re facing the orb head-on, looking out across the water. A sloppy angle sends the orb into the drink.
- Step 4: Stasis the Orb. Freeze it in place with Stasis. Now every hit you land gets stored up as kinetic energy.
- Step 5: Hit It Five Times. Swing the sledgehammer exactly five times, no more and no less. When Stasis ends, the orb launches out over the water.
- Step 6: Check the Basin. A head-on hit drops the orb into the basin below the archway, which raises a bar and opens the path.
- Step 7: Reset If Needed. If you miss, hit the crystal switch on the right to summon a new orb and try again.
Hot Take: You’d be surprised how many people get this wrong by swinging too enthusiastically. Count your hits out loud if you have to. Nobody is judging you, except me, and I’m judging lovingly.
The Block Section

The next area swaps the orb for a block. The logic is identical, which is the shrine’s way of saying you’ve already learned the lesson.
- Step 8: Freeze the Block. Use Stasis on the block in front of you.
- Step 9: Five More Hits. Whack it five times with the sledgehammer. The block rotates and angles the ledge ahead.
- Step 10: Climb Up. Use the newly angled ledge to get to the top.
Now stop. Do not talk to the monk yet. If you want the last treasure chest, there’s one more detour.
The Hidden Chest: The 5.5 Hit Puzzle
Here’s where the shrine stops being polite. There’s a pathway to the left of the monk. Follow it, then drop down.
The shrine generously gives you another Iron Sledgehammer. Take it, because the last one may be hurting.
- Step 11: Save First. This one is tricky. If your sledgehammer breaks mid-attempt, a fresh save lets you restart clean.
- Step 12: Center Yourself. Line up with the ball so you’re perfectly centered, just like the first room.
- Step 13: Use Stasis. Freeze the ball before your first swing.
- Step 14: Five Hammer Hits. Hit it five times with the Iron Sledgehammer.
- Step 15: One Light Hit. Switch to a one-handed weapon like a sword or boomerang and hit it once more.
- Step 16: Watch It Fall. The ball needs that 5.5 total to land in the bowl ahead.
Yes, it needs 5.5 hits. Lining up perfectly and swapping weapons within the Stasis window can take a few tries. (Pro tip: open your weapon menu in your head before you freeze the ball. Know exactly which slot your sword is in.)
The Math: Five hammer hits plus one light hit equals the force this bowl wants. The number of hits needed also changes based on the weapon you have equipped. Plot twist: the weapon swap isn’t a gimmick, it’s the whole puzzle.
Once the ball lands, the room to your left opens up. Inside, a Giant Ancient Core is waiting. Grab it.
Rewards: What You Actually Get
- Giant Ancient Core: The reward for the 5.5 hit puzzle. It’s a prized ancient material, and it’s well worth the detour.
- Spirit Orb: Return to the ramp and run up to speak with the monk, Mirro Shaz. Completing the trial earns you the orb.
- Two Sledgehammers: The shrine hands them out, but they’re only meant for use inside. Treat them as shrine-only tools.
Lore Drop: Each shrine is a trial built around a specific skill, and Mirro Shaz’s is literally titled Tempered Power. That means control, not brute strength. FromSoft would bury that in an item description. Nintendo just names the trial and lets you figure it out.
The Giant Ancient Core ties back to the Sheikah’s ancient technology, the same tech powering the shrines themselves. It’s a nice thematic bow on a puzzle about precise force.
Pro Tips for a Clean Run
- Save Early: Quick-save before the bonus room. A broken sledgehammer mid-puzzle is a very avoidable headache.
- Center Your Camera: Face the object head-on and use the aiming reticle. Even a slight angle sends it off course.
- Count Your Swings: Five means five. Count out loud if it helps, and don’t spam the attack button.
- Practice the Swap: Before freezing the ball, know which slot your one-handed weapon lives in. Fumbling the menu burns your Stasis timer.
- Use a Throwaway Weapon: For the final light hit, pick something you don’t care about. A boomerang or spare sword is perfect.
- Reset Freely: Hit the switch for a new ball in the first room. Use it without guilt.
- Don’t Skip the Chest: Talk to the monk after the hidden room, not before. Otherwise you’ll walk back through the whole shrine for the core.
(Pro tip: if the ball keeps missing the bowl, the problem is almost always your position, not your hit count. Reset your stance and try again.)
Actually Do This: Complete the main puzzle, climb the ledge, then detour left of the monk before you collect your Spirit Orb. It costs you a few extra minutes, and you walk out with a Giant Ancient Core.
Why Mirro Shaz Shrine Matters
On the surface, this is a quick Stasis lesson with a sledgehammer. Underneath, it teaches you something Breath of the Wild uses everywhere: stored force, careful aim, and a little experimentation. Master it here and the shrine becomes a fun puzzle instead of a frustrating one.
The 5.5 hit bonus puzzle is a perfect example of the game rewarding players who look past the obvious path. Most people take the monk’s orb and leave. The ones who detour get the Giant Ancient Core.
So, how many tries did the 5.5 hit puzzle cost you? Did your sledgehammer survive, or did you have to reload? Tell me in the comments, and I promise not to roast you too hard.