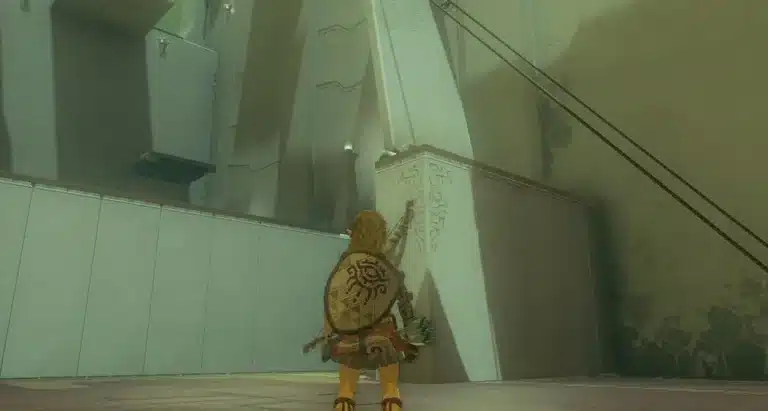
Some shrines make you think, and some just ask you to show up. Maoikes Shrine is the second kind. It is a Rauru’s Blessing shrine, so there is no puzzle inside at all: the whole challenge is finding the way into the cave that hides it.
The good news is that the landmark is impossible to miss once you know what to look for. Take it at your own pace, because there’s a small side story tucked into the same cave if you fancy a detour.
Where Is Maoikes Shrine?
Maoikes Shrine sits inside the Boné Pond East Cave in the Lanayru Wetlands, on the Surface. The cave is buried in a mountain topped by a giant white skull, which is the landmark you want to aim for.
| Detail | Info |
|---|---|
| Shrine type | Rauru’s Blessing (no puzzle) |
| Region | Lanayru Wetlands, Surface |
| Cave | Boné Pond East Cave |
| Nearest tower | Upland Zorana Skyview Tower |
| Landmark | Giant skull rock at the top of a mountain |
| Shrine coordinates | About 2275, 0146, 0079 |
| Chest | Diamond |
| Reward | Light of Blessing |
If you like to plan your routes ahead, the TOTK interactive map lets you pin the skull before you set off.
How to Reach Maoikes Shrine
The cave system has four entrances, so there is more than one way in. There’s no wrong way to approach this, but two routes stand out.
Route 1: Glide Into the Skull (Easiest)
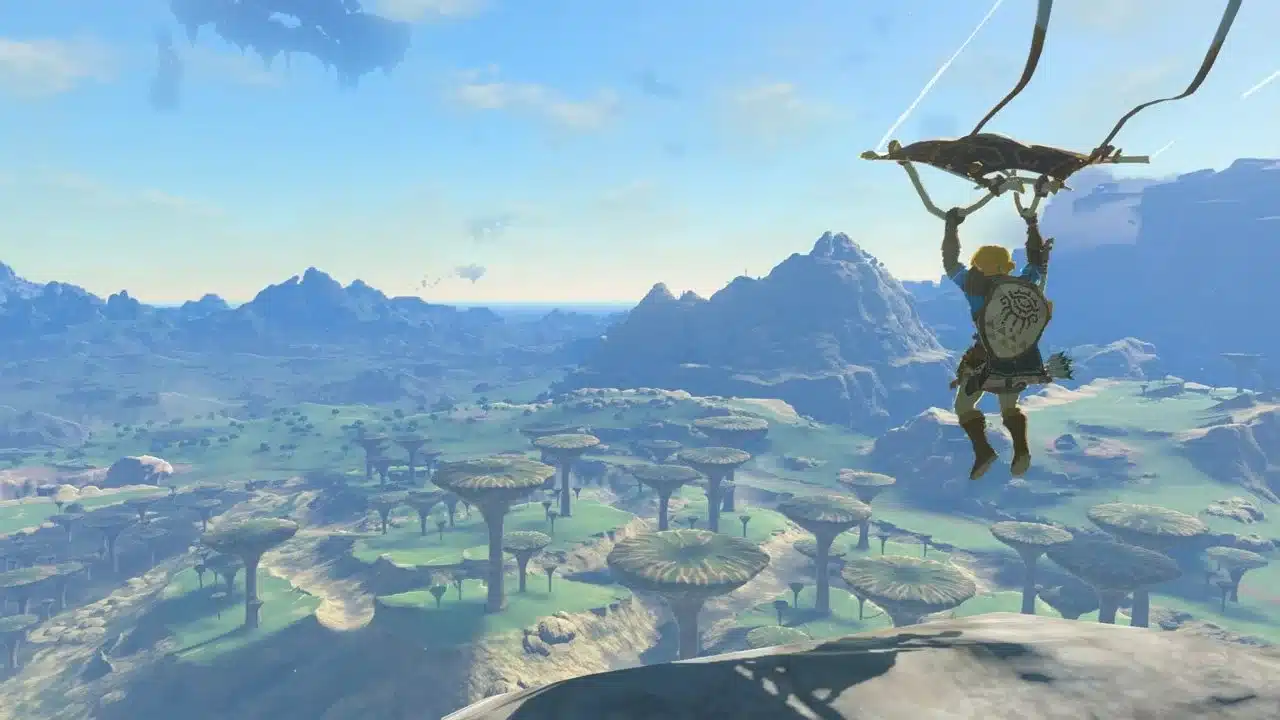
- Step 1: Unlock and launch from the Upland Zorana Skyview Tower.
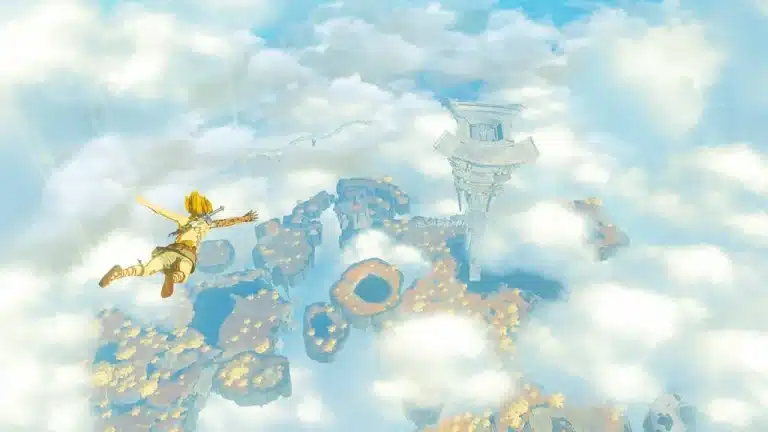
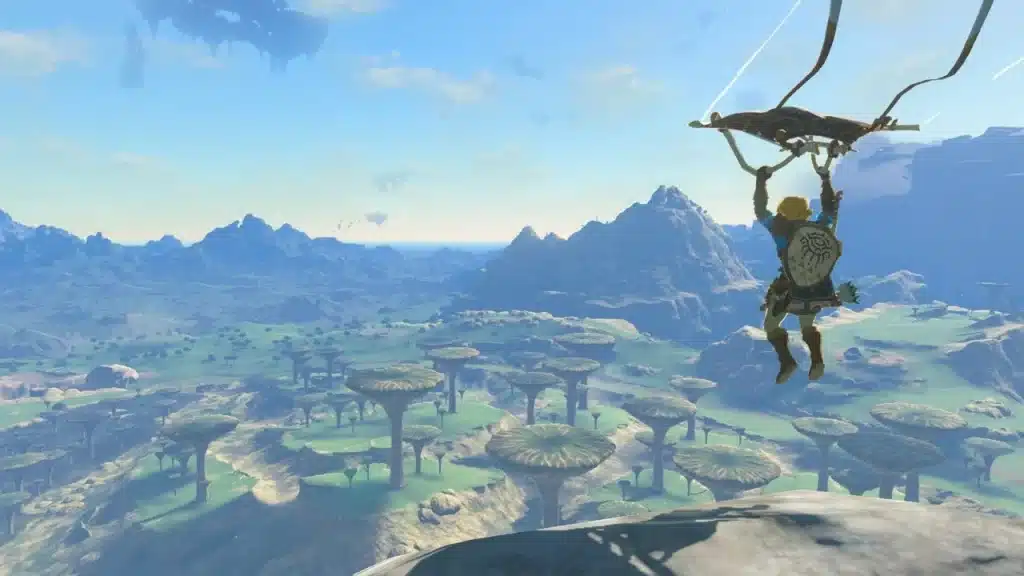
- Step 2: Glide southwest toward the Lanayru Wetlands until you spot the white skull sitting on a mountain peak.
- Step 3: Land on the skull and drop through the opening beneath it (through one of its eye holes works too).
- Step 4: Open your paraglider and float down the shaft. The shrine entrance is straight ahead when you land.
This route skips every enemy in the cave. Glide down slowly: it’s easy to overshoot the ledge in front of the shrine if you drop too fast.
Route 2: Through the West Entrance (Rescue Hino)
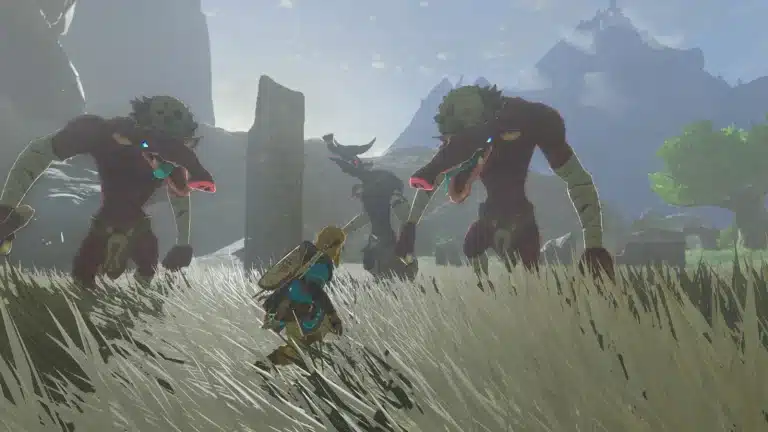
This one is longer, but you’d be surprised what’s hiding in the side content. Near the cave’s western entrance, a group of Blue Bokoblins led by a Blue Boss Bokoblin are holding a man named Hino in an iron cage.
- Step 1: Enter the Boné Pond East Cave from the west side of the mountain.
- Step 2: Clear the Blue Bokoblins and the Blue Boss Bokoblin. Fused weapons and a few bomb flowers make this quick.
- Step 3: Free Hino from the cage and talk to him.
- Step 4: Head upward from the Boss Bokoblin’s room. Maoikes Shrine is in the chamber directly above it, and Ascend is the quickest way up through the rock.
Lore Connection: Hino is obsessed with the Blood Moon. Once rescued, he can tell you about the current moon phase, which is handy if you are timing a monster respawn or a cooking session. He is optional, though, and the shrine does not require him.
Inside Maoikes Shrine
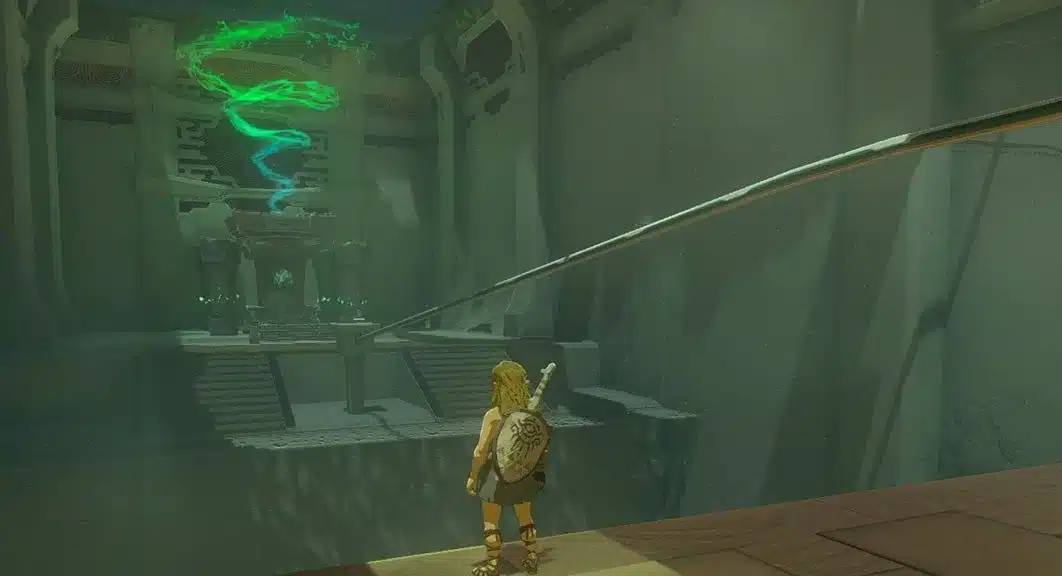
Rauru’s Blessing shrines are a reward for reaching them, so the inside is a short walk.
- Checklist: open the treasure chest on the way in to get a Diamond.
- Checklist: climb the stairs and interact with the altar in front of the Rauru and Sonia statue to receive your Light of Blessing.
- Checklist: the shrine is now a fast travel point, so you never have to climb that skull again. Down in the Depths, its counterpart is the Sekioam Lightroot, the shrine’s name spelled backwards.
The whole visit takes about a minute. One more thing before you move on: that Diamond is one of the most valuable gems in the game, so it is a solid rupee boost whenever you need one. Think twice before selling it early, since some gear recipes and requests ask for gemstones later on.
Maoikes Shrine Checklist
| Item | Where | Done? |
|---|---|---|
| Diamond | Treasure chest inside the shrine | ☐ |
| Light of Blessing | Altar at the top of the stairs | ☐ |
| Fast travel point | Activated with the shrine | ☐ |
| Hino rescued (optional) | Iron cage near the west entrance | ☐ |
Tips for the Trip
- Take Your Time: the gliding route is fine at any heart count, since you never touch the Bokoblins.
- Bring a light source: the cave is dark, and a few Brightbloom Seeds make the west route much easier to read.
- Pin the skull: with four entrances, a map pin on the skull helps you get your bearings if you come back for Hino later.
- Watch your weapons: the Boss Bokoblin hits hard, so bring something sturdier than a tree branch for Route 2.
Every Light of Blessing counts toward a Heart Container or Stamina Vessel: four of them trade for one upgrade at a Goddess Statue. Easy shrines like this one are how you build up that count without burning an evening. If you are hunting more collectibles across Hyrule, our Korok Seed locations guide pairs well with a shrine run, and the Tears of the Kingdom hub lists everything else we cover.
Maoikes Shrine FAQ
Where is Maoikes Shrine in Tears of the Kingdom?
Inside the Boné Pond East Cave in the Lanayru Wetlands. Look for the mountain with a giant skull on top, southwest of the Upland Zorana Skyview Tower.
Does Maoikes Shrine have a puzzle?
No. It is a Rauru’s Blessing shrine: reaching it is the challenge, and the Light of Blessing waits at the altar.
What is in the Maoikes Shrine chest?
A Diamond.
How do you get into the skull cave?
Glide from the Upland Zorana Skyview Tower, land on the skull and drop through the hole beneath it. The shrine is straight ahead at the bottom.
Do I need to rescue Hino for the shrine?
No. Hino is an optional NPC caged by Bokoblins near the west entrance. Rescuing him is a nice bonus, not a requirement.
Take Your Time: Maoikes is a breather between the harder trials, so enjoy the glide, grab the Diamond and, if you have a spare few minutes, let Hino out of his cage. It’s a marathon, not a sprint, and this one is a free step forward.