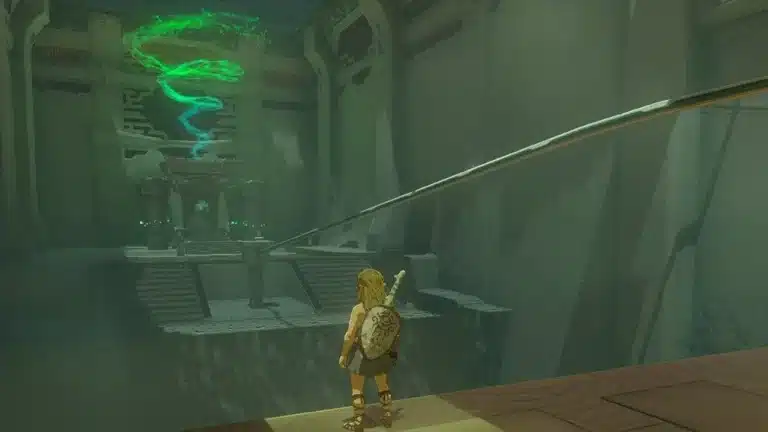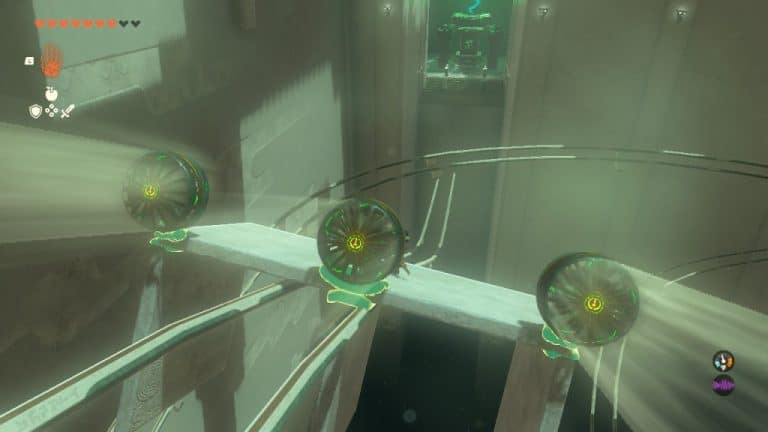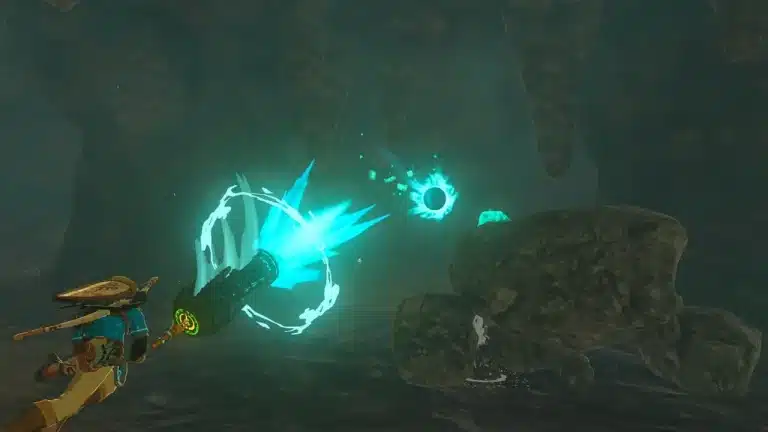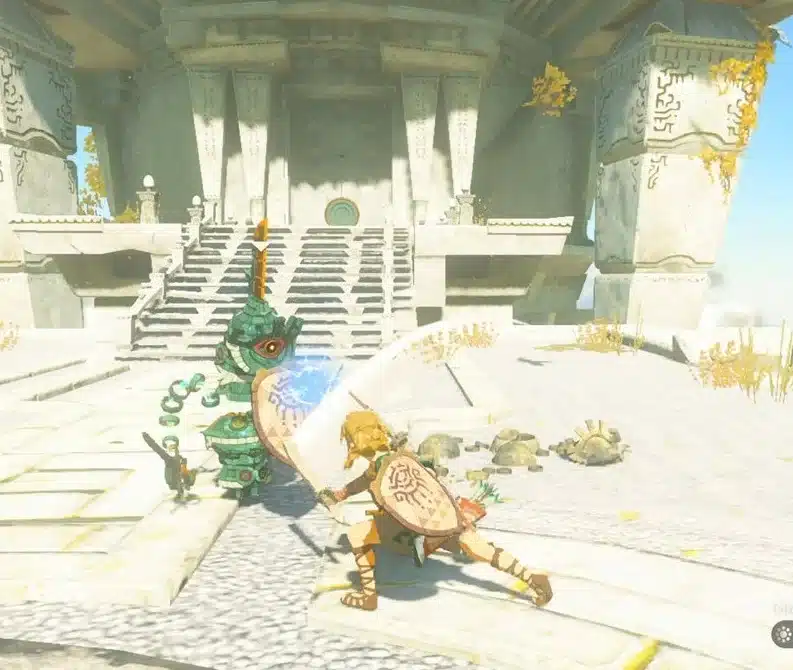
Miryotanog Shrine is one of the Proving Grounds shrines, and that means one thing the moment you walk in: your gear is gone. The trial is called Proving Grounds: Lure, and the name is the whole hint. You’re not meant to out swing these Constructs with a stick. You’re meant to walk them into the shrine’s own traps.
Take it at your own pace. Here’s how to find the shrine in the sandy western Gerudo Desert, every step inside, and what’s waiting in the chest.
Miryotanog Shrine Location
- Region: Gerudo Desert (Surface), in the western part of the desert.
- Landmarks: north of the Lightning Temple and west of Gerudo Town.
- Coordinates: about -4679, -3086, 0054. Its Depths counterpart is the Gonatoyrim Lightroot (the shrine’s name spelled backwards).
- Trial: Proving Grounds: Lure. All your equipment is removed on entry.
- Rewards: one chest (a Captain Construct blade) and the Light of Blessing.
Getting There Through the Sand Shroud
Until you finish the Lightning Temple, a sandstorm covers this part of the desert and scrambles your map. There’s no wrong way to approach this, but a few routes are much friendlier.
- Before the Lightning Temple: pin the coordinates and fly or glide in from high ground, holding your course. The wind will happily push you off track if you drift.
- After the Lightning Temple: the shroud is gone, and you can glide straight to the shrine from the northern tip of the temple’s roof. You’ll want more than one stamina wheel for it.
- On foot: monsters hang around outside the shrine. Sneak around them or clear them, your call.
(Pro tip: drop a map pin before you set off. In the sand, the pin is the only landmark that doesn’t move.)
What You Get to Work With
Proving Grounds shrines hand you a starter kit. Here’s your checklist:
| Item or Hazard | Where | How It Helps |
|---|---|---|
| Long Stick, Thick Stick, Old Wooden Bow, 5 arrows | Alcove on the left after the stairs | Your whole arsenal |
| Fire Fruit | Wooden crates on the right, just before the last laser | Fire arrows for barrels and dry crates |
| Rocks | Next to the explosive barrels in the second area | Fuse one to the Long Stick |
| Laser tripwires and flamethrowers | Throughout | Traps you can walk Constructs into |
| Spikes | Near the end | Fuse onto weapons for the last fights |
Miryotanog Shrine Walkthrough
Step 1: Collect Your Kit
Head down the stairs. A message tells you your equipment has been removed; it all comes back at the end. Grab the Long Stick, Thick Stick, Old Wooden Bow and the five arrows from the alcove on your left.
Step 2: The Laser Hall
Three laser tripwires cross the first area. Jump the first two and crouch under the third. Before the final laser, smash the wooden crates on the right for Fire Fruit.
Easily missable, so heads up: it’s tempting to hurry past those crates. Don’t. The Fire Fruit is your best tool later on.
Step 3: Arm Up
In the next area, steer clear of the flamethrower that a laser tripwire triggers. To the right of the trap are explosive barrels and some rocks. Fuse a rock to the Long Stick for a much sturdier hammer.
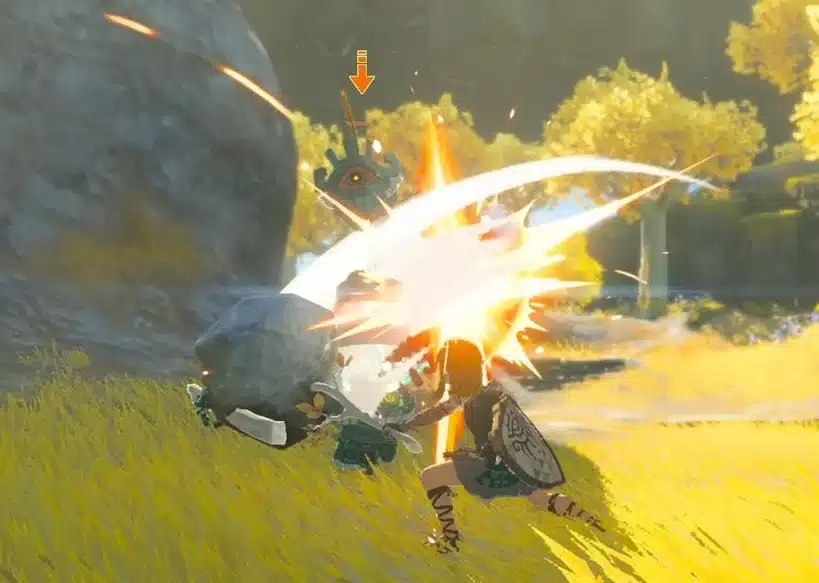
Step 4: The Construct Above the Flames
Ahead, a Construct stands on a breakable platform right above a flamethrower trap. Shoot it with your bow. If the hit doesn’t finish it, a Fire Fruit arrow usually does the job, or knock it down into the trap below.
Step 5: Lure the Rest
Up the ramp, more Constructs wait, including tougher Soldier Construct IIIs. This is where the trial earns its name. You have two good options:
- Fire option: lure them next to the dry, leafy crates and set those alight with a fire arrow.
- Trap option: lead them back toward the first area, where the traps do the damage for you.
Fighting head on works too, it just burns through your sticks faster.
Step 6: Finish With Spikes
Near the end you’ll find Spikes. Fuse them onto whatever weapons you have left to finish off the last Constructs. Once every enemy is down, your equipment returns.
Rewards
Here’s your checklist for a full clear:
| Reward | Where |
|---|---|
| Captain Construct blade | Chest before the altar |
| Light of Blessing | Altar at the end |
| Fire Fruit | Crates before the last laser |
| Travel point | Shrine entrance in the western desert |
A Captain Construct blade is a strong Zonai weapon, and the Light of Blessing counts toward your next Heart Container or Stamina Vessel. It’s a marathon, not a sprint, and every shrine adds up.
Pro Tips
- Make the traps work: position yourself so a Construct has to walk through a laser or flamethrower to reach you.
- Save the Fire Fruit: it’s most useful for the leafy crates and the Construct above the flames.
- Fuse everything: a rock on a stick and spikes on whatever’s left make a big difference in a no gear shrine.
- Count your arrows: five isn’t many. Save them for shots that matter.
Miryotanog Shrine FAQ
Where is Miryotanog Shrine?
In the western Gerudo Desert, north of the Lightning Temple and west of Gerudo Town, at about -4679, -3086, 0054.
Why can’t I see Miryotanog Shrine on my map?
The sand shroud over the western desert hides map details until you complete the Lightning Temple. Navigate by map pin until then.
What is in the Miryotanog Shrine chest?
A Captain Construct blade. It sits in the chest just before the altar.
Do I get my gear back after Miryotanog Shrine?
Yes. Your equipment returns as soon as you defeat every Construct in the shrine.
One more thing before you move on: Proving Grounds shrines teach a lesson that carries everywhere else in Hyrule, which is that the world is full of tools. If you enjoyed improvising here, our Recall guide and Ascend guide cover two more abilities that turn the environment into a weapon. Take it at your own pace.