Think a shrine full of logs is a relaxing stroll through the woods? Think again. Riogok Shrine looks like a lumberyard and plays like a physics exam. The trial is called Force Transfer, and every step is about passing motion from one object into another with a humble wooden log.
Let me break this down for you: where the shrine is, how to solve both rooms, how to pull down the chest with the Mighty Construct Bow, and how to ride the gears up to the exit without getting stuck.
Riogok Shrine Location
Riogok is a surface shrine in the Hyrule Field area, on the high ground on the western side of Hopper Pond.
- Trial: Force Transfer.
- Coordinates: roughly -1440, -1616, 0089. Guides differ by a few digits, so don’t panic if your pin looks a hair off.
- Nearest Skyview Tower: Hyrule Field Skyview Tower.
- Chest: one, holding a Mighty Construct Bow. Depths counterpart: the Kogoir Lightroot.
Getting There
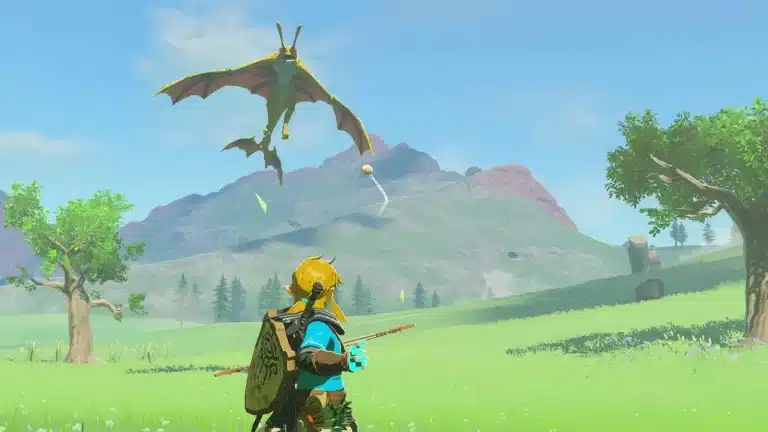
Launch from Hyrule Field Skyview Tower and glide south. The shrine sits up on the ridge west of Hopper Pond, so keep your altitude rather than landing in the low ground and climbing. If you come up short, the slope is climbable, just slower.
Actually Do This: glide in high and land on the ridge near the shrine. Climbing up from Hopper Pond works, but it costs stamina and time for no reward.
Riogok Shrine Walkthrough
A quick translation before we start: different guides call the key object a log, a pole or a stick. Same thing. You’ll use it for the entire shrine.
Room 1: Connect the Cogs
- Spot the gap: two cogs sit in front of the locked gate, with a gap between them that stops the mechanism from working.
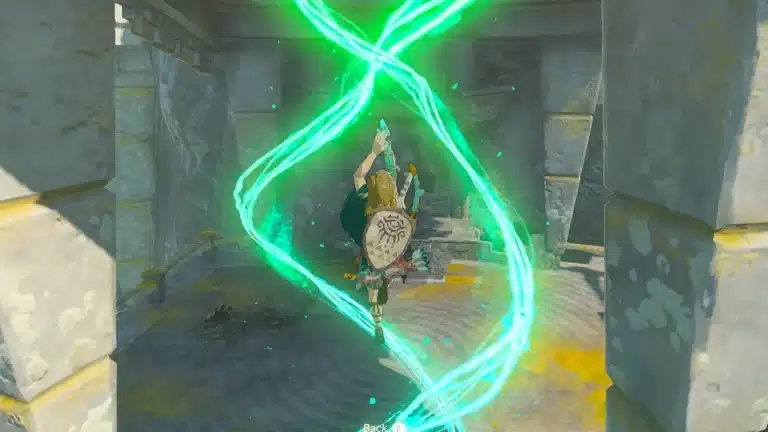
- Bridge it: grab the log with Ultrahand and attach it between the two cogs so it connects them.
- Hit the switch: strike the switch next to the cogs. The powered cog turns, the log passes that force to the second cog, and the gate opens.
Here’s the thing most guides won’t tell you: leave that first log where it is for now. You’ll come back for it later, and pulling it at the wrong moment just makes the exit harder.
Room 2: The Lever and the Second Log
- Find the lever: on the right side of the room is a short, broken lever.
- Extend it: attach a log to the lever and swing it with Ultrahand. The gate beside it opens.
- Collect the reward log: behind that gate is another log. You now have more than one to work with.
The Chest
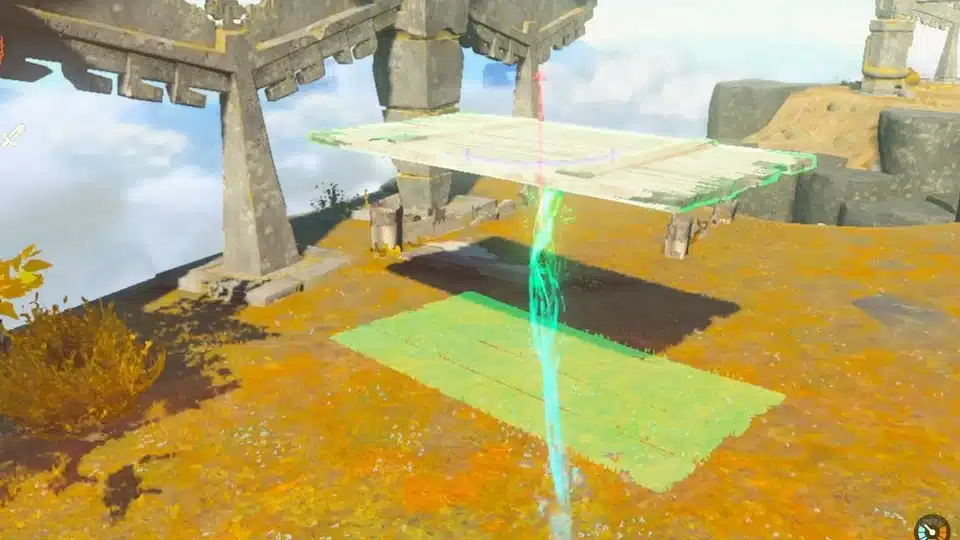
The treasure chest sits high on a ledge in the back right of the second room. Raise a log up to it with Ultrahand, attach it to the chest, and pull. The chest comes tumbling down. Open it for a Mighty Construct Bow.
Plot twist: the chest is not the hard part. Getting to the exit is.
Room 2: Riding the Gears to the Exit
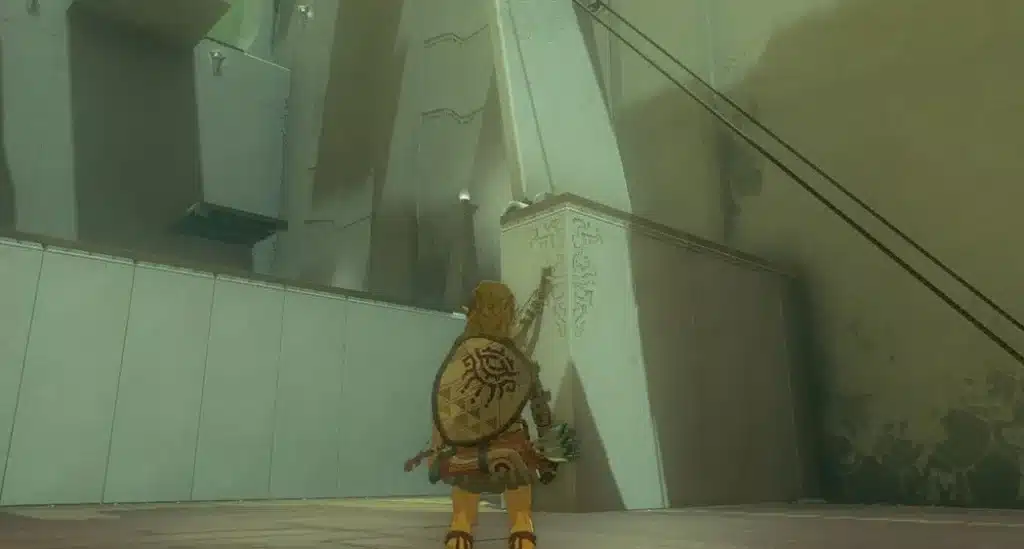
The exit platform sits high above you, next to a big rotating gear. The idea is the same as Room 1: let the moving gear transfer its force into your logs so they lift a platform for you.
- Gather your logs: bring the logs over to the long platform by the gear. If you need the first log back, detach it from the cogs in Room 1 and carry it over.
- Attach a log as an arm: fix a log horizontally to the board so the turning gear’s teeth catch it on each rotation.
- Ride the lift: stand on the board. Each time a gear tooth catches the arm, the board rises. Use Ascend to move up when you reach the platform above.
- Finish: head through to the altar.
If your arm doesn’t catch, rotate it until it sits square across the path of the gear teeth. Small adjustments matter more than big ones here.
Lore nerds, this one’s for you: the shrine never hides its lesson. The title says Force Transfer, and every solution is a log turning one moving thing into another. Read the name and half the work is done.
Rewards
| Reward | Where | Why It Matters |
|---|---|---|
| Mighty Construct Bow | Chest on the high ledge in room 2 | A solid early bow with good damage |
| Light of Blessing | Altar at the end | Four make a Heart Container or Stamina Vessel |
| Fast travel point | On completion | A warp between Hyrule Field and Hopper Pond |
The math doesn’t lie: a quarter of a permanent upgrade plus a free bow for a few minutes of log juggling is a solid trade.
Pro Tips for Force Transfer
- Alignment first: logs want to sit square across cogs and gear teeth. Rotate before you attach.
- Don’t throw logs away: you need more than one for the exit, so keep track of where they are.
- Pull the chest early: grab it as soon as you have a spare log, so you’re not hauling logs back later.
- Use Recall when stuck: if a log or platform ends up in the wrong place, Recall can rewind it.
- Fast travel is a safety net: if you lock yourself out, warp away and walk back in. The shrine resets. Only your pride takes damage.
Hot take: shrines that make you do physics homework are better than ones that hand you a chest for walking in a straight line. If you’re weighing up whether TOTK’s puzzle style is for you, our piece on BOTW vs TOTK: which to play first lays out the differences, and the Tears of the Kingdom hub has more.
Riogok Shrine FAQ
Where is Riogok Shrine in Tears of the Kingdom?
On the surface in the Hyrule Field area, on the ridge west of Hopper Pond, at roughly -1440, -1616, 0089. Glide south from Hyrule Field Skyview Tower.
What is in the Riogok Shrine chest?
A Mighty Construct Bow. The chest sits on a high ledge in the second room; attach a log to it with Ultrahand and pull it down.
How do you open the first gate in Riogok Shrine?
Attach a log between the two cogs in front of the gate, then hit the switch. The turning cog drives the second cog through the log and the gate opens.
How do you reach the exit in Riogok Shrine?
Attach a log to the board next to the big rotating gear so the gear teeth catch it and lift the board, then use Ascend to get onto the upper platform.
The Verdict: Riogok is a smart little Ultrahand lesson with a nice bow at the end. Connect the cogs, extend the lever, yank the chest and let the gear do the climbing. Playing on the new hardware? Our TOTK Switch 2 Edition review covers what changed.