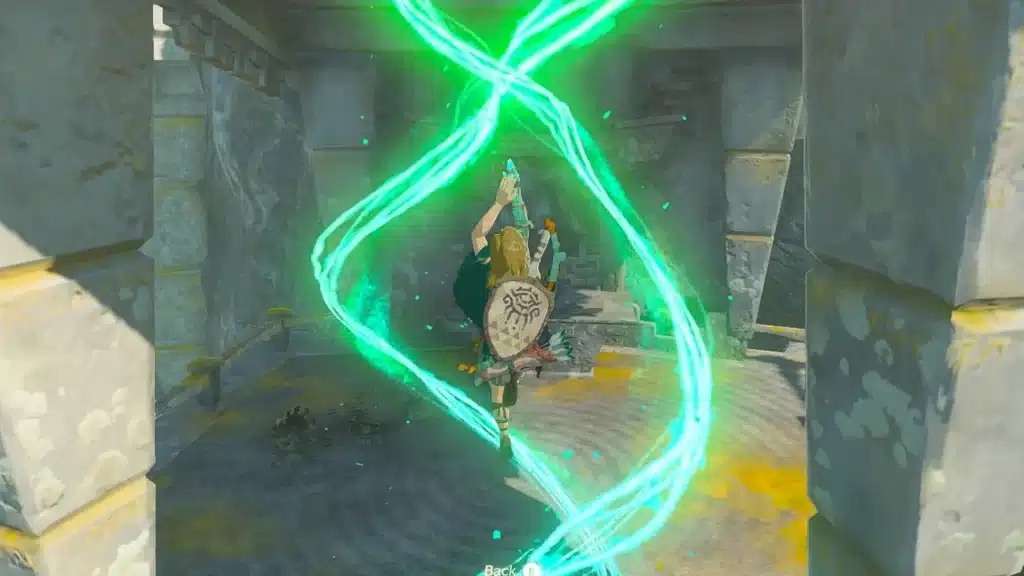
Jikais Shrine, subtitled “Jailbreak,” is a vertical climb that ends with Link locked in a cage next to the altar. Your job is to break out. It is one of the best Ascend puzzles in Tears of the Kingdom, and the only real danger is the freezing walk to the door.
Here’s how to reach it on Mount Lanayru, how to handle the cold, and the full solution, chest included.
Jikais Shrine Location
Jikais Shrine sits on the Surface, on the eastern side of Mount Lanayru in the Lanayru region. The quickest route is from the Mount Lanayru Skyview Tower: launch, then glide southeast and drop down when you spot the shrine glowing in the snow.
- Region: Lanayru, Mount Lanayru (Surface).
- Coordinates: roughly 4268, -1671, 0182.
- Nearest tower: Mount Lanayru Skyview Tower, to the northwest.
- Abilities used: Ascend and Ultrahand.
- Chest: one, holding a Magic Staff.
Beat the Cold First
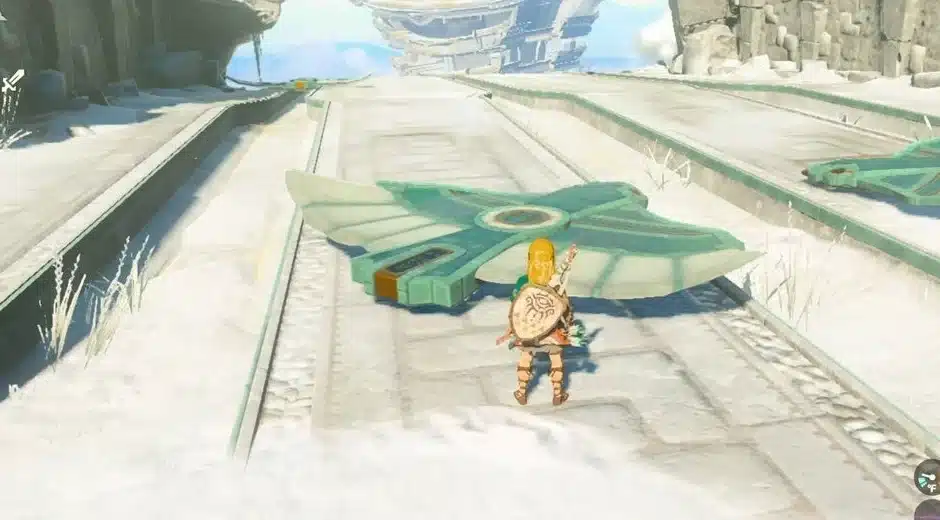
Mount Lanayru is properly freezing, and guides list two levels of cold resistance as the safe mark for this area. Without it your hearts drain fast, so sort it out before you leave the tower.
- Cold resistance gear: The Snowquill set from Rito Village is the easy answer.
- Spicy meals: Cook Spicy Peppers (or Warm Safflina) into a dish for timed cold resistance.
- Elixirs: A Spicy Elixir does the same job. Our guide to cooking meals and crafting elixirs shows the recipes.
- Glide in: The less time you spend walking in the snow, the less you need. Gliding from the Skyview Tower cuts the trip to a minute or so.
(Pro tip: Mix two cold resistance pieces with a spicy meal if your armor isn’t upgraded yet. Stacking works.)
Jikais Shrine Solution at a Glance
| Area | Goal | Key move |
|---|---|---|
| Room 1 | Reach the wall indents | Slide the cubes on rails under the indents and Ascend through them |
| Room 2 | Grab the chest | Look up and right after the gap between the tall walls, then Ascend to the platform |
| Dead end walkway | Reach the pillar above | Lay the flat slab so it sticks out under the pillar, stand on it and Ascend |
| The cage | Break out to the altar | Rest the second slab across a corner of the cage and Ascend up through it |
Step by Step Walkthrough
Room 1: The Blocks on Rails
Kick off by looking around. The room has square blocks that slide along rails on the right, a large block on the left, and indents high up in the wall.
- Step 1: Use Ultrahand on the large block on the left and slide it to the right.
- Step 2: On the right, move the square blocks so the upper one lines up with the first wall indent.
- Step 3: Stand under that cube and Ascend. You pop out on top, level with the indent. Glide over to the large block.
- Step 4: From the large block, pull the square block on the left side along its rail until it sits under the next indent.
- Step 5: Ascend through that block, then Ascend again through the ceiling of the indent to reach the next floor.
(Pro tip: If the Ascend prompt does not show, the block is not directly overhead. Nudge it a little with Ultrahand and look up again.)
Room 2: The Magic Staff Chest
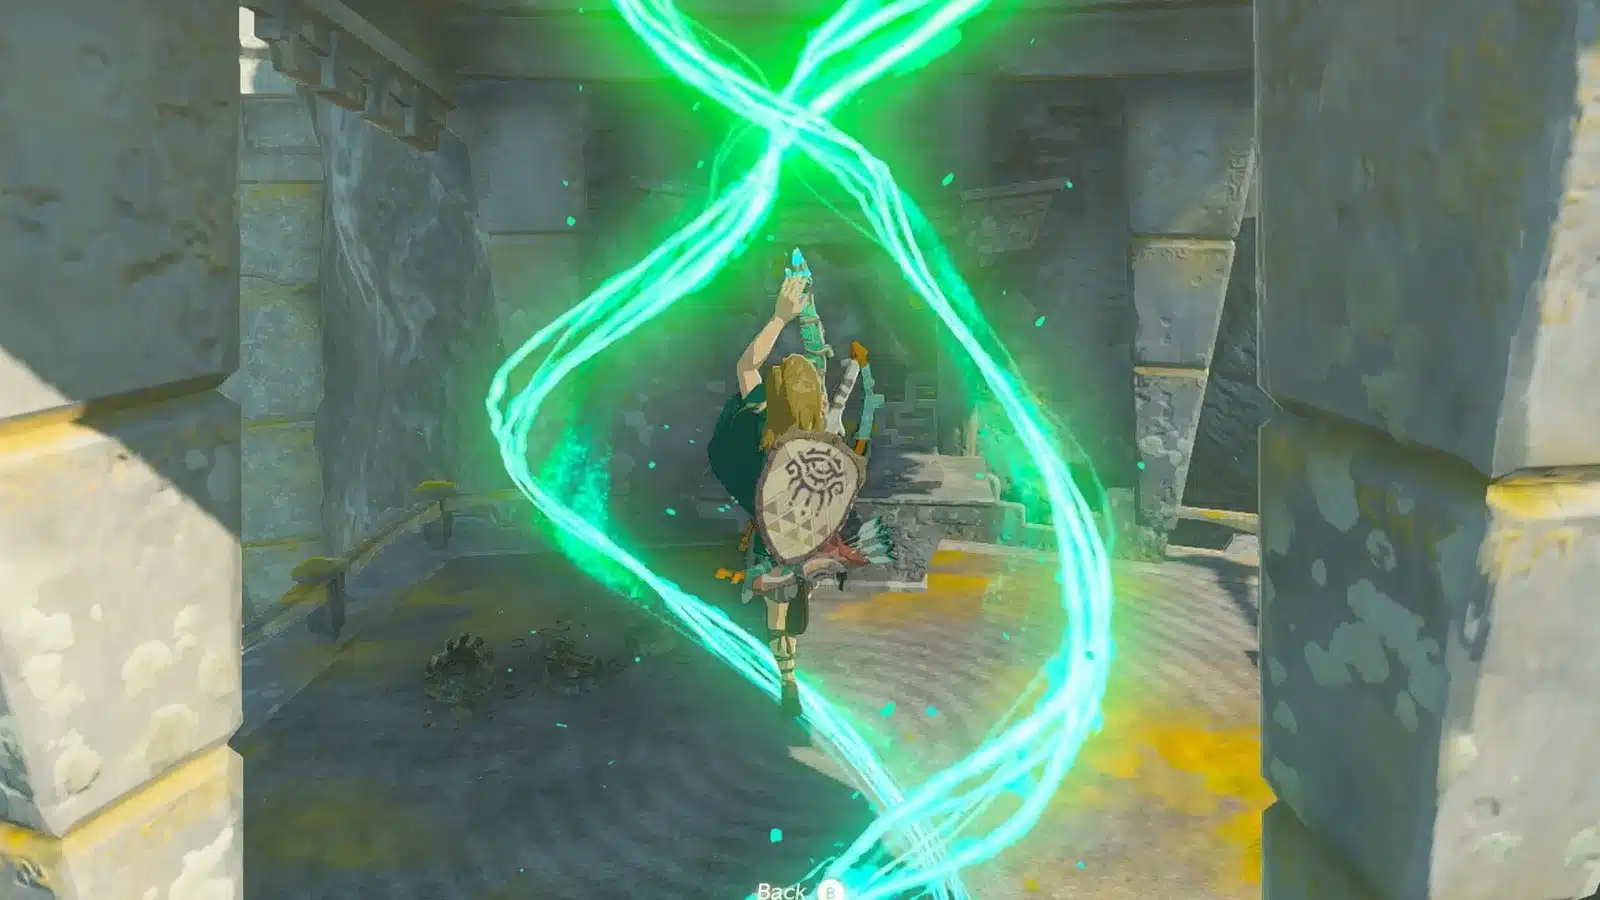
- Step 6: Walk through the gap between the tall walls, then look up and to the right. A chest sits on a platform above you.
- Step 7: Stand under the platform and Ascend. Open the chest for a Magic Staff, then drop back down.
The Dead End: Building Your Own Step
Follow the walkway to what looks like a dead end. A tall pillar hangs above empty space, and a flat stone slab leans against the wall.
- Step 8: Grab the slab with Ultrahand and lay it flat, mostly on the walkway but sticking out to the right, so the overhanging end sits under the pillar.
- Step 9: Walk out to the end of the slab and Ascend through the pillar. You come up inside the final room, locked in a cage.
The Jailbreak
The altar is right there, behind bars. Here’s how to get out:
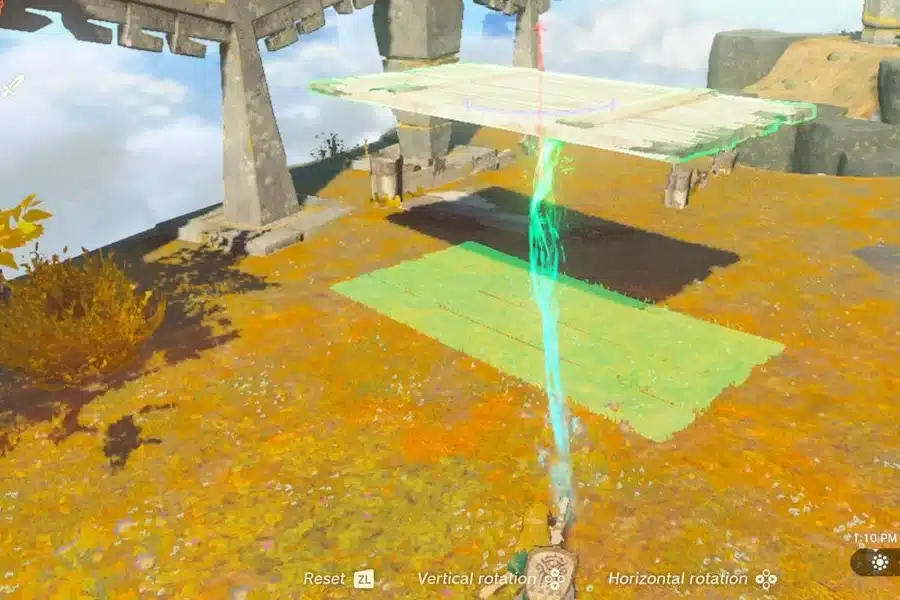
- Step 10: Look opposite the altar. Another flat slab leans against the wall outside the cage.
- Step 11: Grab it with Ultrahand and lay it across one corner of the cage, resting on top of the bars.
- Step 12: Stand in that corner, under the slab, and Ascend. You come up on top of it, outside the cage.
- Step 13: Drop down to the altar and claim your Light of Blessing.
Nailed it? That’s the whole trick: the shrine gives you the tools outside the cage, and Ascend turns any flat surface into an exit.
Rewards
- Light of Blessing: Collect four and trade them at a Goddess Statue for a Heart Container or Stamina Vessel.
- Magic Staff: A staff that lets you attack from a distance, handy for softening enemies up before they reach you.
- Fast travel point: Finishing the shrine adds it as a warp point on Mount Lanayru, so you never have to make the cold trip again. Its Depths counterpart is the Siakij Lightroot, the shrine’s name spelled backwards.
Jikais Shrine FAQ
Where is Jikais Shrine in Tears of the Kingdom?
On the eastern side of Mount Lanayru in the Lanayru region, at roughly 4268, -1671, 0182. Glide southeast from the Mount Lanayru Skyview Tower to reach it.
How do you get out of the cage in Jikais Shrine?
Use Ultrahand to grab the slab outside the cage, lay it across one corner on top of the bars, then stand under it and Ascend.
What is in the Jikais Shrine chest?
A Magic Staff. The chest sits on a platform up and to the right after the gap between the tall walls in the second room.
Do you need cold resistance for Jikais Shrine?
Yes for the approach. Mount Lanayru is extremely cold, so wear cold resistance gear or eat a spicy meal. The inside of the shrine is not cold.
Your Next Move: With Jikais done, Mount Lanayru has several more shrines close by, so warm up, check out the nearest one on your map and keep the streak going. Running low on spicy food? Our best recipes guide covers the dishes that keep you warm up here.