Ever feel like Tears of the Kingdom is secretly a game of 3D Tetris? Mayausiy Shrine leans all the way in. Its trial, Building Blocks, has you rotating and gluing big bronze block pieces with Ultrahand until they match a finished model.
Here’s how to reach the shrine inside the Forgotten Temple, solve both block puzzles, beat the Construct in between, and grab the chest that most players walk right past. (If you’re new to this, Ultrahand is the ability that lets you pick up, rotate and attach objects.)
Mayausiy Shrine Location
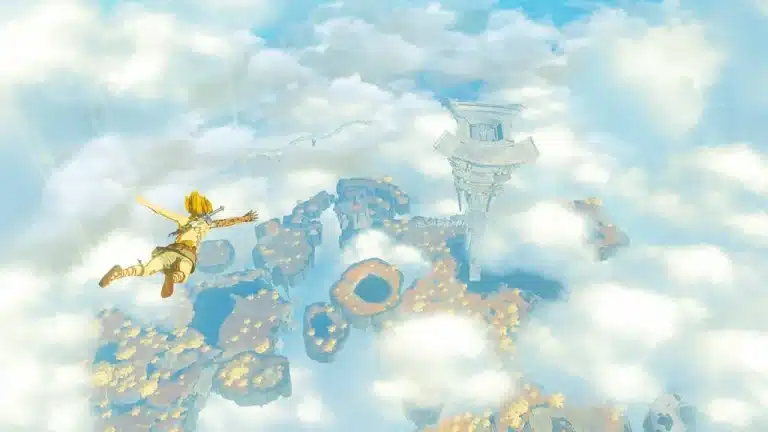
Mayausiy Shrine sits at the back of the Forgotten Temple, the huge ruin at the northern end of Tanagar Canyon on the west side of Hyrule. It is a surface shrine, perched above the temple floor.
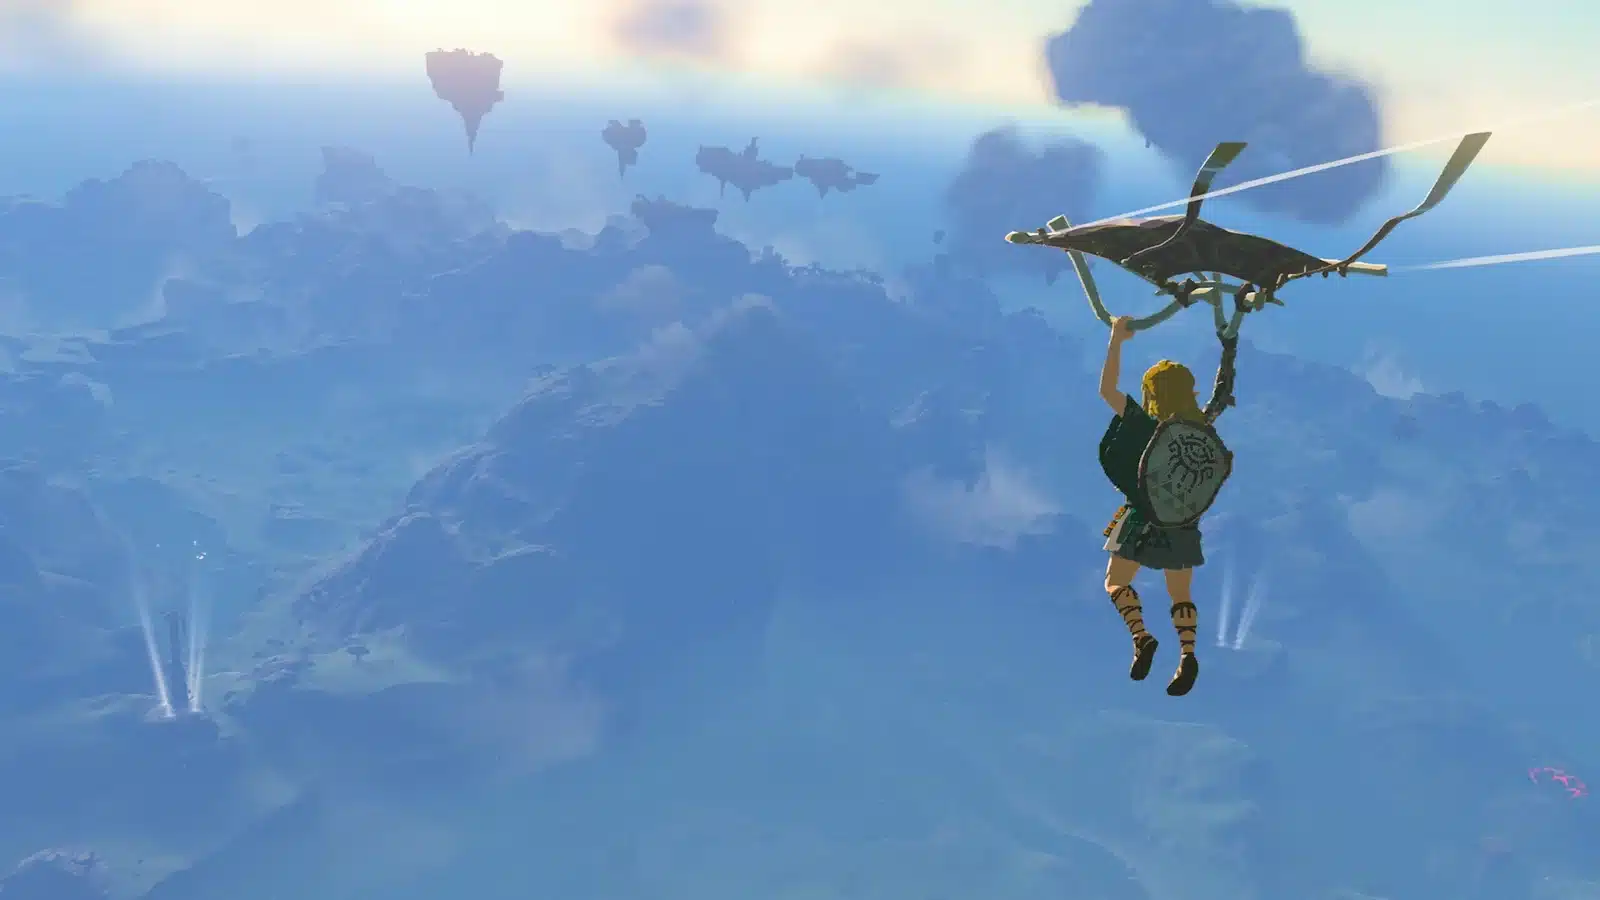
- Starting Point: Lindor’s Brow Skyview Tower. Launch up and glide northeast toward the temple.
- Fell short? You land in Tanagar Canyon. Head northeast on foot and climb up to the temple entrance at the end of the canyon.
- Inside the temple: work your way to the back along the side ledges, climbing and gliding as needed. Expect a few enemies on the way.
- The last hop: at the back, find the hole in the wall, step out onto the ledge and glide to the shrine.
| Detail | Mayausiy Shrine |
|---|---|
| Trial name | Building Blocks |
| Location | Back of the Forgotten Temple, north end of Tanagar Canyon |
| Nearest tower | Lindor’s Brow Skyview Tower |
| Abilities used | Ultrahand (Ascend helps) |
| Enemy | Captain Construct I |
| Chest | Large Zonai Charge |
| Depths match | Yisuayam Lightroot |
Building Blocks Walkthrough
The shrine has three parts: a warm up puzzle, one Construct, and a bigger puzzle with the chest hidden above it. Take them one at a time.
Step 1: Copy the Small Model
Walk down into the first room. On the left is a finished rectangular block. On the right is an incomplete one, with two L-shaped pieces waiting nearby.
- Grab an L piece with Ultrahand and rotate it to match its spot in the finished model. (Pro tip: rotate with the D-pad while holding, and walk around the model to check every face.)
- Attach it to the incomplete block in the matching position.
- Add the second L piece the same way. When the right side matches the left, the gate opens.
Most mistakes here come from a piece sitting a quarter turn off. If the gate stays shut, compare both shapes from the side.
Step 2: Beat the Captain Construct I
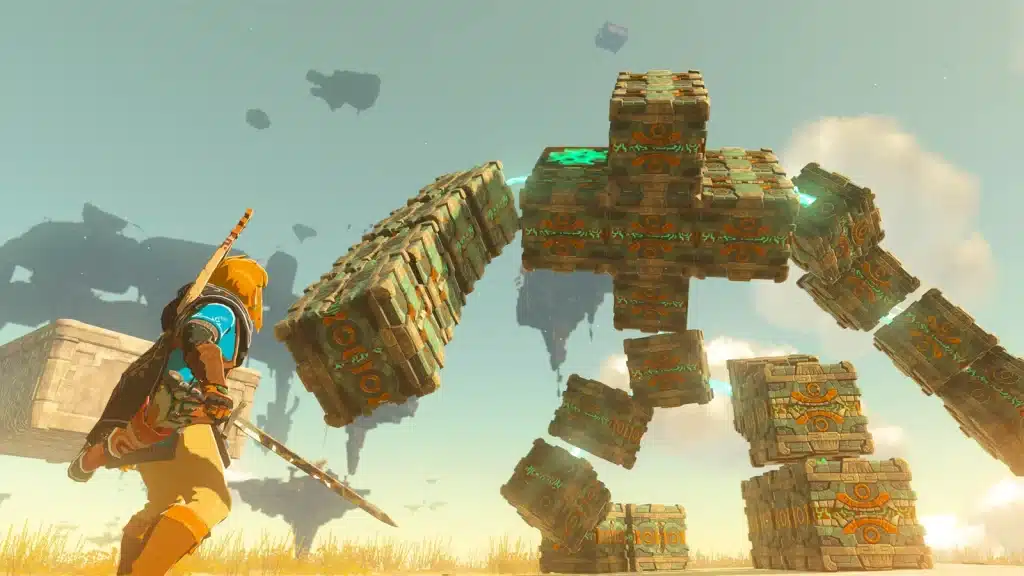
A Captain Construct I waits in the hall. It is tougher than the regular Soldier Constructs, so do not trade hits in the open.
- Open with an arrow: a hit to the head staggers it, which gives you a free combo.
- Fight from cover: back off behind a pillar if it starts pressing you.
- Bring a decent weapon: a fused weapon makes this a short fight. Our Fuse guide shows the easy upgrades.
Step 3: Grab the Chest First
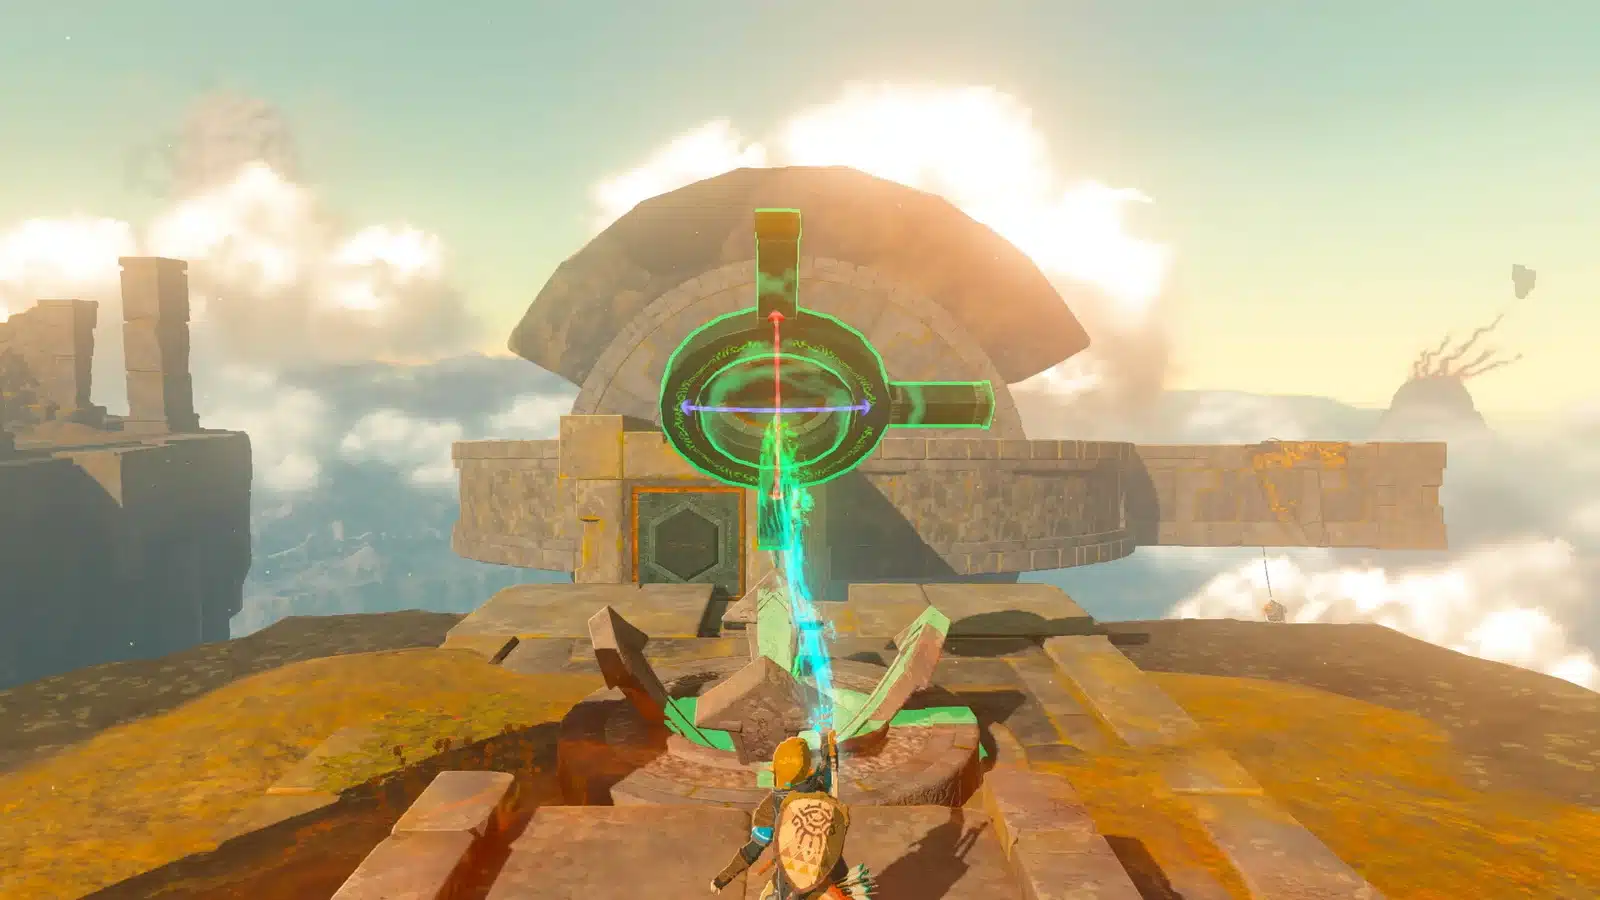
Climb the stairs into the last room. It holds a larger version of the same puzzle, and a chest on a ledge above it. Your best bet is to grab the chest before you solve anything, because the puzzle pieces double as your ladder.
- Build a step: attach the L-shaped piece to the stepped, triangular piece with Ultrahand.
- Place it against the ledge with the chest.
- Climb or Ascend: climb the blocks, or stand under them and use Ascend to pop up on top.
- Open the chest for a Large Zonai Charge.
Oh, and remember to separate the pieces afterward. Hold a piece with Ultrahand and shake the right stick to break the bond.
Step 4: Complete the Big Cube
Now fill the incomplete cube so it matches the finished model. Here’s the order that works:
- Back first: place the four block piece at the back of the cube.
- Front step: set the three block step piece on the front side of that.
- Last gap: flip the final piece upside down and drop it into the remaining hole.
When the shape matches, the exit gate opens. Touch the green glyph at the end for your Light of Blessing.
Rewards
- Large Zonai Charge: from the chest on the ledge. Feed Zonai Charges into a Device Dispenser to get more Zonai device capsules, and a Large one counts for more.
- Light of Blessing: four of them become a Heart Container or Stamina Vessel at a Goddess Statue.
- Fast travel point: a warp right at the back of the Forgotten Temple.
The shrine’s Depths counterpart is the Yisuayam Lightroot, directly below it. Light it to reveal that part of the Depths map. The TOTK interactive map helps you line the two up.
Mayausiy Shrine FAQ
Where is Mayausiy Shrine?
At the back of the Forgotten Temple, at the north end of Tanagar Canyon. Glide in from Lindor’s Brow Skyview Tower.
What is in the Mayausiy Shrine chest?
A Large Zonai Charge, on the ledge above the final puzzle. Use the puzzle blocks as a step to reach it.
What enemy is in Mayausiy Shrine?
A single Captain Construct I in the hall between the two puzzles.
How do you separate glued blocks?
Grab the piece with Ultrahand and shake the right stick until it breaks free.
Pro Tip: chest first, puzzle second. The blocks are your ladder and your answer, so you only have to move them twice. Nailed it? Then the Forgotten Temple is all yours to explore.