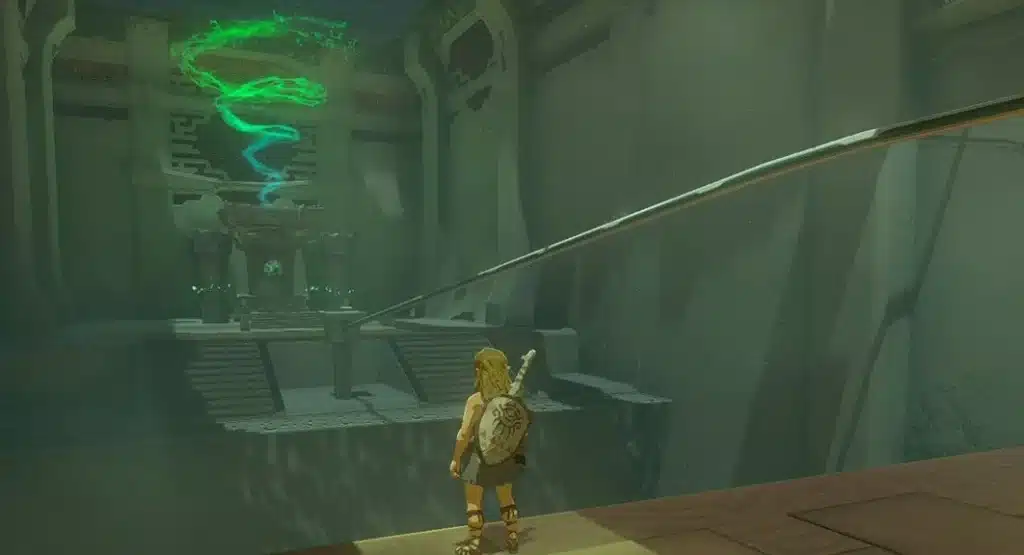
Mayamats Shrine is a ball puzzle with a twist: the ball that fits the socket is too small to get where it needs to go on its own, and the ball that can make the trip is too big for the socket. The solution is to make them travel together.
There’s no wrong way to approach this one, and nothing in here can really go wrong. Drop a ball, pick it up again. Here’s the full route, plus the chest you don’t want to skip.
Mayamats Shrine Location
| Detail | Mayamats Shrine |
|---|---|
| Region | Gerudo Highlands (surface) |
| Landmark | Rutimala Hill |
| Trial | A Route for a Ball |
| Nearest Skyview Tower | Gerudo Highlands Skyview Tower |
| Abilities used | Ultrahand, Ascend, Fuse (through Ultrahand) |
| Chest | Large Zonai Charge |
| Reward | Light of Blessing |
Fast travel to the Gerudo Highlands Skyview Tower, then head west southwest to Rutimala Hill. The shrine sits out in the open on the surface, so no cave diving is needed. You’ll want the paraglider before you come here.
Take Your Time: the Gerudo Highlands are cold country. Pack warm clothing or a few spicy meals before you set off so your hearts aren’t ticking down on the walk.
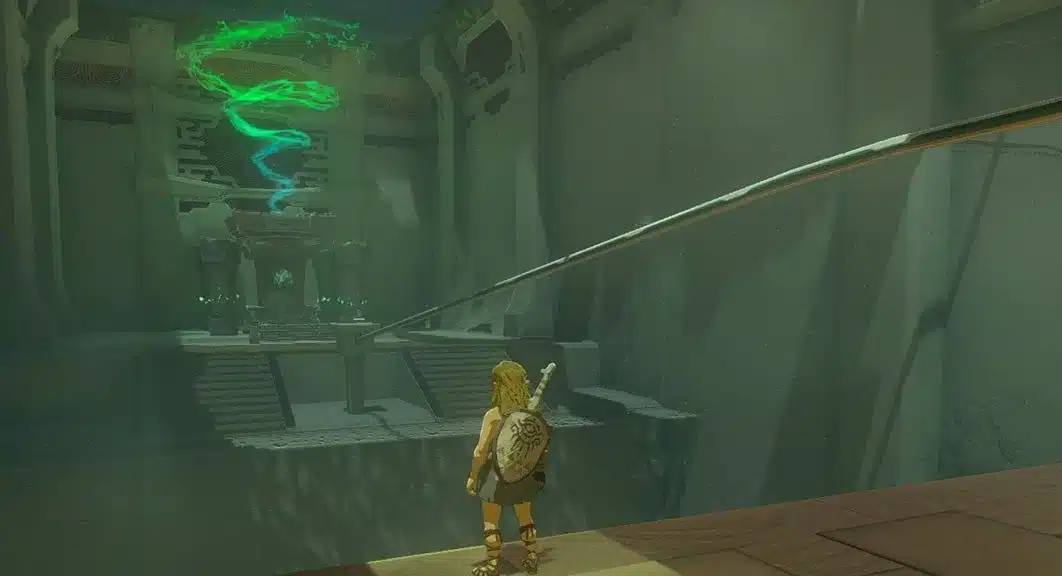
Mayamats Shrine Walkthrough
The whole trial is about two balls: a small one that fits the socket near the entrance, and a large one that can ride the rails. Here’s your checklist, step by step.
Part 1: The Socket and the Chasm
- Step 1: go down the stairs and look at the circular socket in the floor. That’s the target. You need a ball that fits it, and there isn’t one here yet.
- Step 2: head left to the chasm. Ride the fans’ updrafts and glide across to the platform on the other side.
Part 2: The Big Ball and the Chest
- Step 3: before you go for the chest, stand in the alcove in the wall on your left and use Ascend to pop up onto the platform above.
- Step 4: there’s a large ball up here. It’s too big for the socket, but you need it, so bring it down to the lower floor with Ultrahand.
- Step 5: in the small room on the left, set the big ball in the gap between the two platforms and use it as a stepping stone to cross.
- Step 6: open the chest on the far side for a Large Zonai Charge, then come back and climb the ladder.
Missable! The chest is off to the side of the main route, and plenty of players carry the big ball straight upstairs and never come back for it. Grab it now while the ball is already in place.
Part 3: Catch the Small Ball
- Step 7: pick up the big ball again and set it in the funnel-shaped alcove on the right.
- Step 8: stand underneath it and Ascend straight up through the ball to the upper floor.
- Step 9: with Ultrahand, slide the big ball up the rails. Watch the small ball rolling around up there.
- Step 10: when the small ball reaches the second platform, attach it to the big ball with Ultrahand so the two are stuck together.
Take Your Time: the small ball keeps looping, so if your timing is off, wait for it to come round again.
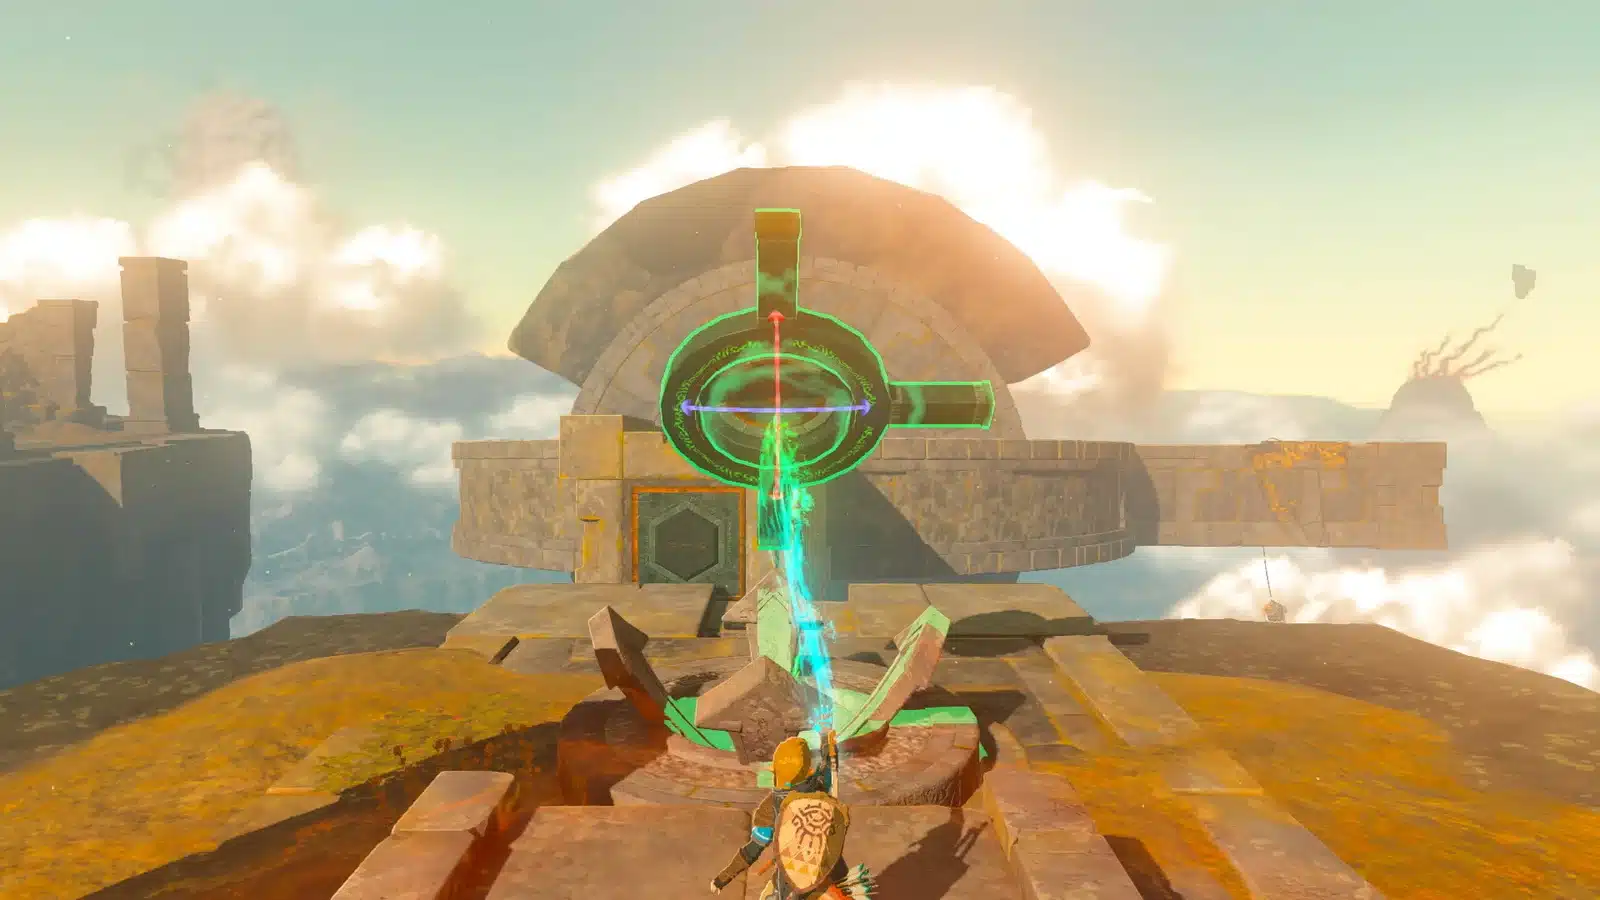
Part 4: Bring It Home
- Step 11: carry the joined balls back toward the chasm and slide them down the rails on the left.
- Step 12: glide back across the chasm and pull the small ball off the big one.
- Step 13: set the small ball in the socket near the entrance. The gate on the left opens.
- Step 14: walk through and touch the altar for your Light of Blessing. Mayamats’ Depths counterpart is the Stamayam Lightroot, the shrine’s name spelled backwards.
Mayamats Shrine Rewards
| Reward | Where |
|---|---|
| Large Zonai Charge | Chest past the gap on the lower floor |
| Light of Blessing | Altar at the end of the shrine |
| Fast travel point | Added to your map at the shrine |
Completionists, you’ll want to know: four Lights of Blessing trade for a Heart Container or a Stamina Vessel at any Goddess Statue, and Large Zonai Charges are worth hoarding for Zonai devices and trades later on.
Tips for A Route for a Ball
- Watch the rails: the big ball fits the rails, the small one doesn’t. That’s the whole puzzle in one sentence.
- Use Ascend generously: if a platform looks out of reach, look for a ceiling or a ball above you to rise through.
- Go slow on the carry: joined balls swing around in Ultrahand. Small, smooth movements beat quick ones.
- Separate at the end: only the small ball goes in the socket. Pull it off before you try to place it.
One more thing before you move on: our Tears of the Kingdom hub has the rest of our shrine guides, and if you’re playing on the new console, the TOTK Switch 2 Edition review covers what changed. Fresh to the series? Read BOTW or TOTK: which to play first.
Mayamats Shrine FAQ
Where is Mayamats Shrine?
On Rutimala Hill in the Gerudo Highlands, west southwest of the Gerudo Highlands Skyview Tower.
What is in the Mayamats Shrine chest?
A Large Zonai Charge. Use the big ball as a stepping stone across the gap on the lower floor to reach it.
How do you get the small ball in Mayamats Shrine?
Slide the big ball up the rails with Ultrahand and attach the small ball to it when it reaches the second platform. Then bring both down together and separate them.
What is the Mayamats Shrine trial called?
A Route for a Ball.
Checklist complete: Large Zonai Charge, Light of Blessing and a new warp point in the Highlands. It’s a marathon, not a sprint, and this one is a satisfying little lesson in making two tools do one job.