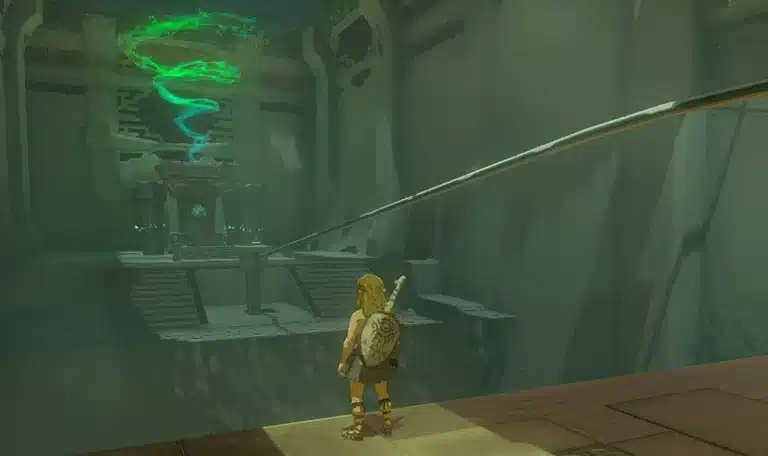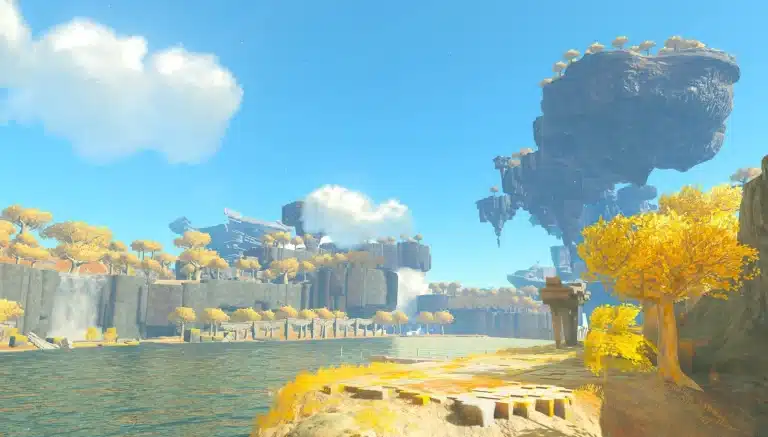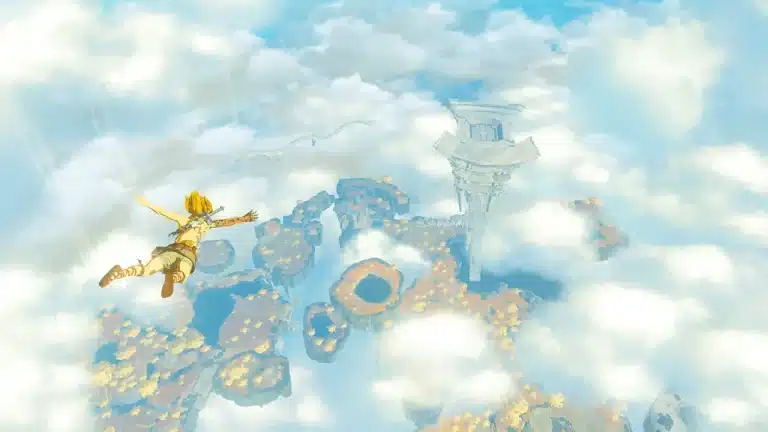
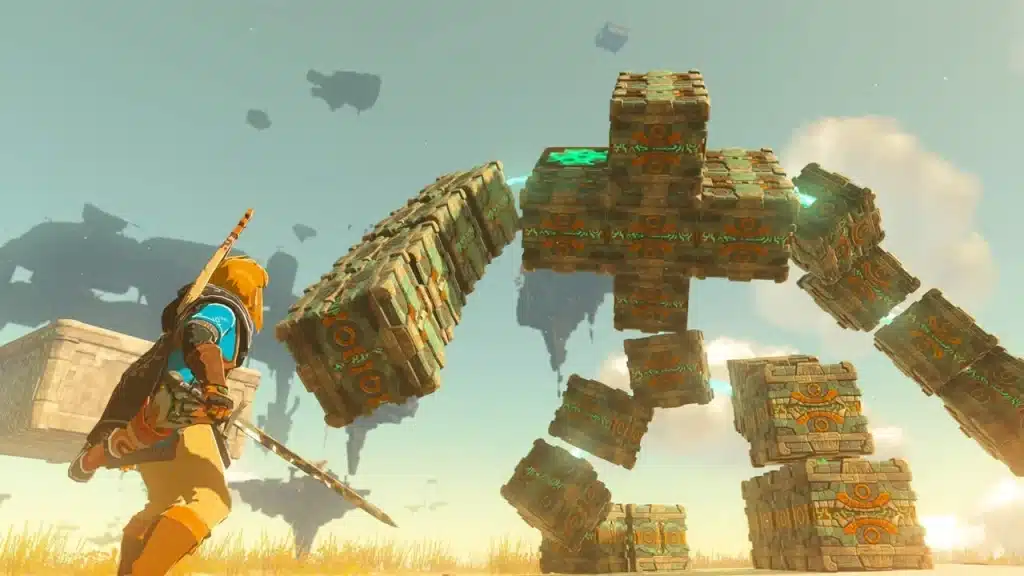
Kimayat Shrine is a Proving Grounds: Smash challenge, which means the game takes away your gear, hands you some sticks and locks you in a room with Constructs. It sounds rough. It isn’t, once you see the trick the room is built around.
Here’s what actually happens under the hood: a spiked ball, a pool of water and one cracked stone column do most of the work for you. Science time.
Kimayat Shrine at a Glance
| Detail | Info |
|---|---|
| Challenge | Proving Grounds: Smash |
| Region | Northeast Eldin Canyon, near Gut Check Rock |
| Coordinates | About 2860, 3630, 0240 |
| Nearby shrine | Sibajitak Shrine |
| Rules | Your gear, materials and food are held until you clear the room |
| Enemies | Soldier Constructs on the floor, archers on the central platform |
| Rewards | Captain II Reaper (chest), Light of Blessing |
For the tech nerds: guides list slightly different coordinates (around 2855 to 2863 east, 3629 to 3637 north). Use the shrine marker on your map once you see it and you’ll be fine.
How to Get to Kimayat Shrine
- Best option: fast travel to Sibajitak Shrine and paraglide toward Gut Check Rock, then northeast to the shrine.
- Alternative: start from the Ulri Mountain Skyview Tower if you have not unlocked Sibajitak yet. It’s a longer trip north through Eldin.
- Heat check: this is the Death Mountain area, so bring fire resistance if you are crossing the hotter zones.
Need a route? The TOTK interactive map shows the shrine, Sibajitak and the nearby Skyview Tower. Oh, and Dinraal flies through this part of the map too; our Dinraal guide covers how to farm it while you’re in the area.
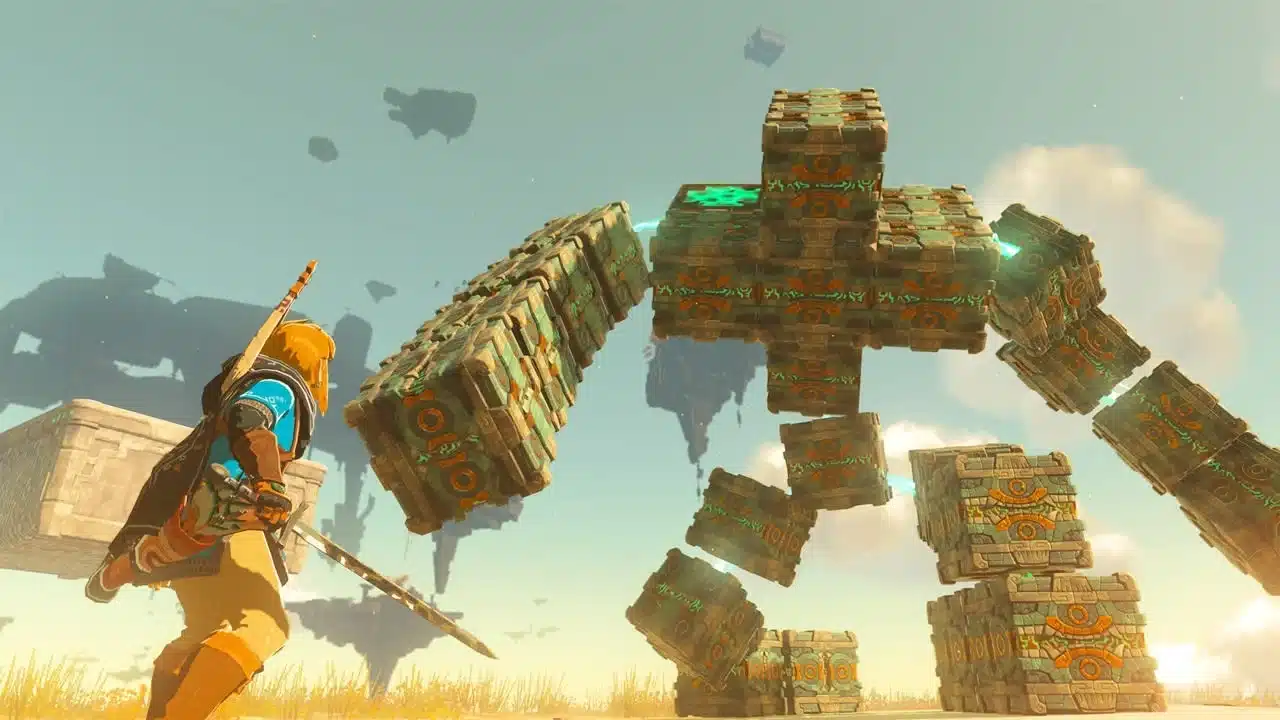
What You Start With
When you walk in, the shrine stores your entire inventory. On the left side of the entrance hallway you find basic wooden weapons and a wooden bow with a small stack of arrows. That is your whole kit until the Constructs start dropping their gear.
The Tech: everything you lose at the door comes back automatically the moment the last Construct goes down. Do not stress about the armor swap.
Kimayat Shrine Walkthrough
| Approach | Tools | Best for |
|---|---|---|
| Brawler | Stick plus a fused Construct horn | The first melee Construct |
| Smasher | Stick plus a fused spiked ball | Downed enemies and the cracked column |
| Sniper | Bow plus slow motion while gliding | Headshots from above |
- Gear up. Grab the weapons and bow in the entrance hallway.
- Pick off the nearest Construct. An arrow to the head staggers it; follow up with melee. Its horn can be fused to a stick for a big damage boost.
- Ascend to a side platform. Use Ascend through the side platform to reach the top, where spiked balls (and stone barrels) wait.
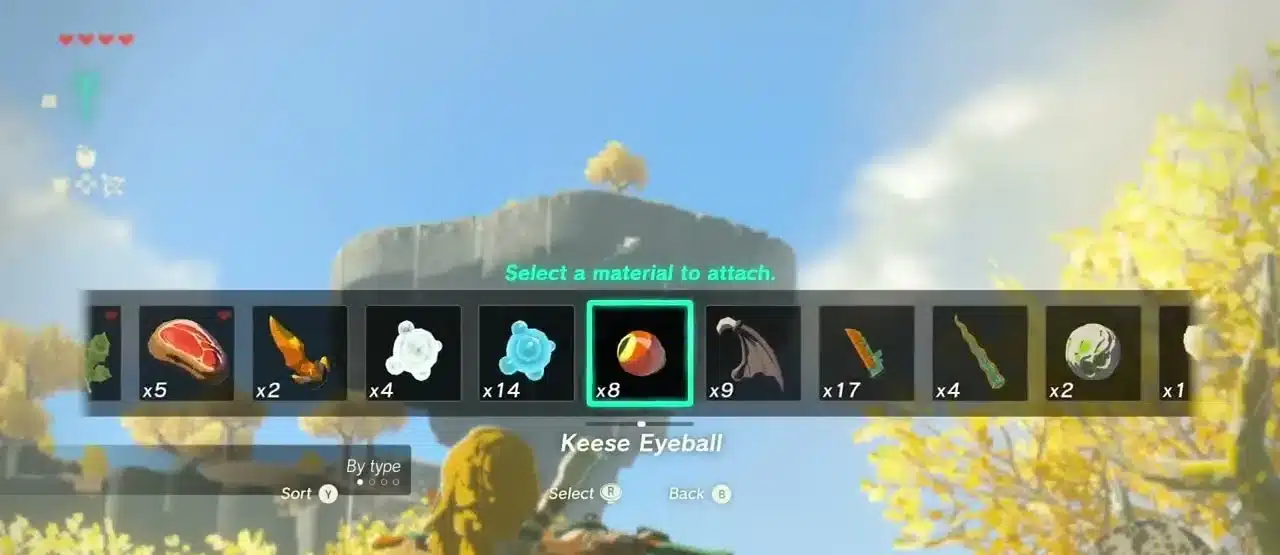
- Fuse a spiked ball. Fuse it onto a stick and you have a hammer. This is the “Smash” the shrine is named after.
- Keep moving. The archers punish anyone standing still. Glide off platforms and use slow motion to line up headshots.
- Build an ice path. Use Ice Fruit or a frost source on the pool in the middle to make ice platforms, ideally one right next to the cracked stone column.
- Smash the column. The broken column holds up the platform where the remaining Constructs stand. Hit it with your spiked club and it collapses, dropping them into the water.
Exploit Alert: the column is the real shortcut. Chasing every archer is the slow way. Bring the pillar down and the room clears itself. This shouldn’t work as a combat finisher, but it does, and it’s clearly how the room was designed.
Rewards
- Captain II Reaper: once every Construct is down, the gate opens to a chest with a Captain II Reaper.
- Light of Blessing: touch the altar at the end. Kimayat’s Depths counterpart is the Tayamik Lightroot (its name spelled backwards). Four of them buy a Heart Container or Stamina Vessel at a Goddess Statue.
- Your gear: returned automatically when the fight ends.
Pro Tips
- Fuse early: a horn on your first stick makes every fight after it shorter. Our Fuse guide explains how material bonuses work.
- Ration arrows: use them to stagger, not to spam.
- Save the Ice Fruit: you need it to reach the column, so don’t throw it at enemies.
- Use height: the Ascend ability plus gliding turns the platforms into a sniper’s nest.
- Eat before you enter: food is confiscated with everything else.
Patched? No version notes we found change this shrine. If you’re looking for more shrines and abilities, the Tears of the Kingdom hub has the rest of our guides.
Kimayat Shrine FAQ
Where is Kimayat Shrine?
In the far northeast of Eldin Canyon, northeast of Gut Check Rock and Death Mountain. Sibajitak Shrine is the easiest fast travel point.
How do you beat the Kimayat Shrine Proving Grounds?
Fuse a spiked ball to a weapon, make an ice platform on the pool, and smash the cracked column so the remaining Constructs fall into the water.
What is the Kimayat Shrine reward?
A Captain-tier Reaper from the chest and a Light of Blessing from the altar.
Do you get your gear back after Kimayat Shrine?
Yes. Everything is returned automatically when the last Construct is defeated.
Test Results: sticks, a spiked ball and one cracked pillar beat a room full of Constructs. The numbers are wild for a shrine that strips you naked at the door. This breaks the game (in the best way).