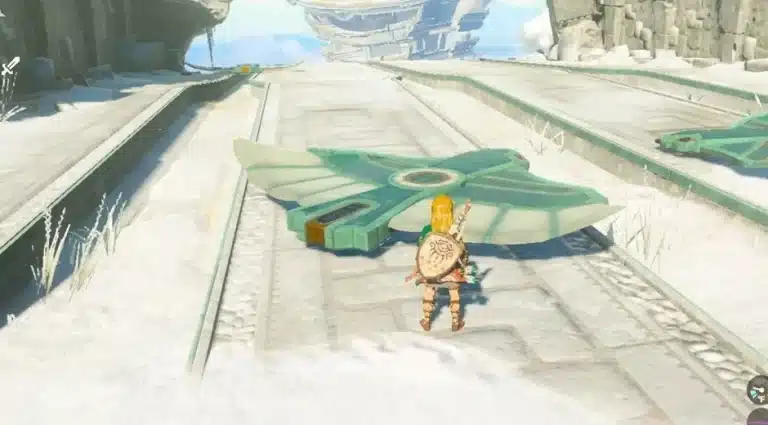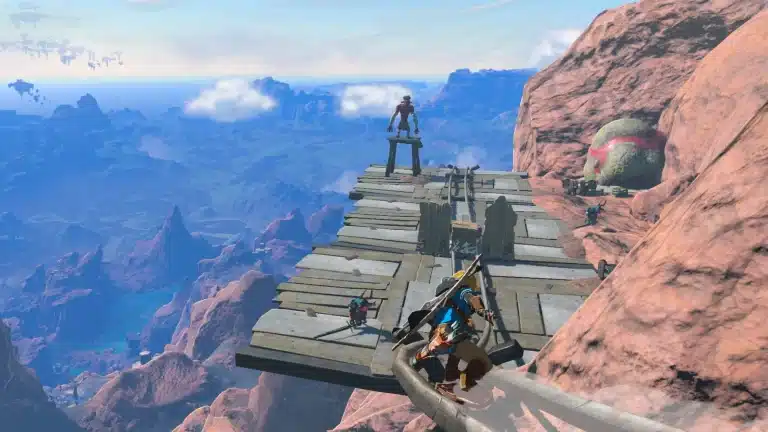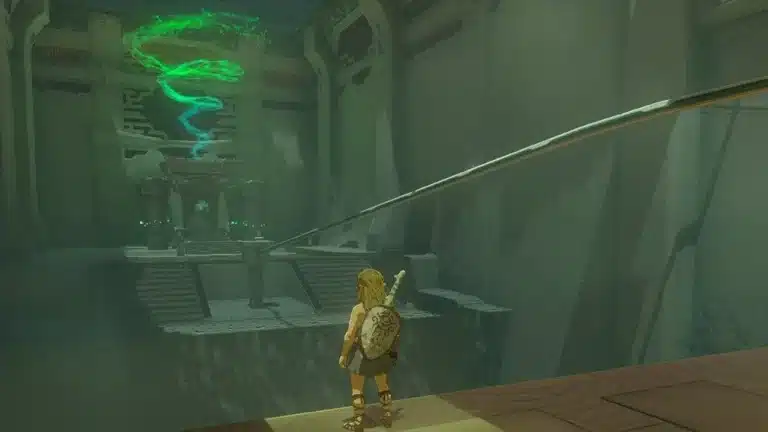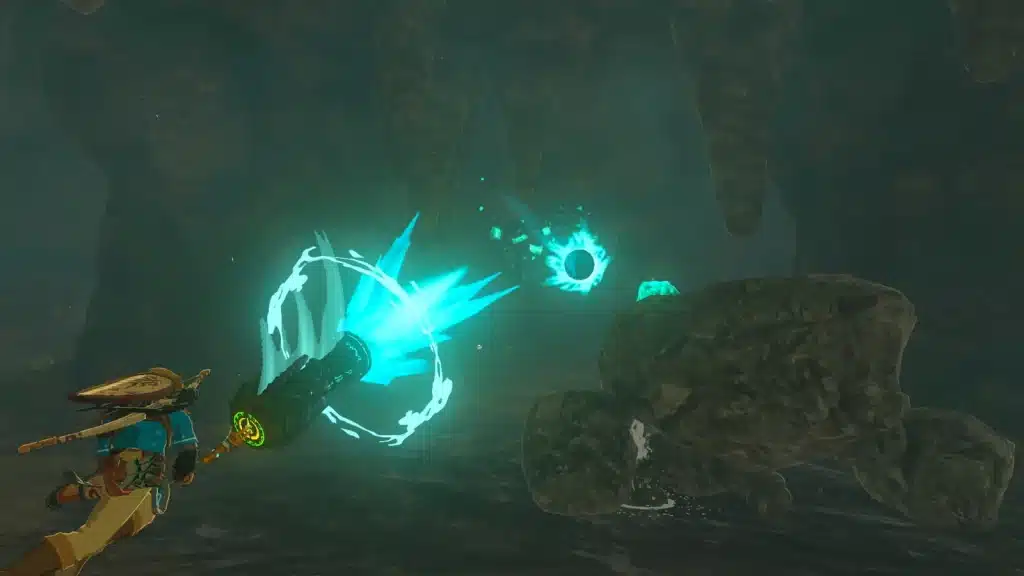
Iun-orok Shrine is a two part test. First you have to dig your way to it through a cave at the bottom of Tanagar Canyon, then you have to solve The Right Roll, a set of iron ball physics puzzles that punish sloppy aim. Neither part is hard once you know the trick. Both are miserable if you don’t.
I tested this so you don’t have to. Below is the route through the cave, every room of the puzzle, and how to grab the chest most players leave behind.
Iun-orok Shrine Location
- Region: Tabantha Frontier, on the Surface.
- Entrance: Tanagar Canyon West Cave, on the western side of the canyon floor.
- Nearest stable: Tabantha Bridge Stable, a short glide to the southeast.
- Trial: The Right Roll.
The easiest approach: stand on Tabantha Bridge, jump off the north side, and glide north down to the canyon floor. The cave mouth is in the western wall. If your Shrine Sensor keeps pinging while you walk the hills above, that is why: the shrine is far below you, not hidden up top.
Tabantha Bridge Stable is the same stable you may remember from Breath of the Wild; our Tabantha Bridge Stable guide covers the area as it was in the first game.
Getting Through Tanagar Canyon West Cave
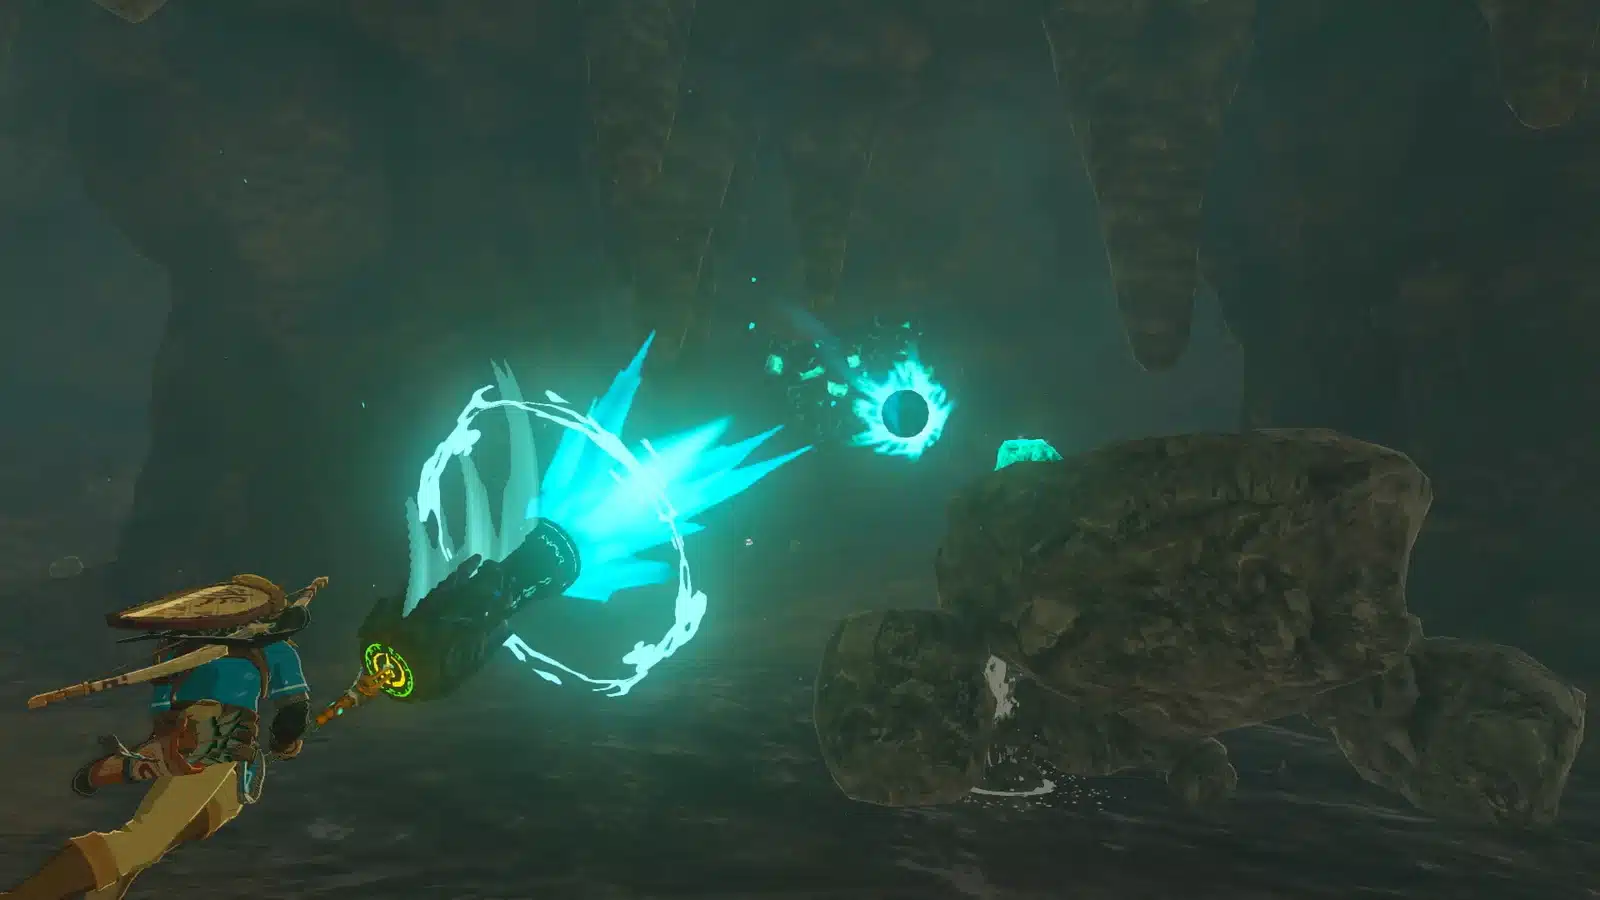
The cave is a demolition job. Several brown rock walls block the way, and one of them is noticeably thicker than the rest. Pack explosives before you go.
| Tool | Why it helps |
|---|---|
| Bomb Flowers (10 to 15) | Fastest way through the thick brown walls |
| Rock or hammer fused weapon | Breaks walls and Pebblits without using bombs |
| Brightbloom Seeds | The cave is pitch dark |
| Vow of Yunobo | Yunobo smashes the walls for you once you finish his main quest |
| Bow and arrows | Hit Like Like cores from a safe distance |
The Route
- Blast the first wall. A large rock wall blocks the way in. Bomb it or smash it with a fused rock weapon.
- Deal with the Pebblits. A small drop leads to a chamber with Stone Pebblits. Any blunt weapon breaks them fast, and they drop Flint.
- Turn right. Follow the path to the next brown wall and break through.
- Handle the Like Likes. Shock Like Likes sit along the path. They fire electricity, so keep your distance and aim for the core, or slip past them.
- Break the last wall. Across from a Like Like is the final thick brown wall. Clear the Like Like first, then bomb the wall in peace.
- Walk in. The tunnel behind it ends at the shrine.
The Tech: Like Likes only take real damage on their core. Shoot it, or wait for one to finish an attack and then punish. Swinging at the shell just wastes durability.
The Right Roll Solution
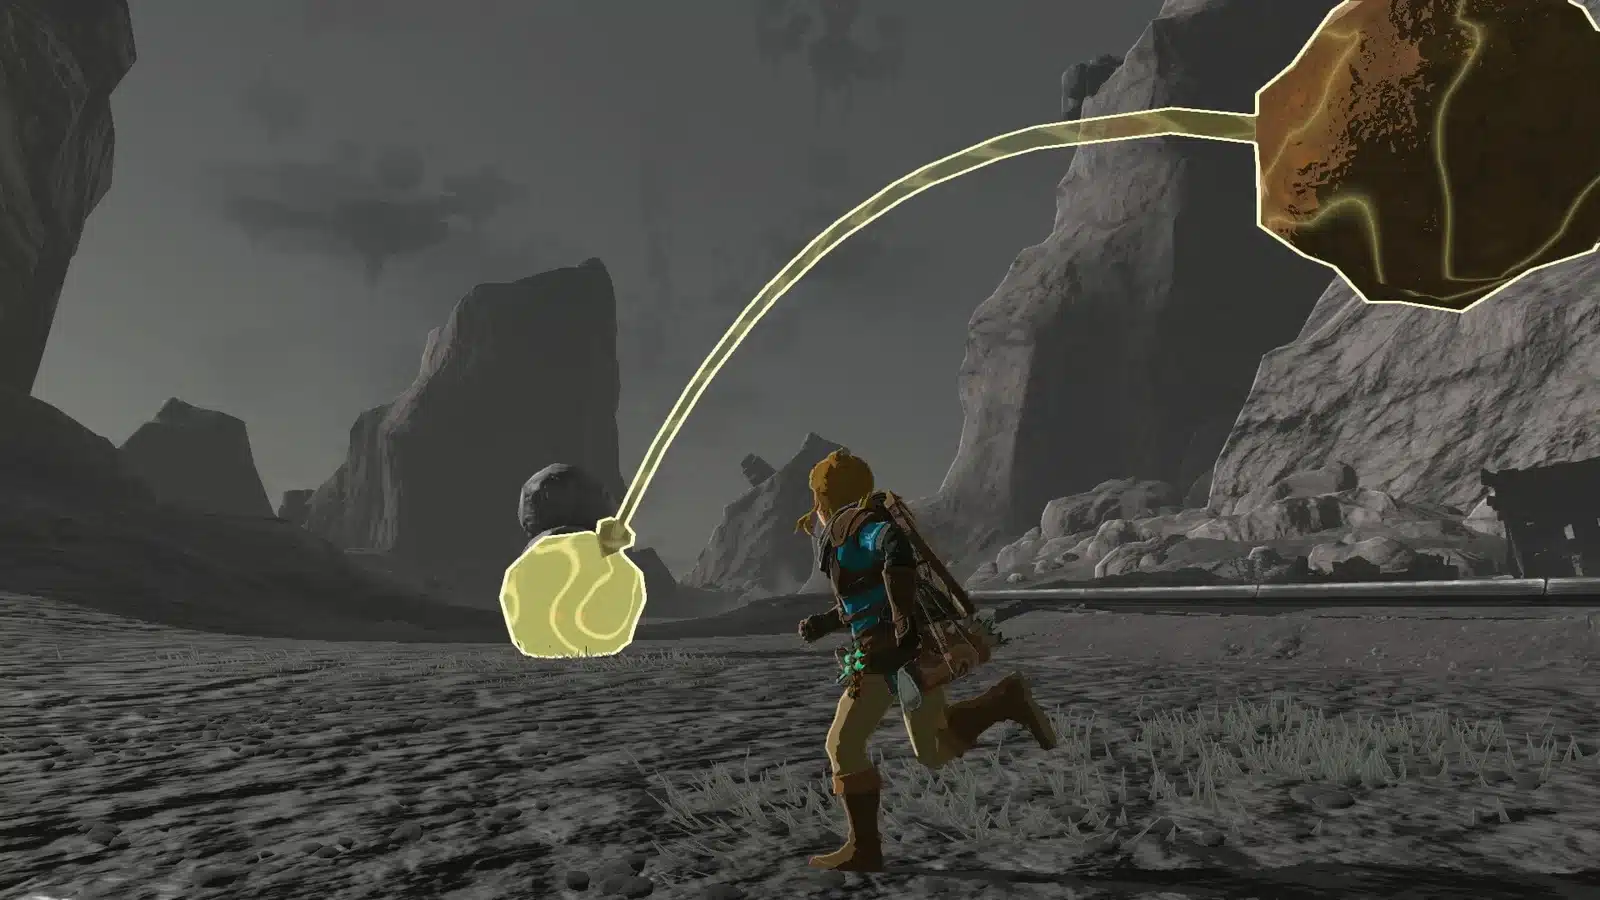
Every room runs on the same rule: grab an iron ball with Ultrahand, line it up, and let gravity do the work. The trick is the line. Crooked shapes wobble off the ramp.
Room 1: The First Slope
Grab the single ball with Ultrahand, set it on the ramp facing the orange target on the wall, and let go. It rolls straight in and the next door opens.
Room 2: The Ridge Ramp
This ramp has a raised ridge down the middle, and one ball alone slides off the side. Fuse the two balls together, set the pair across the peak of the ridge, and release. The pair straddles the ridge and rolls into the target.
Test Results: If the pair veers off, the joint is crooked. Pick it back up, rotate it until it sits evenly on both sides of the ridge, and try again.
Room 3: The Chest
The chest sits on a ledge in the back left corner of the final room, and you cannot pull it down with Ultrahand. Grab the largest ball, hold it in the air beside the ledge for a moment, then drop it. Use Recall on it and it floats back up along the same path. Climb on while it rises and jump to the chest for 10 Arrows.
This shouldn’t work, but it does: Recall turns any ball into a free elevator.
Room 4: The Snowman Stack
The last target needs three balls stacked into a straight snowman shape: large, medium and small. Keep the stack perfectly in line, carry it down the path, angle it toward the switch and release. A crooked snowman rolls off course every time.
Exploit Alert: If the snowman keeps failing, carry the two balls from Room 2 along and attach them to the three in this room to make one long bar. A long, straight shape is much more stable on the ramp. Push it up against the target side of the ramp and let go.
Open the last door, reach the altar, and the Light of Blessing is yours. Down in the Depths, the matching Lightroot is Koro-nui, the shrine’s name spelled backwards.
Iun-orok Shrine Rewards
| Reward | Where |
|---|---|
| Light of Blessing | Shrine altar after the final target |
| 10 Arrows | Corner chest in the final room (Recall trick) |
| Fast travel point | Shrine activation |
| Flint and Like Like Stones | Pebblits and Like Likes in the cave |
Four Lights of Blessing buy a Heart Container or Stamina Vessel at a Goddess Statue, so even a quick shrine like this one counts toward your next upgrade. Iun-orok is one of 152 shrines in the game.
Iun-orok Shrine Tips
- Bring more bombs than you think: The thick wall eats several Bomb Flowers on its own.
- Keep shapes straight: Every failed roll in this shrine comes from a crooked joint. Straighten before release.
- Grab the chest first: Do the Recall trick before solving the final target so you do not forget it.
- Activate the shrine: Once it is a fast travel point, the cave never has to be cleared again.
Want more Tears of the Kingdom coverage? Our Tears of the Kingdom hub collects every guide, and the TOTK Switch 2 Edition review covers how the game plays on the new hardware. If you are deciding between the two Zelda games, read BOTW or TOTK: which to play first.
Iun-orok Shrine FAQ
Where is Iun-orok Shrine?
Inside Tanagar Canyon West Cave in the Tabantha Frontier. Glide north from Tabantha Bridge to the canyon floor; the cave is on the western side.
How do you get the chest in Iun-orok Shrine?
Hold the largest ball in the air beside the corner ledge, drop it, then use Recall and ride it up. Jump to the chest for 10 Arrows.
How do you solve the snowman puzzle in Iun-orok Shrine?
Stack the three balls large to small in a straight line, carry them to the ramp and release them toward the switch. If it keeps failing, add the two balls from the previous room to make a longer, steadier bar.
Do I need bombs for Iun-orok Shrine?
Not strictly. A fused rock or hammer weapon breaks the walls, but Bomb Flowers or the Vow of Yunobo make the thick wall much faster.
Patched? The solution here is pure physics, and it works the same on the original Switch release and the Switch 2 Edition. Straight shapes, one Recall elevator, and you are done. Science time is over.