Standing outside a shrine buried in sludge? Take a breath. You haven’t missed anything, and there’s no wrong way to approach this one.
Ihen-a Shrine, with the trial Midair Perch, sits up on Ploymus Mountain in Lanayru, and it’s a gentle puzzle built around floating Hover Stones. Let’s walk through it together, one floating stone at a time.
Where to Find Ihen-a Shrine
Ihen-a Shrine stands right by Mipha Court, at the top of Ploymus Mountain, east of Zora’s Domain. You’ll pass it naturally during the main quest Sidon of the Zora.
- Region: Lanayru (surface), Lanayru Great Spring area.
- Coordinates: About 3783, 0577, 0486. Guides differ by a point or two.
- Nearest Skyview Tower: Upland Zorana.
- Trial: Midair Perch.
- The Catch: Before you finish Sidon of the Zora, sludge covers the entrance.
Ways to Get There
- Story Route: Sidon of the Zora takes you up to Mipha Court anyway, so it’s the easiest time to grab it.
- Zora Armor: With Zora Armor you can swim up waterfalls, which makes the climb from Zora’s Domain quick.
- Skyview Glide: Launch from Upland Zorana Skyview Tower and glide over. It’s about one and a half stamina wheels from the tower area, so stamina food helps.
- The Scenic Climb: On foot is slower, between icy walls and cliffs, but there’s plenty to find along the way.

Clearing the Sludge
If you get here before finishing Sidon of the Zora, the entrance is covered in sludge. Anything with water washes it off:
- Splash Fruit: Throw it or fuse it to an arrow.
- Chuchu Jelly: Same idea, thrown or fused to an arrow.
- Hydrant: The Zonai Hydrant sprays the sludge off and doesn’t cost you materials.
Lore Connection: This sludge is the same muck plaguing the whole Zora region. It comes from the Mucktorok in the Water Temple, which is why it disappears once Sidon’s quest is done.
Midair Perch Walkthrough
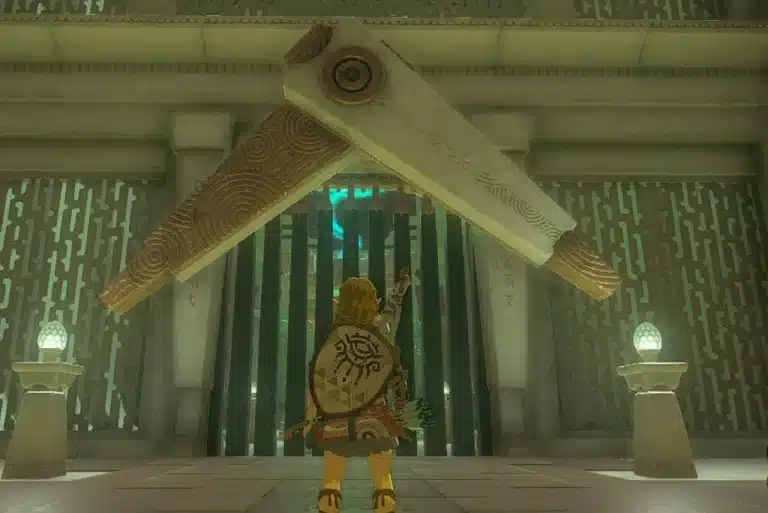
The whole shrine runs on Hover Stones. Hit one and it powers up, glows green and floats wherever you put it with Ultrahand. When its charge runs out, it drops and needs a moment before you can hit it again.
Room 1: Build a Staircase
- Power the four Hover Stones in the first hall by hitting them.
- Stack them as steps up to the raised platform at the end of the room with Ultrahand.
- Climb up and jump across to the ledge.
Prefer a shortcut? Place one stone level with the ledge’s underside and use Ascend to pop up through it.
Room 2: The Floating Bridge
- Power the stone by the big metal grate on the right.
- Place the stone mid gap and attach the grate to it. You now have a floating bridge.
- Cross, then pick the bridge up and angle it upward over the next, higher gap.
The Hidden Chest
Easily missable, so heads up: there’s one chest in this shrine, up on the wall above you as you turn around in the second area. Float a Hover Stone at about the same height, stand under it, and Ascend. Inside are five arrows.
Room 3: The Ram and the Ball
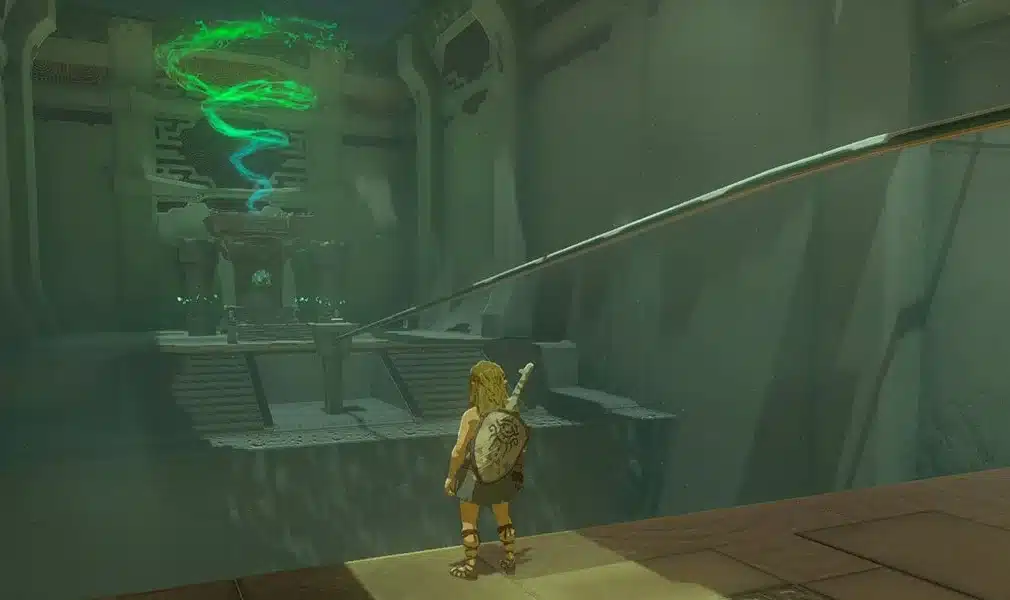
- Carry the bridge in and lay it over the large gap, extending it with the room’s other Hover Stones if it comes up short.
- Attach the small ball to a Hover Stone and set it in front of the ram in the right corner.
- Hit the orange crystal. The ram shoves the stone and ball across the gap.
- Follow it over, grab the ball with Ultrahand and set it into the runed slot in the floor.
That opens the gate to the altar. Examine it for your Light of Blessing, a full heal and a new fast travel point.
Rewards Checklist
| Item | Where | Done? |
|---|---|---|
| Sludge cleared (if needed) | Entrance | ☐ |
| Arrow x5 | Chest on the wall in the second area | ☐ |
| Light of Blessing | Altar at the end | ☐ |
| Fast travel point | Unlocked at the altar | ☐ |
Four Lights of Blessing trade for a Heart Container or Stamina Vessel at a Goddess Statue, so this is one more step toward the next upgrade.
Pro Tips
- Watch the Charge: If a Hover Stone suddenly drops, it’s just out of charge. Wait a moment, hit it again and pick it back up.
- Bring Splash Fruit: If you come early, a couple of Splash Fruit save you a hunt for water.
- Look Behind You: The chest is above the entrance of the second area, so turn around before you move on.
- Try the Camera: If you’re stuck, rotate your view. The answer is usually one Hover Stone away.
Hover Stones are a great way to practice building. Our Ultrahand guide covers the basics and the Ascend guide explains that ceiling trick in detail. The TOTK interactive map helps you plan a shrine run around Lanayru, and the Tears of the Kingdom hub has more guides.
Ihen-a Shrine FAQ
Where is Ihen-a Shrine in Tears of the Kingdom?
Next to Mipha Court on top of Ploymus Mountain, east of Zora’s Domain, around 3783, 0577, 0486.
How do you get rid of the sludge at Ihen-a Shrine?
Hit it with water: Splash Fruit, Chuchu Jelly or a Hydrant. It’s gone for good after you finish Sidon of the Zora.
What’s in the Ihen-a Shrine chest?
Five arrows. The chest sits high on a wall in the second area, reached with a Hover Stone and Ascend.
How do Hover Stones work?
Hit one to charge it, then move it with Ultrahand. It floats in place until its charge runs out.
Take Your Time: Midair Perch is a friendly lesson in building your own path, and there’s more than one way up every ledge. Grab the arrows, claim your Light of Blessing, and enjoy the view from Mipha Court on your way out. It’s a marathon, not a sprint.