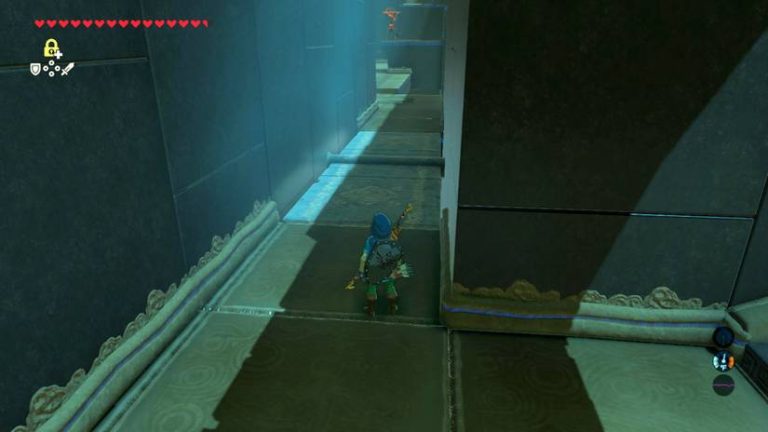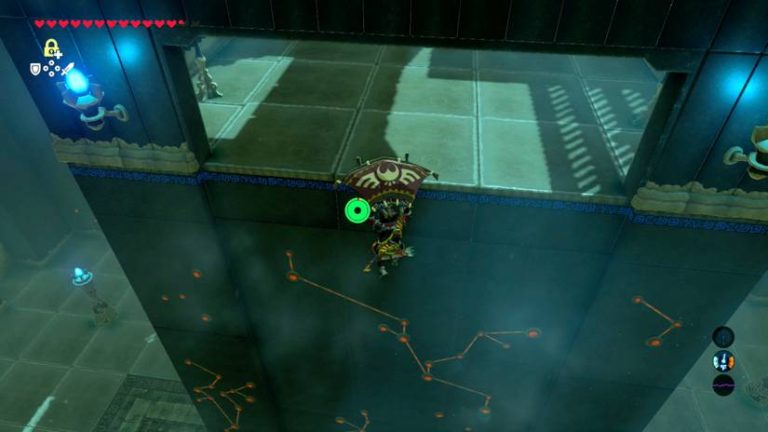
You can see Maka Rah Shrine glowing through a crack in the cliff, and you can’t squeeze through it. Hyrule is trolling you, and I respect it.
The real entrance is a chain of bombed rocks, updrafts, and glider hops across Lake Kilsie. This shouldn’t work as a puzzle, but it does. Grab your remote bombs and let’s break it.
Where to Find Maka Rah Shrine
The shrine sits in the Hebra region, in far western Hyrule. Head for Lake Kilsie, the big lake near the western edge of the map.
- Region: Hebra, in the Hebra Tower area of western Hyrule.
- Landmark: Lake Kilsie, with a wooden pier near its central point.
- The Tease: The orange glow of the shrine is visible through a crack in the cliff wall near the docks. Link can’t fit through it.
- Required Gear: Remote bombs, your paraglider, and a fire source for the torch inside.
- Also Needed: Cryonis, for the ice pillars inside the shrine.
(Pro tip: Fast travel to Hebra Tower and glide toward the lake. It beats hiking through the cold.)
Maka Rah Shrine Walkthrough
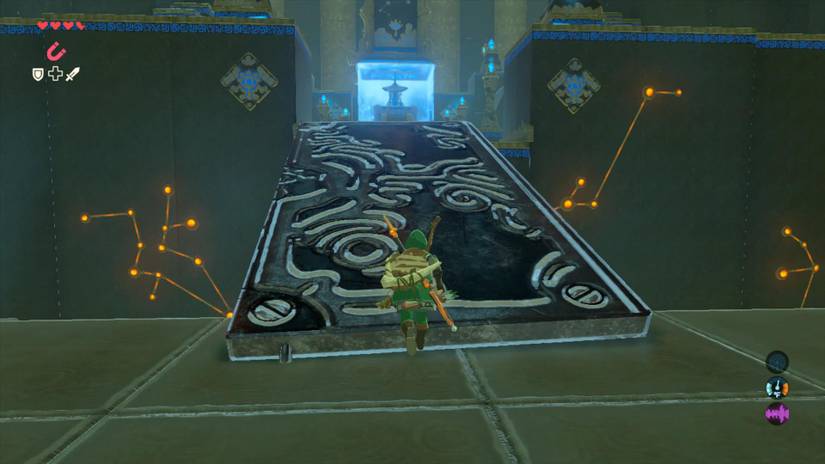
This is two puzzles in one. First you solve the lake, then you solve the shrine.
Part 1: Reaching the Entrance
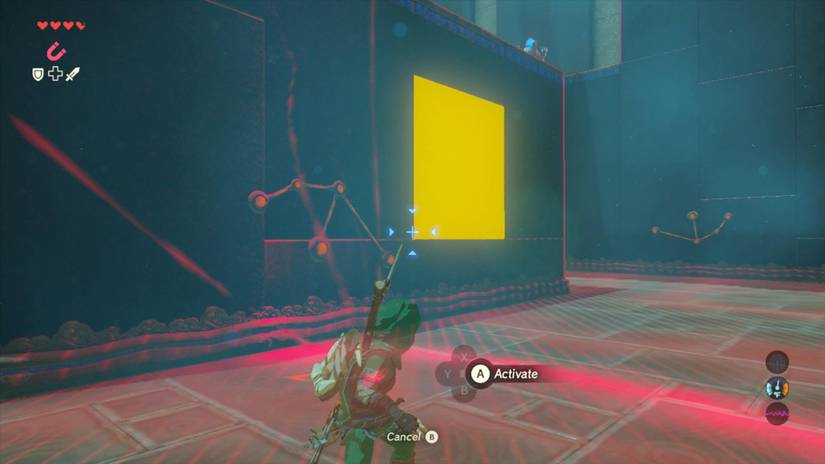
Here’s what actually happens under the hood: each pile of breakable rocks hides an updraft. Bomb the rocks, jump into the draft, glide to the next pile, and repeat. The route is a relay race with explosives.
- Step 1: Stand facing the crack in the cliff. Behind you, near the start of the docks, is a pile of rocks. Blow it up with a remote bomb to reveal an updraft.
- Step 2: Jump into the updraft and open your paraglider. Ride it to the top and you’ll see the whole wooden pier.
- Step 3: Glide southeast, past the far end of the pier, to the opposite side of the lake. Another pile of rocks waits on the bank.
- Step 4: Bomb those rocks and ride the new updraft. This time head northeast, hugging the lake’s border and the rock wall.
- Step 5: Find the next pile near water level. Bomb it, then glide north to the small island in the lake.
- Step 6: Bomb the rocks on the island, face northwest, and glide up to the high ledge on the lake’s west side. You’ll spot a torch-lit opening dug into the cliff.
- Step 7: Glide over to the opening. You’ll find a larger updraft blowing out of a hole.
| Leg | Direction | Action |
|---|---|---|
| 1 | Start at the docks | Bomb the rocks behind the crack |
| 2 | Southeast | Glide across the lake and bomb the bank rocks |
| 3 | Northeast | Follow the border and bomb the low rocks |
| 4 | North | Land on the island and bomb the rocks |
| 5 | Northwest | Glide to the torch-lit cliff opening |
Now for the part players mess up. Drop down the hole, but go easy on the paraglider. If you spam it, the draft shoves you right back up. Use it only in short bursts to slow your fall.
- Step 8: Land on the ledge near the pool, then follow the cave downward.
- Step 9: Swim through the shallow water and under the low rock overhang.
- Step 10: Surface at the shrine entrance. Two monsters ambush you here, so be ready and take them out.
(Pro tip: Glide in short taps on the way down the hole. If the updraft grabs you, let go and drop.)
Part 2: Inside the Shrine
The inside is more straightforward than the lake. It tests fire, Cryonis, and your dodge timing.
- Step 11: Head forward and light the unlit torch with a fire weapon of your choice.
- Step 12: Cross the rolling obstacle and stand on the switch. The door ahead opens.
- Step 13: Four ancient monsters are waiting behind it. Defeat all four.
- Step 14: Use Cryonis to build ice pillars and climb the ledges.
- Step 15: Grab the chest on the right for 10 Bomb Arrows.
- Step 16: Stand on the switch on the left to open the next door.
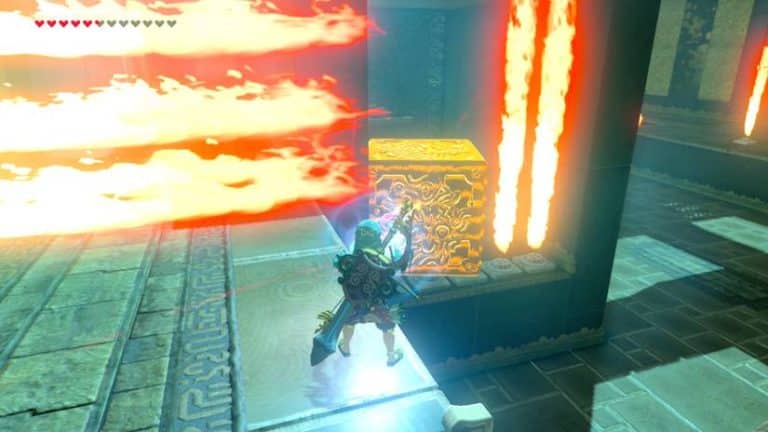
- Step 17: Step on the next switch and brace yourself. A rolling spike trap smashes through a wall of crates ahead.
- Step 18: Stand at the far left or far right of the room so the trap rolls past you.
Once the trap is spent, press on past the wreckage toward the monk at the end of the shrine. Use Cryonis and bombs wherever the path demands them.
The devs clearly didn’t playtest this for people who stand in the middle of the room. Don’t be that person.
Rewards
- Treasure Chest: 10 Bomb Arrows, on the right side after the Cryonis climb.
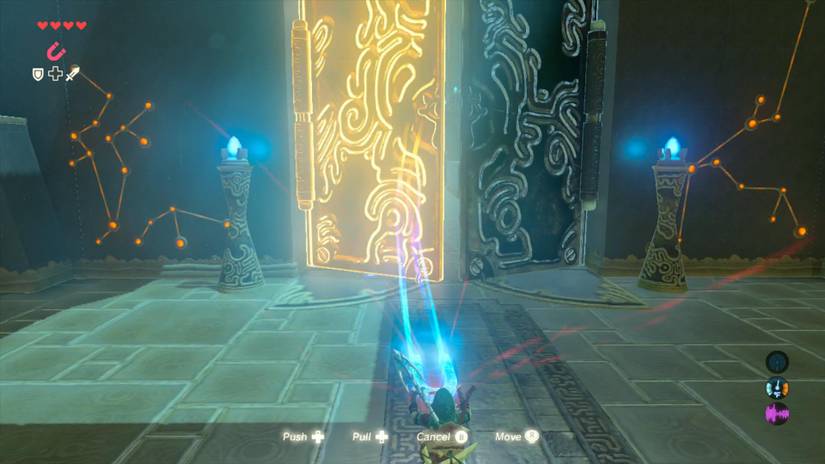
- Metal Chest: a Diamond, on a ledge above the wall of wooden boxes behind a row of cracked blocks (blow the blocks with a bomb, then pull the chest over with Magnesis).
- Last Chest: an Ancient Core, in a small nook just before the final switch above the second lava pool.
- Trial Name: Steady Thy Heart.
- Spirit Orb: Awarded by the monk when you finish, like every shrine. Four orbs trade for a Heart Container or Stamina Vessel.
- Map Progress: One more shrine cleared in the Hebra region.
Pro Tips
- Bomb Count: The lake route uses several bomb piles. Remote bombs recharge, so wait out the cooldown rather than fumbling a glide.
- Stamina: Long glides drain your wheel. Bring stamina food or an elixir if you’re still running thin.
- Fire Source: Carry a flame weapon, a fire arrow, or a torch for the shrine’s unlit torch. Don’t hunt for one at the door.
- Ice Pillars: Cryonis pillars can be knocked loose, so build them solidly and climb before you do anything fancy.
- Spike Trap: Hug the far wall and don’t try to outrun it. Use the edges of the room.
- Misreads: If you land in the water with nowhere to go, you probably skipped a bomb pile. Climb back up and re-check the direction in Step 3.
(Pro tip: Mark each pile on your map as you go. The route is easy to lose once you start gliding in circles.)
Why Maka Rah Shrine Matters
Maka Rah is a lesson in how Breath of the Wild thinks. The game hands you a locked door and trusts you to find the physics-based way around it. Bombs, wind, and a glider are all the key you need.
It’s also a great place to practice updraft chaining, which pays off all over Hyrule. Master it here and a lot of other shrines get easier.
So what’s your route? Did you find a faster way across Lake Kilsie, or did you eat a spike trap in the crate room? Drop your best attempt in the comments and let’s compare notes.