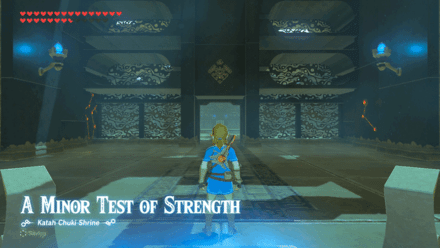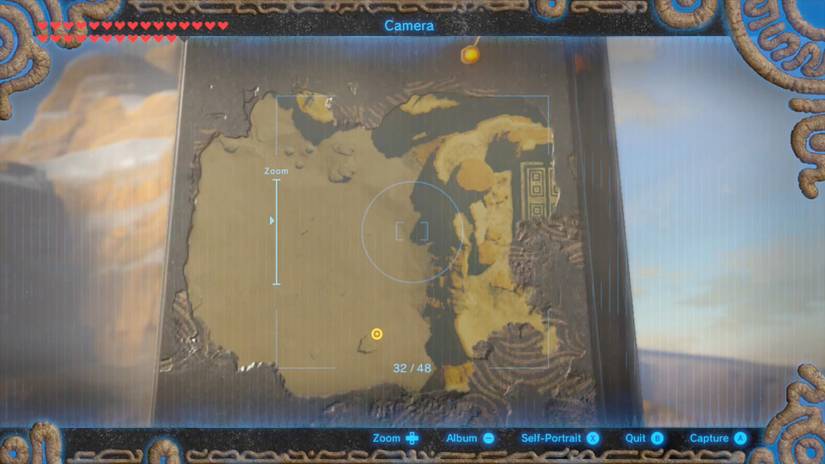
Sand, heat, and a giant beast that can swallow bombs whole. That’s what stands between you and Keive Tala Shrine in the Champions’ Ballad DLC. It’s one of those moments worth slowing down for, so grab a snack and settle in.
This shrine doesn’t just sit out in the desert waiting for you. You have to earn it by facing a brand-new foe, the Molduking. Take it at your own pace, because there’s no wrong way to approach this one.
Keive Tala Shrine Location and Overview
Keive Tala is one of the 16 shrines added by The Champions’ Ballad DLC, and one of the four Urbosa trials in the Gerudo region. It’s tied to the EX Champion Urbosa’s Song quest, which means you can’t simply stumble onto it in a vanilla playthrough. Here’s what you need to know before you head out.
- Region: Gerudo Desert, in the East Barrens.
- Exact Spot: East of Gerudo Town and just west of the Lomei Labyrinth.
- Quest: EX Champion Urbosa’s Song, part of The Champions’ Ballad (DLC 2).
- Shrine Name: Big or Small.
- How It Unlocks: You have to complete a trial first. The hint reads ‘Fight the brute of sand.’
- Nearest Warp Point: Misae Suma Shrine.
Missable! Not really in the permanent sense, but the shrine stays hidden until the quest is active and the Molduking is down. If you’re wandering the East Barrens and see nothing, that’s why.
Lore Connection: This random detail actually connects to the whole theme of the quest. Urbosa was the Gerudo Champion, and her trials are all about the desert and lightning. A shrine built around electricity, guarded by a sand beast, fits her perfectly.
Step-by-Step: Unlocking and Solving Keive Tala Shrine
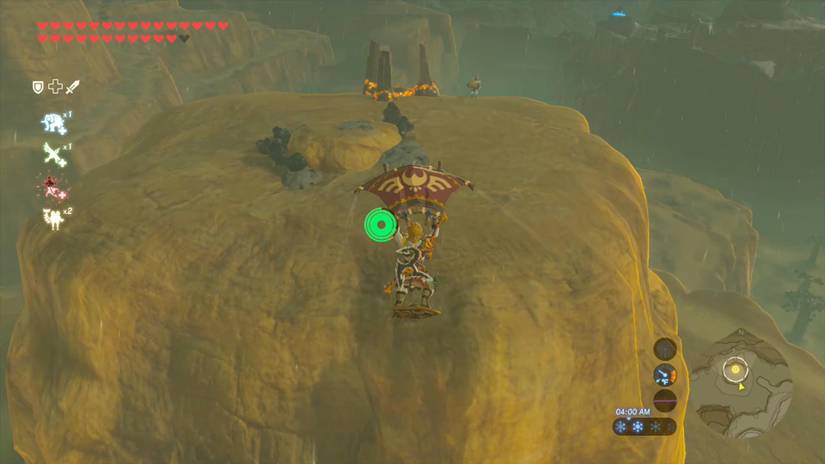
We’ll split this into two parts. First the Molduking fight, then the shrine puzzle itself. Don’t skip the prep, because it makes the fight so much calmer.
- Step 1: Start EX Champion Urbosa’s Song. You’ll need the stone monument in East Gerudo Mesa, which gives you hints for the three trial locations.
- Step 2: Head to Gerudo Town and chat with the guards. Teake, out front of the palace, mentions a molduga spotted recently in the East Barrens.
- Step 3: Warp to Misae Suma Shrine, then turn east and start walking. You can also grab a Sand Seal to speed things up. Before long, you’ll see pillars and rocks poking out of the sand.
- Step 4: Find Traysi, the rumormonger. She’s on a small raised bank and tells you about a new type of Molduga, the Molduking.
- Step 5: Prep at her campfire. The desert is brutal by day, even in Gerudo armor. You can wait until night and swap into Snowquill armor to handle the cold.
- Step 6: Fight the Molduking from high ground. Toss a remote bomb into the rolling sand below the plateau to get its attention.
- Step 7: When it leaps up to swallow the bomb, detonate it. That stuns the Molduking and drops it to the ground.
- Step 8: Run in and hit it as hard as you can before it wakes. Back off before it recovers, then repeat the process.
(Pro tip: Charge up Urbosa’s Fury before you start. It’s a fantastic source of extra damage in this fight.)
Handling the Molduking Safely
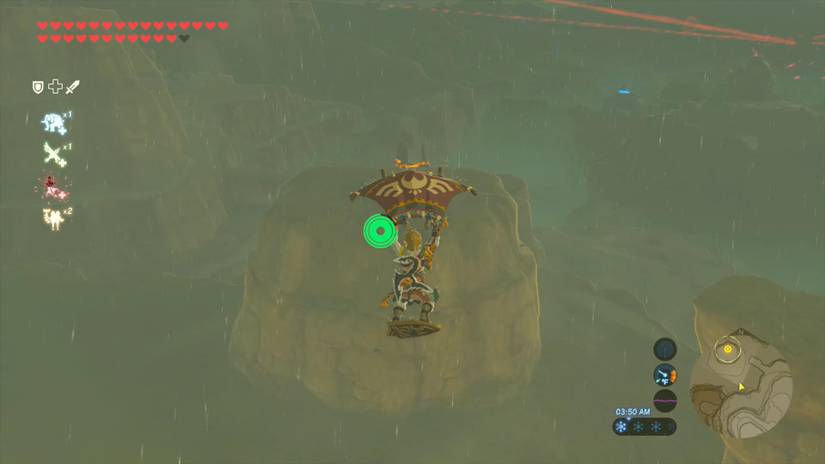
This fight plays out much like a regular Molduga battle, just with a lot more health. That means more patience and more repeats. It’s a marathon, not a sprint.
- Danger Zone: Its tail and its launch attack hurt a lot. Stay clear when it thrashes around, because you can be killed instantly.
- Thunder Weapons: If you have any Thunder weapons or Shock Arrows, use them. They deal massive damage here.
- Safe Perch: Glide down to a nearby ruined pillar and lure it into eating bombs, or shoot arrows while it swims around and stays visible.
- Repeat Cycle: Bomb, detonate, strike, retreat. A couple of rounds is all it takes when you stay disciplined.
Once the Molduking falls, Keive Tala Shrine rises nearby. You’ll also find a bunch of treasure chests to loot. Don’t skip this one, because those chests are part of the reward for the fight.
Inside the Shrine: The Puzzle
Step inside and you’ll find a long hall with a power line running along the left side. Your goal is to electrify that line using assorted metal objects.
- The Setup: Two metal balls on chains hang in the water, but they can’t quite reach each other.
- The Fix: Look for a small metal box on the right side of the hall. Use Magnesis to move it into place so it bridges the gap between the two balls.
- The Logic: The whole room is about building a chain of metal that carries electricity to the power line. Whenever you’re stuck, ask which metal object can fill the next gap.
- Follow the Line: Keep your eye on the power line along the left wall. It tells you where the current needs to end up.
- The Final Gap: There is no ball for the last stretch, so drag the giant metal box from the right side of the hall. To make it stay in place, create a Cryonis platform under the electrical line just to the right of the pole, set the box on it, and the gate to the Monk powers up.
- Optional Chest: Use the apparatus to the right of the Monk to steer a laser onto a switch, stopping the moving metal platforms so they form an electrical bridge. The chest on the other side holds a Radiant Shield.
Take Your Time: This is a puzzle shrine, so there’s no timer and no enemy breathing down your neck. Look around the hall, test ideas, and enjoy the lightbulb moment. Each shrine is its own little reward for curiosity.
(Pro tip: If an idea doesn’t work, reset your thinking, not just the object. Try a different metal piece or a different angle before you assume you’re missing something.)
Rewards and Checklist
Completionists, this one’s for you. Here’s a quick list to keep your log tidy.
- Checklist: Start EX Champion Urbosa’s Song (1 of 4).
- Checklist: Defeat the Molduking in the East Barrens (2 of 4).
- Checklist: Loot the treasure chests that appear after the fight (3 of 4).
- Checklist: Complete Keive Tala Shrine, ‘Big or Small’ (4 of 4).
- Quest Progress: This is the first trial in Urbosa’s Song, so you’ll want to keep your momentum going.
- Champion Emblem: The Monk gives Naboris’s Emblem rather than a Spirit Orb. You need three of them to unlock the challenge at the Divine Beast.
Pro Tips
- Bring Plenty of Bombs: You’ll go through them quickly, so stock up before you head out.
- Use the Campfire: Traysi’s campfire is a handy way to skip the daytime heat. Rest until night, then swap to cold-weather gear.
- Pick Your Perch: Stay on high ground. The raised bank and the ruined pillars are your safe spots.
- Watch the Sand: When the Molduking swims around, it’s visible. That’s your chance for arrow shots.
- Heal Up Beforehand: Pack food and elixirs. Heat damage plus the Molduking’s thrashing can sneak up on you.
- Don’t Rush: If one attempt goes badly, retreat, regroup, and try again. There’s no penalty for taking it slow.
(Pro tip: Rolling bombs and Shock Arrows work even better together. Stun it with a bomb, then follow up with your strongest hits.)
Why Keive Tala Shrine Matters
Keive Tala is more than another shrine. It’s the opening chapter of Urbosa’s Song, and it sets the tone with a memorable boss fight followed by a clever puzzle. Doing it right means you’re ready for the trials ahead.
It’s also a good reminder of why the completionist path is so rewarding. Talking to Teake, finding Traysi, and noticing the campfire all make the fight smoother. It’s a marathon, not a sprint, and every little detail helps.
How did your Molduking fight go? Did you go with bombs, Shock Arrows, or Urbosa’s Fury? Share your strategy in the comments, and let us know which DLC shrine you’re tackling next.