Kay Noh Shrine looks like a simple three-room job. Then you hit a rope-dangling battery ball, a locked door, and two pools of glowing blocks, and suddenly you’re staring at the wall like it owes you money.
Let me break this down for you. This shrine is short, forgiving, and hides a free weapon most players walk right past (yes, really).
Here’s the full route, the puzzle solutions, and the chest you shouldn’t leave without.
Kay Noh Shrine Location and Overview
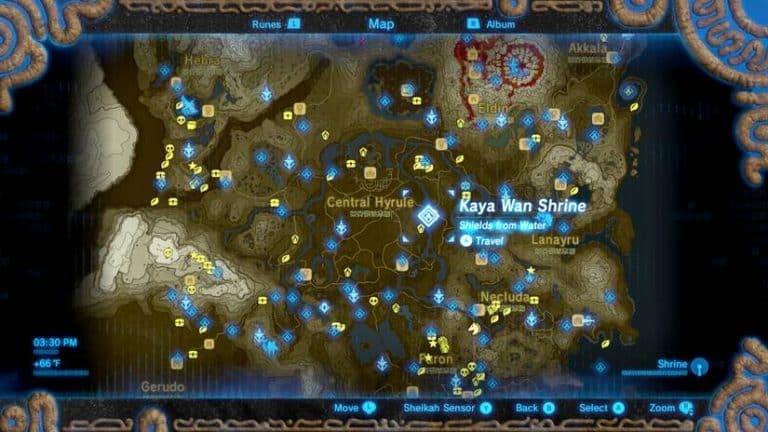
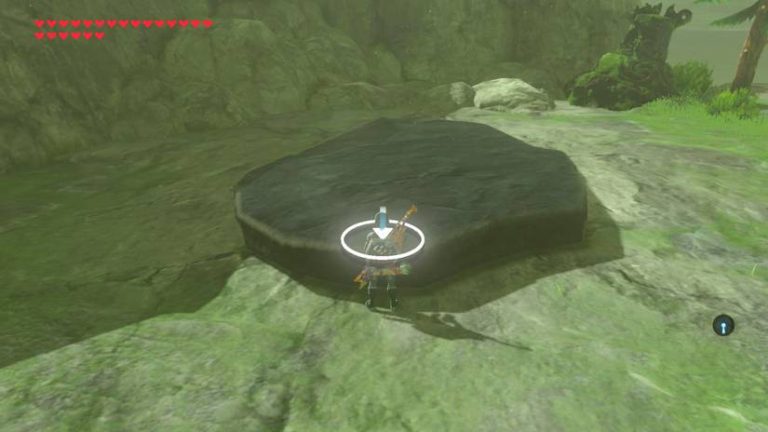
Kay Noh Shrine sits on a small cliff right next to Gerudo Canyon Stable, northwest of the Wasteland Tower, at the edge of the Gerudo Highlands. Its trial is called Power of Electricity.
- Region: Gerudo Wasteland, one of the Wasteland shrines.
- Getting There: Warp to or ride to Gerudo Canyon Stable; the shrine is on the cliff right beside it.
- Layout: Three rooms, each building on the last.
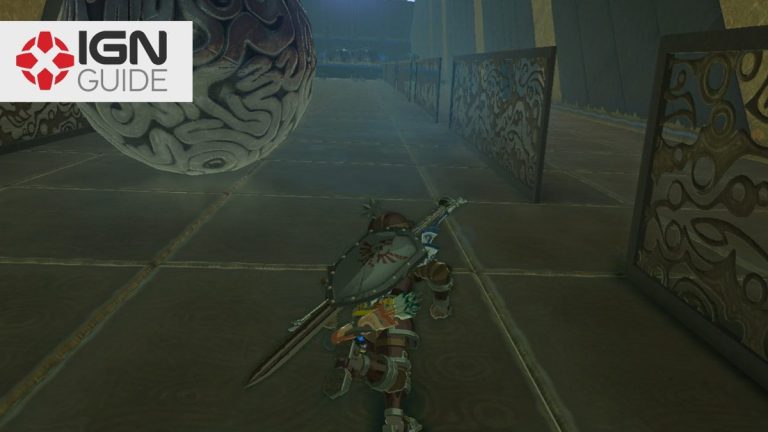
- Enemies: A mini Guardian in room two and a Guardian at the top of the steps in room three.
- Tools Needed: Magnesis and a bow with at least one arrow.
- Bonus Loot: A hidden chest with a Gerudo Scimitar.
The Math: Two batterysphere puzzles, one small key, one block-mirroring puzzle, two Guardian fights, and one bonus chest. That’s a pretty tidy checklist for one Spirit Orb.
Think you’ll need to be a Gerudo desert survivalist to pull this off? Relax. The shrine sits right beside a stable in the highlands, so the desert heat is never your problem here.
Kay Noh Shrine Walkthrough: Step by Step
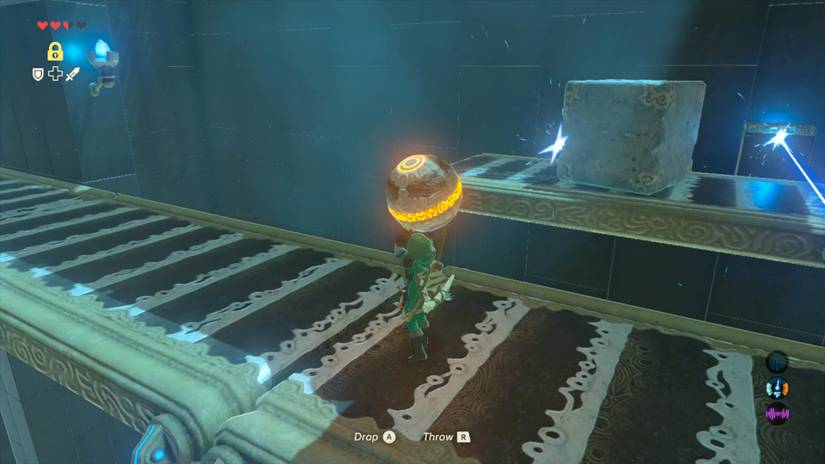
Follow these in order and you won’t backtrack once. Backtracking is the real enemy here.
Room One: The Batterysphere Warm-Up
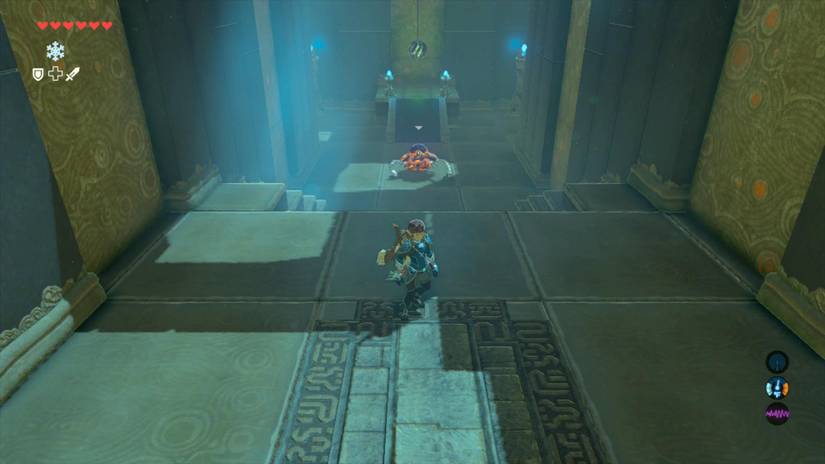
- Step 1: Walk in and spot the two silver balls with glowing green crystals inside. These are batterysphere balls, and they power everything in here.
- Step 2: Grab the ball directly in front of you. Carry it to the empty plugbowl (pedestal) on the right, next to the one that’s already filled.
- Step 3: The door opens. Head up the stairs and move on.
That’s it for room one. It’s basically the tutorial, and it knows it.
Room Two: Rope, Guardian, Conveyor Belt
- Step 4: At the top of the stairs, turn right. The second batterysphere hangs from a rope directly ahead of you.
- Step 5: A mini Guardian guards it. Take it down before you do anything else.
- Step 6: Shoot the rope with an arrow to drop the ball. (Pro tip: stand back and line up the shot first. You don’t want the ball bouncing somewhere awkward.)
- Step 7: Carry the ball back across the hallway to the far left. Drop it into the empty plugbowl on the left. The right one already has a ball in it.
- Step 8: The conveyor belt starts moving and knocks a concrete block to the floor. That block becomes your bridge.
- Step 9: Run along the belt and across the block to the chest. Inside is a small key.
- Step 10: Take the key to the locked door back in the center of the room and unlock it.
Lore Drop: Ancient Sheikah tech loves a good “carry the power source across the room” puzzle. It’s a recurring design theme, and the shrine builders clearly never heard of extension cords.
Room Three: The Pool Puzzle
- Step 11: Climb the stairs. A Guardian waits at the top, and it’s better armed than the last one. Deal with it first.
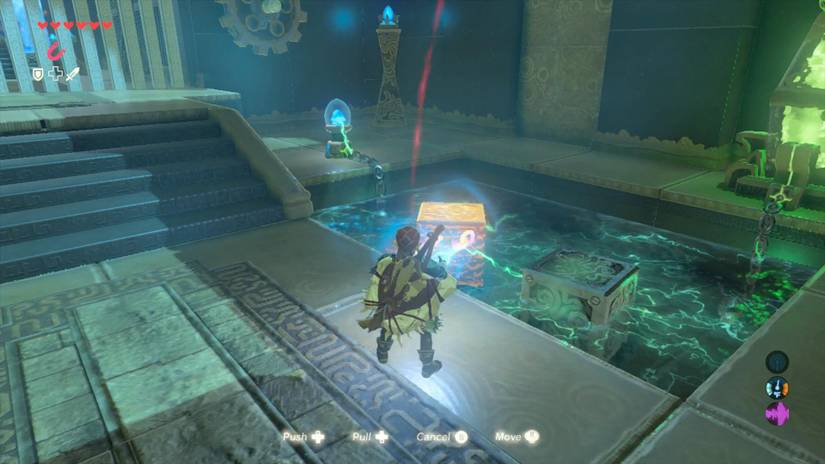
- Step 12: Check the two pools in the center. Each has a node at its head, one glowing blue and one glowing orange.
- Step 13: Look at the left pool. Two blocks glow with electricity. In the right pool, one of them doesn’t.
- Step 14: Use Magnesis to rearrange the blocks in the right pool. Mirror the left pool’s placement exactly.
- Step 15: The charge reaches the orange node and the door opens. Walk up to Kay Noh and collect your Spirit Orb.
Hot Take: This puzzle is only hard if you overthink it. You mostly just need to move the blocks closer together.
Actually, let’s look at the numbers. You’re moving two blocks in one pool to copy two blocks in another. If you’re still stuck after that, the puzzle may not be the problem.
Rewards: Spirit Orb and the Hidden Chest
Finishing the shrine earns you a Spirit Orb from the monk, Kay Noh. That’s one step closer to a Heart Container or a Stamina Vessel.
But don’t leave yet. Plot twist: the best loot isn’t in the shrine’s main path.
- Where It Is: At the top of the stairs in the third room, turn around and look up. A chest sits on a higher ledge.
- How to Get It: Use Magnesis on the chest and pull it down to you.
- What’s Inside: A Gerudo Scimitar.
Most players climb the stairs, solve the pools, and walk out. Don’t be most players.
Pro Tips
- Clear Guardians First: Kill each Guardian before touching the next puzzle. Fighting while carrying a battery ball is a recipe for dropping it.
- Check the Left Pool: If you’re ever unsure about the block layout, just make the right pool look like the left. (Pro tip: that’s the whole solution, so use it.)
- Aim the Rope Shot: One clean arrow cuts the rope. Slow down, zoom in, and don’t waste ammo.
- Look Up Before You Leave: The Gerudo Scimitar chest is easy to miss if you rush to the monk.
- Keep Magnesis Ready: You’ll use it for the pool blocks and the chest, so don’t swap it out mid-shrine.
Actually Do This: Before you hit the monk, climb back to the top of the third-room stairs, turn around, and Magnesis that chest down. It takes about ten seconds and it’s free loot.
Why Kay Noh Shrine Matters
Kay Noh Shrine won’t win any awards for puzzle depth. It’s a quick, friendly stop that teaches you to carry power, use Magnesis, and read a room’s symmetry.
It also rewards the players who look around. A chest on a ledge, a rope you can shoot, a pool that’s a clue to the other pool. Hyrule has a habit of hiding the good stuff in plain sight, and the Wasteland is no exception.
The Gerudo Wasteland is already brutal enough, with the heat, the sand, and the lightning. A shrine that gives you an easy Spirit Orb and a free weapon feels like a fair trade.
So, did you spot the Gerudo Scimitar chest on your first run, or did you walk right past it like the rest of us? Drop your shrine-hunting stories in the comments, and tell me which Wasteland shrine you want broken down next.