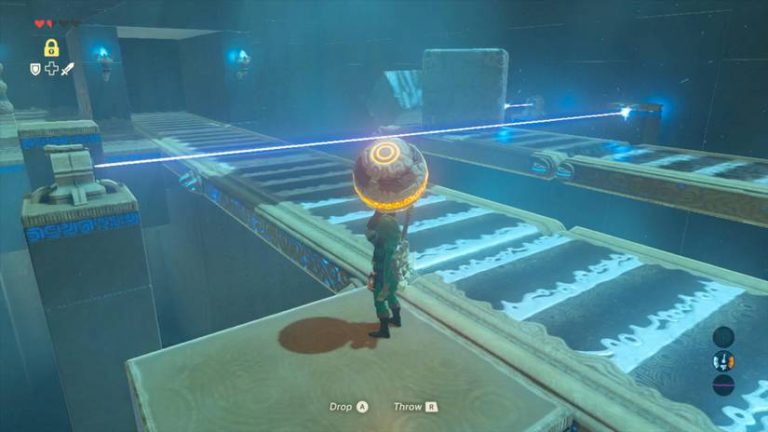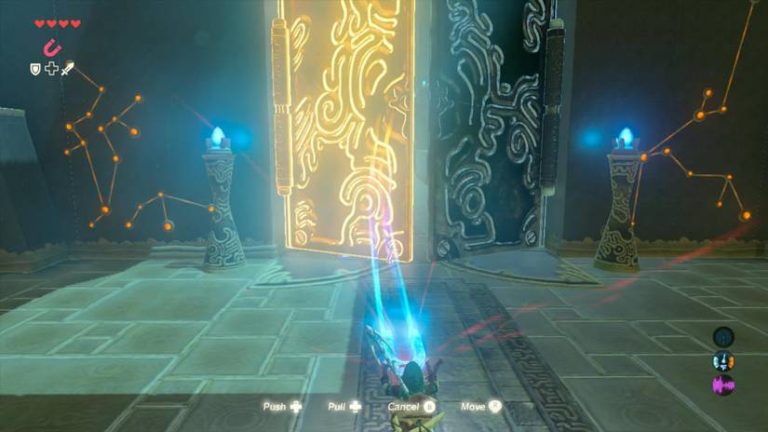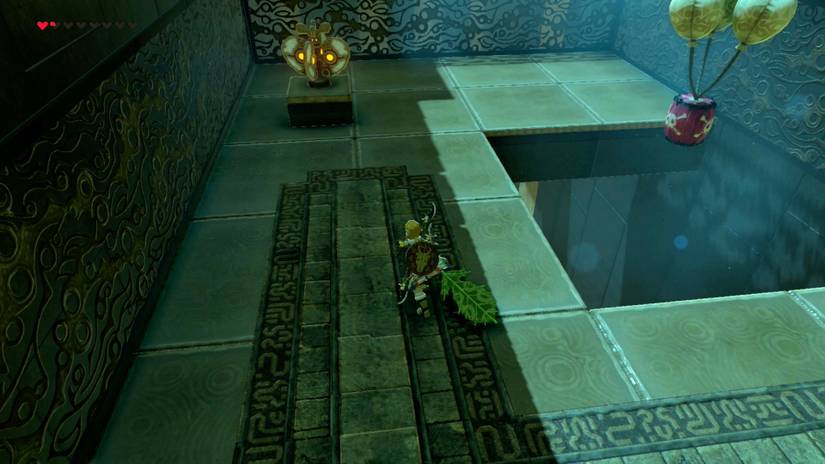
Wind, balloons, bombs, and a whole lot of gliding: Kah Okeo Shrine throws a lot at you. If you’ve ever stood at the entrance wondering where the next switch is, you’re not alone. (Don’t worry, it’s simpler than it sounds.)
This guide splits the shrine into clear steps, room by room. You’ll learn how to uncover the entrance, grab all six chests, and reach the Monk without wasting arrows or patience.
If you’re new to this, a shrine is a small puzzle dungeon. Each one ends with a Monk who rewards you with a Spirit Orb.
Kah Okeo Shrine Location and Overview
Kah Okeo is a Tabantha Region shrine with the “Wind Guide” trial. It sits near the far western edge of Hyrule, in the Rayne Highlands. Most guides rate it as one of the more complicated puzzle shrines in the game.
- Where It Is: Southwest of Tabantha Tower, towards the western edge of the Rayne Highlands and south of an enemy camp.
- What to Look For: A large stone slab on the ground. The shrine is in a hole beneath it.
- Option 1, Octo Balloon: Attach one to the slab and watch it float up and out of your way.
- Option 2, Stasis: Freeze the slab with Stasis, then hit it repeatedly until it launches off.
- Trial Type: Wind Guide. You’ll use the Korok Leaf constantly.
- Recommended Gear: Remote bombs, plus 2-4 extra bomb arrows to make things easier.
(Pro tip: Pack your bombs before you leave the tower area. Several rooms need explosives, and running out mid-shrine is annoying.)
For context, the Korok Leaf is a wind-making item. You swing it to push air at windmills, balloons, and even yourself. This shrine is built around that idea.
Ready to dig in? Here’s the full route.
Kah Okeo Shrine Walkthrough: Step by Step
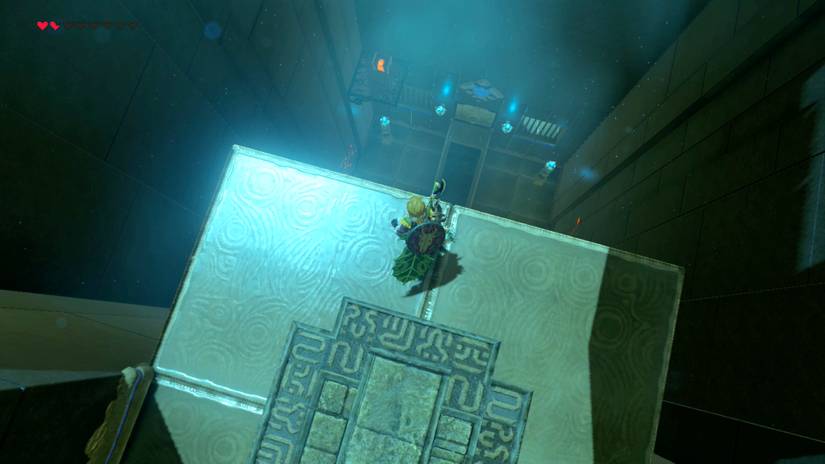
Room 1: Get the Korok Leaf
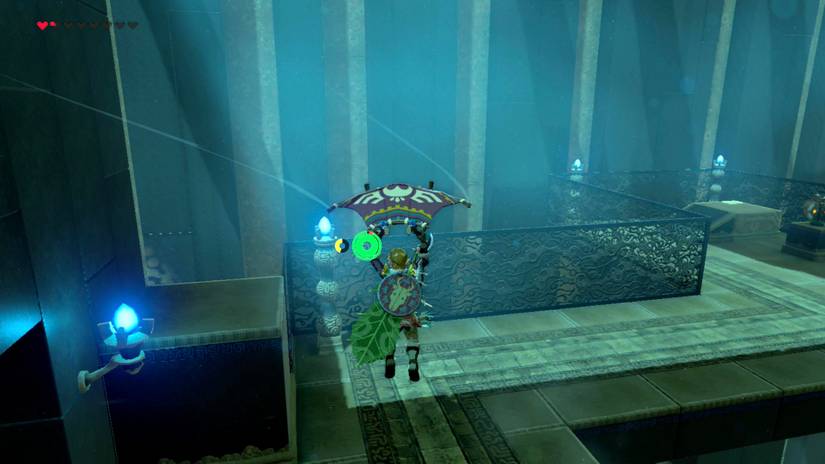
- Step 1: Drop into the hole and walk through the entrance hallway. You’ll reach a locked door with a windmill-style switch that needs a gust of wind.
- Step 2: Open the chest on the left to get a Korok Leaf. You’ll need it for the whole shrine.
- Step 3: Swing the leaf at the windmill to open the gate at the top of the ramp. Run through before it closes.
- Step 4: You’ll spot an explosive barrel tied to balloons in the hallway. You can ignore it and walk to the next room.
(Pro tip: If you want to use the barrel, you can blow it toward the next room with the leaf. It’s optional.)
Room 2: Guardian Scouts and the Balloon Platform
- Step 5: Look down from the platform and you’ll see three Guardian Scouts below. Defeat them before progressing. They are mostly optional unless you fall, but they drop useful loot.
- Step 6: Climb the ladder back to the upper area of the room.
- Step 7: Swing your Korok Leaf at the windmill. A floating platform held up by four balloons will appear.
- Step 8: Step onto the platform and swing the leaf in the direction you want to travel. It handles a bit like a small boat.
- Step 9: Steer toward the unopened chest near the back wall. It holds a gold rupee worth 300 rupees.
- Step 10: Float over to the far side of the room, hop off, and climb down the ladder.
If your platform drifts too far or the balloons pop, don’t panic. Just turn the windmill again to spawn a fresh one.
The Barrel Hallway and Blocked Passage
- Step 11: Move through the hallway with the barrels. In the next room you’ll see the Monk behind a locked door. Just a tease for now.
- Step 12: Continue to the next room, where another Guardian Scout waits. Defeat it first.
- Step 13: Place a remote bomb against the cracked rock wall and detonate it to clear your path.
(Pro tip: Fight the scout before you place the bomb. Stray explosions can mess up your positioning.)
Room 3: Launchers, Gliding, and Updrafts
This is the big, intimidating room. It looks complicated, but it breaks down into a few simple moves.
- Step 14: Stand on the discolored section of floor next to the windmill.
- Step 15: Swing your Korok Leaf at the windmill. This activates the launcher under your feet and sends you flying.
- Step 16: Open your paraglider and glide left. A chest holds a Forest Dweller’s Sword.
- Step 17: Glide to the central platform and climb the ladder.
- Step 18: Use a bomb on the rock in the middle of the column. This reveals an updraft.
- Step 19: Ride the updraft with your paraglider to reach the upper level, then keep using wind and gliding to work your way to the top.
The final stretch builds on the same ideas you’ve already used: windmills, launchers, bombs, and updrafts. Take it one platform at a time, and if you fall, you’ll just land back on a lower level and try again.
Once you make it through, the Monk is waiting. Take your time, because the reward is worth it.
Kah Okeo Shrine Rewards
This shrine is generous. You get six chests plus the standard completion reward. Three of them are the Korok Leaf, the Gold Rupee and the Forest Dweller’s Sword above; the other three sit along the final stretch: a Small Key (needed for the door to the Monk), a Giant Ancient Core, and a Thunderspear.
| Reward | Where You Get It | Why It’s Useful |
|---|---|---|
| Korok Leaf | Room 1 chest | Required for the puzzles, and handy for wind effects later |
| Gold Rupee (300) | Room 2 chest, via balloon platform | Good for buying arrows, armor, and ingredients |
| Forest Dweller’s Sword | Room 3 chest, left of the launcher | A fresh weapon for your inventory |
| Small Key | Chest at the top of the final climb | Opens the door to the Monk |
| Giant Ancient Core | Chest reached by moving the balloon platform before the floor spikes | Rare upgrade and selling material |
| Thunderspear | Chest on a platform near the end | Shock damage spear |
| Spirit Orb | The Monk at the end | Trade four orbs for a Heart Container or Stamina Vessel |
(Pro tip: If you’re not sure whether to pick hearts or stamina, newer players often lean on hearts for survival. Stamina helps with climbing and gliding later.)
Pro Tips for Kah Okeo Shrine
- Bring Extra Explosives: Pack 2 to 4 extra bomb arrows. They make several sections far less fiddly.
- Octo Balloon vs. Stasis: If you have an Octo Balloon, use it on the entrance slab. It’s quicker than freezing and whacking.
- Beginner Tip: You can reset the balloon platform at any time by swinging at the windmill again. Don’t fight a broken one.
- Skip the Barrel: The balloon-held explosive barrel in Room 1 isn’t needed. Don’t waste time chasing it.
- Watch Your Stamina: You’ll be gliding a lot in Room 3. Take the long way if your wheel looks low.
- Fighting the Scouts: They’re easy and drop loot. Lure them out and use a few arrows or a sword combo.
- Don’t Rush Rooms: If you land on the lower floor, you can usually climb back up. Falling isn’t punishing here.
- Check the Chests First: The three chests are spread out, so scan each room before you move on.
(Pro tip: Save your game before Room 3. If you want to try different glide routes, you can reload and avoid backtracking.)
Why Kah Okeo Shrine Matters
Kah Okeo isn’t just another stop on your Spirit Orb checklist. It’s a hands-on tutorial in how Breath of the Wild lets you combine tools. Wind, bombs, balloons, and gliding all show up in one tidy package.
According to the in-game lore, shrines are ancient Sheikah trials designed to test a hero’s skills. This one tests your ability to read the environment and improvise, and the lessons carry over to the rest of Hyrule.
You also walk away with a Korok Leaf, a gold rupee, a sword, and a Spirit Orb. That’s a strong haul for one shrine in the Tabantha Region.
So, how did the Wind Guide trial treat you? Did the balloon platform make you laugh or swear, and which room gave you the most trouble? Share your best glide stories in the comments, and happy exploring!