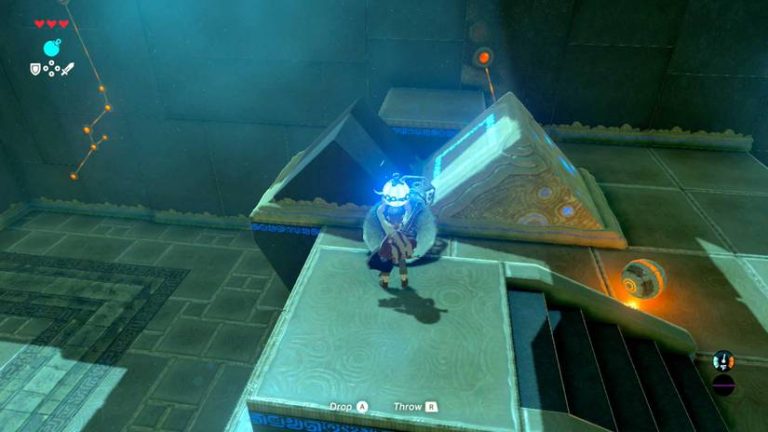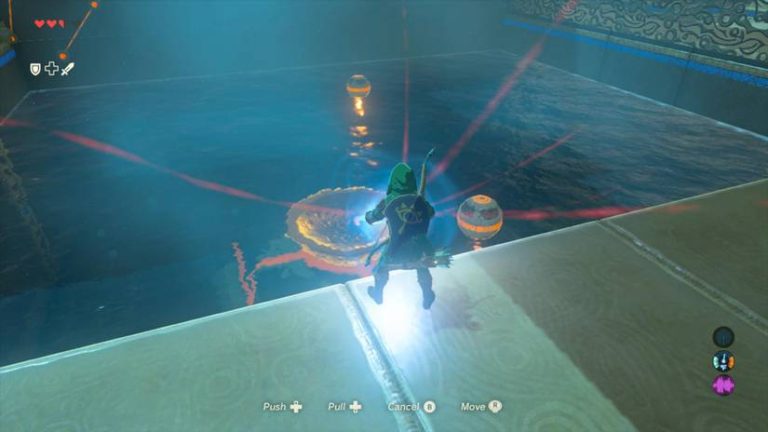
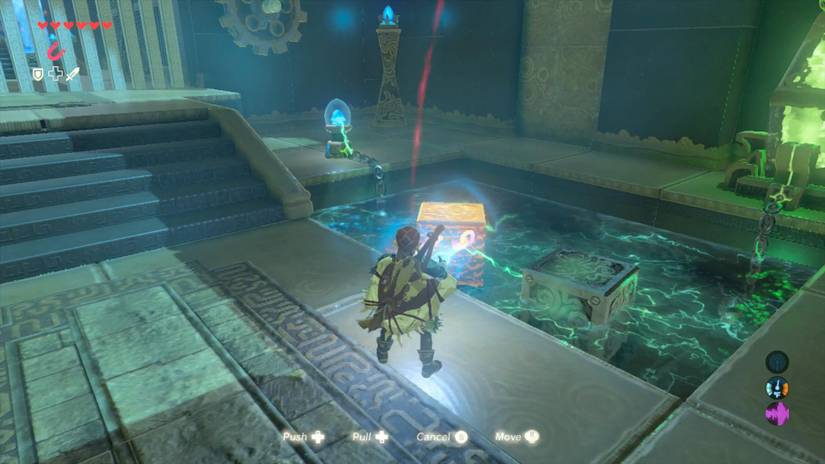
Lasers, conveyor belts, and a rolling ball that refuses to cooperate: welcome to the Jee Noh Shrine. If your first reaction is a nervous laugh, that’s completely fair. Take it at your own pace.
This shrine is basically a Stasis Rune exam, and it’s a gentle one once you learn its rhythm. I’ll walk you through every room, including the hidden opal chest that’s easy to miss.
For the record, I checked every single detail below, so you can relax and enjoy the puzzle.
Where to Find Jee Noh Shrine
Jee Noh Shrine sits in the Gerudo Desert region, at the bottom of a deep gorge in the Wasteland Tower area. It’s on the pathway connecting Central Hyrule to Gerudo Valley, at the mouth of a valley south of Mount Nabooru.
Guides describe the approach a little differently, but they all point to the same gorge road. Pick whichever route fits where you’re standing.
- Region: Gerudo Desert, in the Wasteland Tower area, at the base of a gorge.
- Easiest Approach: Activate Wasteland Tower (northwest of Vah Naboris) and glide east into the gorge.
- By Road: Head northeast along the path from Gerudo Canyon Stable, or south along the path from Outskirt Stable.
- From the Great Plateau: Leap west off the plateau near Keh Namut Shrine to reach the road below, then follow it toward the gorge.
- Shrine Type: A Stasis-focused trial called On the Move, with three puzzle rooms, ending with Monk Jee Noh.
- Bring: A bow and at least four regular arrows, plus a few extras for retries.
Checklist: Stasis Rune, Magnesis Rune, a bow, and a pocket full of arrows. That’s all you need.
You’ll also meet a couple of Guardian Scouts (Mini-Guardians) along the way. They’re not very dangerous, but they do keep you moving.
Jee Noh Shrine Walkthrough: Step by Step
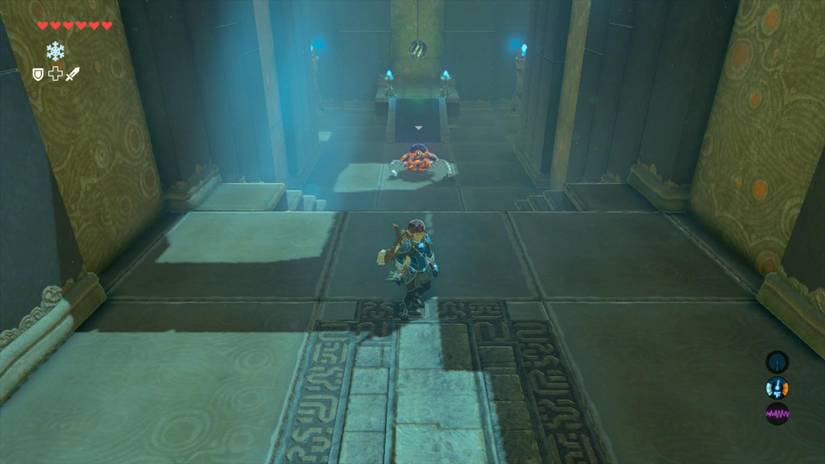
The shrine is three rooms, each with its own puzzle. The first two teach you the trick, and the third is where you put it to the test. Nobody is timing you.
Room One: The Rolling Ball
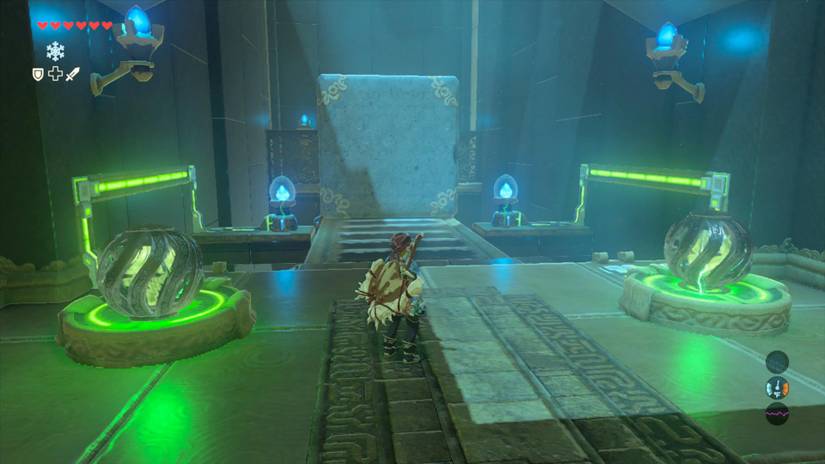
- Step 1: Walk forward and look at the conveyor belt in front of you. A ball rolls along it, and just beyond it you’ll spot a bowl-shaped receptacle.
- Step 2: Watch the ball’s path and wait until it’s lined up with the slot.
- Step 3: Hit the ball with your Stasis Rune. You can also freeze the belt in front of the slot and let the ball roll to a stop.
- Step 4: Shoot the frozen ball with an arrow. Hits on time-frozen objects store energy that releases when the freeze ends, so the ball gets a real shove.
- Step 5: The ball drops into the groove and the door opens.
(Pro tip: if you miss, don’t worry. Let the ball come around and try again.)
Room Two: Mini-Guardians Join In
- Step 6: Step into the next room. It has another conveyor belt, but now a Mini-Guardian flanks each side of the ball.
- Step 7: Take the Guardians out with arrows if you have some to spare. Otherwise, just keep moving, because their shots are slow and easy to dodge.
- Step 8: This belt moves more slowly. Wait until the ball is almost in position, then freeze it with Stasis.
- Step 9: Snipe the frozen ball with an arrow to knock it into the receptacle. The next door opens.
Take Your Time: Clearing the Guardians first lets you line up your shot without strafing. If you’re short on arrows, though, moving works just fine.
Room Three: Lasers and Two Conveyor Belts
Take a deep breath. This room has two conveyor belts, lethal lasers firing across both, and a receptacle on the far side. You need to carry a sphere across, using the large stones and crates as cover.
Don’t skip this one: the chest here is easy to miss if you rush onto the belt.
- Step 10 (Chest First): Before you step onto the belt, switch to Magnesis and wait on the platform. Watch the conveyor belt on the other side of the room.
- Step 11: A chest rides into view. Grab it with Magnesis, pull it over to you, and open it for an opal.
- Step 12: To the right of the door you came through, pick up the sphere waiting in the dispenser.
- Step 13 (First Laser): You’re running against the belt, so carrying the sphere may not leave you fast enough to pass while the stone blocks the beam. Either toss the sphere forward, or Stasis the middle platform and run past while the stone is in place.
- Step 14 (Second Laser): This laser is on your side of the belt, so you can’t block it with cover. Duck onto the platform on the left to catch your breath, then Stasis the conveyor belt in front of you. Stasis also works on laser emitters, so that’s another option.
- Step 15 (Third Laser): Get ready to run, but not too far. Wait for a large crate to slide in and block the final laser.
- Step 16: Once you’re past the last laser, run left to safety and place the orb in the bowl.
- Step 17: The last gate opens on your right. Walk through and speak with Monk Jee Noh to claim your Spirit Orb.
(Pro tip: keep the sphere close at hand when you use Stasis. That belt can pull it away from you faster than you’d think.)
Rewards and Collectibles
Here’s your checklist:
| Reward | How to Get It | Progress |
|---|---|---|
| Opal (chest) | Magnesis the chest off the far conveyor belt in Room Three | 1 of 1 |
| Spirit Orb | Speak with Monk Jee Noh in the final chamber | 1 of 1 |
Lore Connection: Each Spirit Orb is a monk’s blessing, and you can trade four of them at a Goddess Statue for a Heart Container or a Stamina Vessel. Every shrine you finish makes Link a little sturdier for the road ahead.
The opal is a small treasure, but a completionist always opens the chest. It’s also a nice bit of rupee money if you sell it.
Pro Tips for a Smooth Run
- Arrow Count: Bring at least four regular arrows, and more than you think you need. The shots can be fiddly, and you’ll want room for mistakes.
- Shield Option: You can parry the Mini-Guardians’ shots with a shield. Arrows are usually quicker and easier, though.
- Stasis Shots: Hitting a frozen object stores energy until the freeze ends. Fire a few arrows at the ball before the timer runs out for a stronger shove.
- Laser Safety: Use the left-side platform in Room Three as a safe spot. It’s the best place to reset your nerves between lasers.
- Controls: If you use motion aiming, give yourself a moment to settle before each shot. Get comfy with those bumper buttons!
- Retry Freely: If a laser catches you, you just restart the room. Nothing is lost except a little patience.
Missable! The opal chest only shows up while you’re watching the far belt from the platform. If you hop onto the belt first, you may have to come back for it.
Why Jee Noh Shrine Matters
Jee Noh isn’t the hardest shrine in the game, but it’s a great lesson in how Stasis works. Freezing a belt, stopping a ball, and timing a laser are skills you’ll use in plenty of later puzzles.
It’s also a good reminder that there’s no wrong way to do this. Some players sprint through, and some stop to read every sign. Both are fine, and it’s a marathon, not a sprint.
Now you’ve got your Spirit Orb and your opal, and the desert is waiting. How did you handle that third room: a Stasis dash, or a quick toss of the sphere? Share your approach in the comments, and take it at your own pace to the next shrine.