So here’s the deal: Hawa Koth Shrine sits at the far edge of the Gerudo Wasteland, and just getting there feels like its own little adventure. Sandstorms, bokoblins, and a giant skeleton looming out of the dunes. I’m in.
The shrine’s trial is called The Current Solution, and yes, the pun is fully intended. It’s an electric puzzle built around Magnesis, with a few sneaky chests tucked away in the corners.
Look, I get it. Electric puzzles can feel like a tangle of wires and bad decisions. Stick with me and you’ll walk out of here with every chest and a fresh Spirit Orb.
Where to Find Hawa Koth Shrine
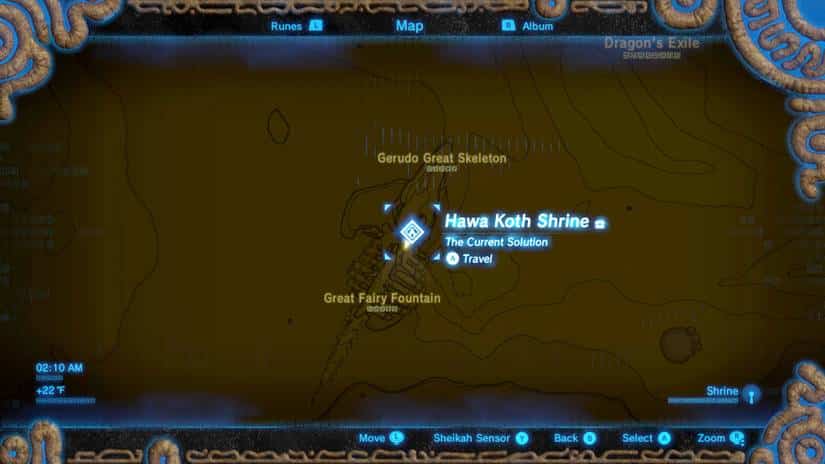
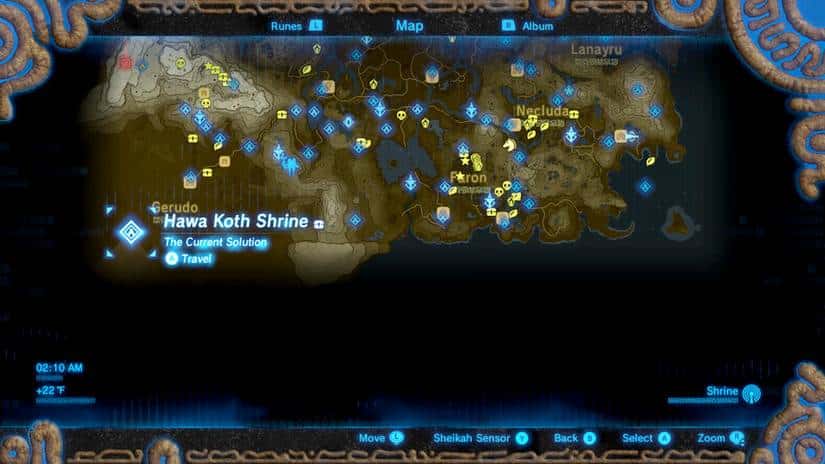
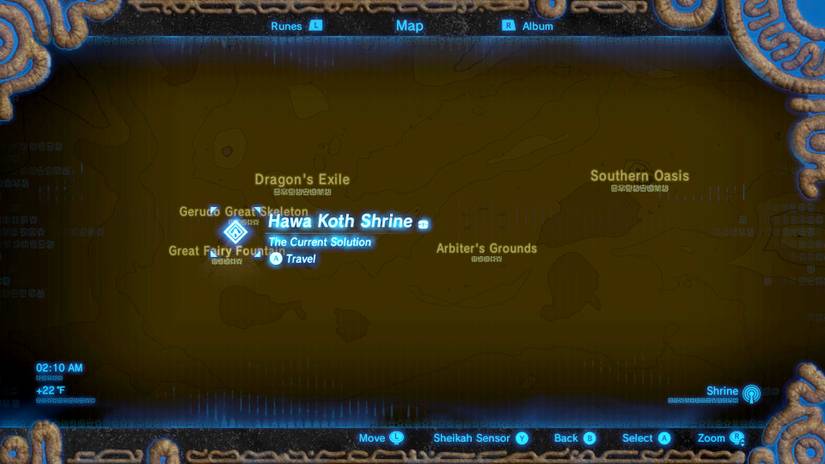
The Setup: This shrine is one of the 120 in the game, and it’s tucked into the southwest corner of the Gerudo Wasteland. You’ll find it underneath the Gerudo Great Skeleton. The devs hid this in plain sight, because that giant pile of bones is your landmark.
- Region: Gerudo Wasteland, in the far southwestern reaches of Hyrule.
- Starting Point: Leave Gerudo Town and head due southwest through the desert.
- Landmark: Look for the Gerudo Great Skeleton. The shrine entrance is right underneath it.
- Hazards: Expect a sandstorm and a few bokoblins along the way.
- Nearby Bonus: Tera’s Great Fairy Fountain is very close, so you can power up your gear while you’re out here.
There’s no puzzle to open the shrine itself. Once you spot the bones, just walk in when you’re ready. (Pro tip: sandstorms kill your visibility, so keep heading southwest and watch for the skeleton rising out of the haze.)
Hawa Koth Shrine Walkthrough: The Current Solution
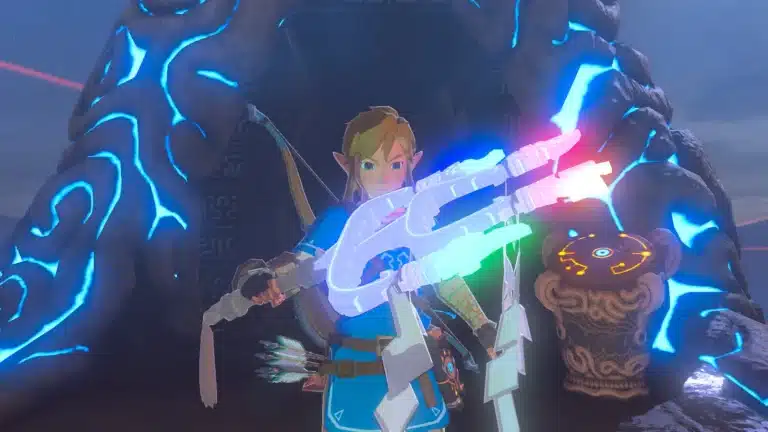
You’ll want Magnesis ready and Stasis handy for the final room. Everything here revolves around getting electricity where it needs to go. Let’s take it room by room.
Room One: Cubes and Currents
- Step 1: Use Magnesis to pick up the two large metal cubes in the middle of the room.
- Step 2: Set the cubes next to one another on the pedestals. This expands the electric field out to the switch on the right.
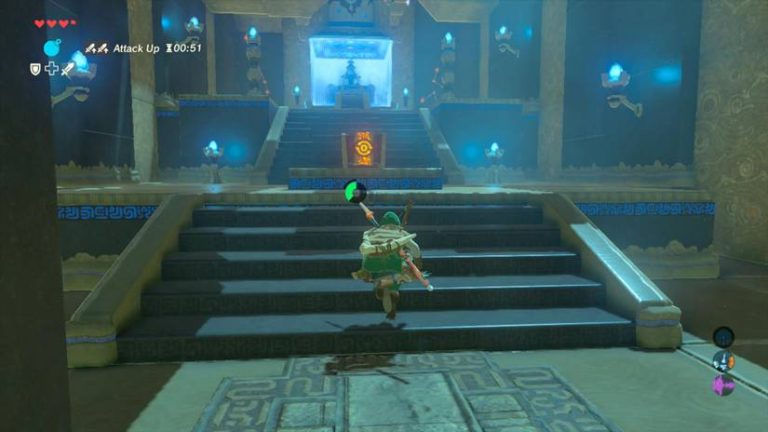
- Step 3: Head through the door that opens into the larger room.
This is the tutorial room, and it teaches you the core idea. Metal conducts, so you build the path. Keep that in mind.
Room Two: Chest in the Water and the Ball and Chain
- Step 4: Look to the right, in the flow of water, and you’ll spot a Treasure Chest.
- Step 5: A mini Guardian up above may spot you. Reflect its shot back at it with your shield.
- Step 6: Use Magnesis to pull the chest out of the water onto dry land. Open it for an Ancient Core.
- Step 7: Turn to the electrified ball and chain wrapped around the column. Use Magnesis to unwind it.
- Step 8: Place the ball near the switch (the crystal), and do not touch the chain while you do it. The ball electrifies the switch and a small elevator starts up.
When I first got here, I zapped myself on that chain without even thinking. Don’t be me. Hold the ball with Magnesis and keep your body clear of the chain.
Here’s Where It Gets Wild: the elevator takes you to the top, where an un-tethered electric ball is waiting for you. This is your key tool for the rest of the shrine. Treat it like a very dangerous, very useful battery.
The Bridge: Guardians, Switches, and Hidden Gold
- Step 9: Pick up the loose ball with Magnesis and carry it along the bridge, steering clear of the crystals.
- Step 10: Use the ball to trigger the switches near the mini Guardians. Each one flips the flooring under a Guardian and drops it into the water.
- Step 11: With all three down, keep moving forward, and be careful not to flip yourself into the water.
- Step 12: Look to your right near the end of the path for a circular switch above a door. Place the ball on it to open the gated door.
- Step 13: Step inside and open the Treasure Chest for a Gold Rupee worth 300.
This section is a real highlight. Dumping Guardians into the water with your own electric ball is deeply satisfying. It also clears the path so you can move without getting shot at.
Once you’ve grabbed the gold, head back out and pick the ball up again. You’re not done with it yet.
Final Room: The Circuit
- Step 14: Carry the ball to the end of the bridge and place it in the socket on the left, near the gate to the monk. A gear starts turning.
- Step 15: Walk into the room through the door on the wall opposite the socket.
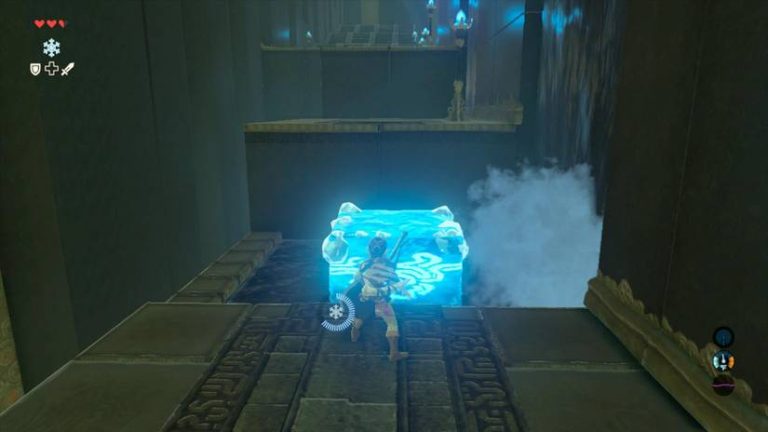
- Step 16: You’ll see blocks on a rail system forming a circuit. Before you step on the floor switch, use Stasis on the closest center block.
- Step 17: With the block frozen, step on the floor switch. Then use Magnesis on the metal bar to the left and slide the metal pieces into place to complete the circuit.
- Step 18: With the circuit complete, a gate behind you opens up.
The Stasis trick is the whole puzzle here. Freeze that center block first, then work the floor switch and the metal pieces around it. (Pro tip: if the timing goes sideways, step off, reset your blocks, and try again. Nothing in here punishes you for experimenting.)
Behind you, that new gate hides one more secret. Use Magnesis to move the large gear, then open the Treasure Chest it was blocking for a Sapphire. Take the gear out in front of the Monk’s area, and you’re good to go.
Rewards and Treasure Checklist
- Ancient Core: Fished out of the water in the second room. Great for Ancient gear upgrades.
- Gold Rupee (300): Hidden behind the gated door on the bridge.
- Sapphire: Found in the chest behind the large gear after the final circuit.
- Spirit Orb: Awarded by the monk when you finish the trial.
That’s a pretty generous haul for one shrine. Between the core, the gold, and the gem, you’ll leave with real value. Not bad for a trip through a sandstorm.
Pro Tips
- Watch the Chain: Never touch the chain while you’re carrying the electrified ball. Keep your distance and place it carefully.
- Parry the Guardian: Reflecting the mini Guardian’s shot is the cleanest way to deal with it before you fish out the chest.
- Mind the Edges: The flip floors can dump you in the water too. Move slowly once the Guardians are gone.
- Stasis First: In the final room, freeze the closest center block before you touch the floor switch. Order matters.
- Don’t Skip the Gear: The Sapphire chest is easy to miss. Check behind you after the circuit completes.
- Hit the Fountain: Tera’s Great Fairy Fountain is right next door, so plan to upgrade some armor on your way out.
Why Hawa Koth Shrine Matters
The Payoff: This shrine is a fun puzzle on its own, but it also feels like a great lesson in how Breath of the Wild treats physics. Everything is a tool, and you decide how to use it. A metal ball becomes a weapon, a key, and a battery all at once.
I also love how the location sells the mood. A lonely skeleton in the desert, a hidden entrance, and a quiet monk waiting at the end. You’re not ready for this one if you’re expecting a boring shrine. It’s got character.
Anyway, that’s the full run through The Current Solution. How did you handle those mini Guardians: parry and flip, or just sprint past? Drop your best strategy in the comments, and tell me which shrine you want me to tackle next.