Ever walk past a shrine ringed with spikes and think, well, that looks rude? Ha Dahamar Shrine is exactly that, and it’s also one of the friendliest little puzzles in the Dueling Peaks region once you know the trick.
Grab your Sheikah Slate, because Cryonis is about to get a real workout. There’s no wrong way to approach this, and I’ll walk you through every ice block, chest, and orb at a relaxed pace.
You’d be surprised what a few well-placed blocks of ice can teach you about the whole game. Let’s head in.
Ha Dahamar Shrine Location and Overview
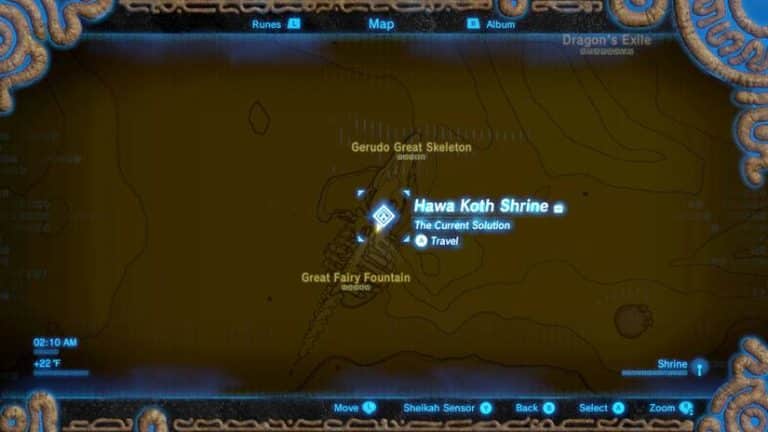
Ha Dahamar Shrine sits in the Dueling Peaks region, just across the road from the Dueling Peaks Stable. It’s on the opposite side of the peaks from the Dueling Peaks Tower, so it’s easy to find if you’re already passing through.
The shrine is a Water Guides Trial, and the name tells you what to expect. Water, ice, and a stubborn ball.
- Shrine Trial: Water Guides Trial, a puzzle shrine with no combat.
- Region: Dueling Peaks, right beside the stable and the road.
- Required Rune: Cryonis. You’ll use it constantly, so make sure it’s ready on your Sheikah Slate.
- The Spikes: The entrance is surrounded by spikes you can’t simply jump over. They only deal minor damage, and they vanish once you clear the shrine.
- Difficulty: Beginner-friendly. The only fiddly part is the final ball puzzle.
- Checklist: 1 chest, 1 Spirit Orb, and 1 monk to meet. That’s 3 of 3 for a full clear.
Take Your Time: You don’t need to rush this one. It’s a short shrine, and experimenting with ice placement is half the fun.
Ha Dahamar Shrine Walkthrough: Step by Step
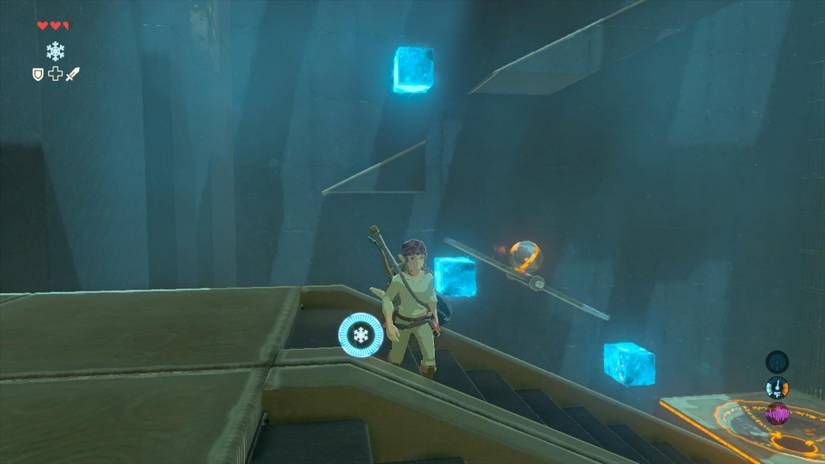
Here’s the full route from the spikes to the Spirit Orb. Follow along at whatever speed feels good.
- Step 1: Get past the spikes. Climb the cliff to the west of the shrine and use your paraglider to soar over the spikes and land inside. (Pro tip: you can also use Cryonis to make a platform that floats you over the spikes.)
- Step 2: Ready Cryonis. Pull it up on your Sheikah Slate as soon as you land. You’re going to be using it a lot.
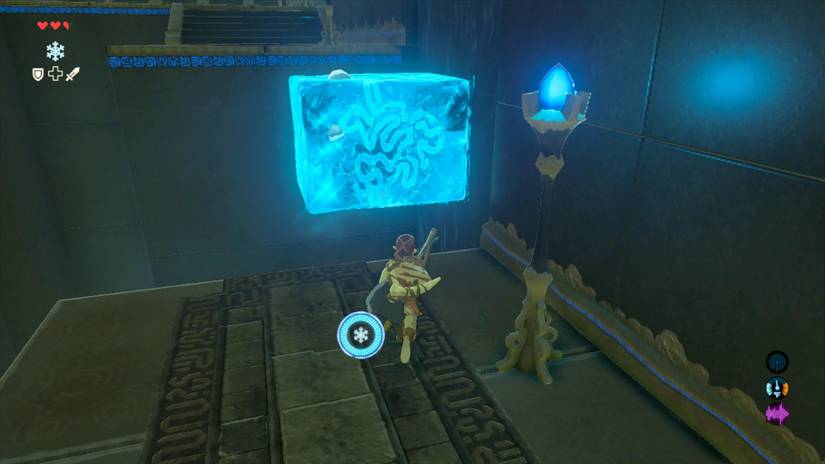
- Step 3: Cross the shallow pool. Stick to the right and follow the walkway deeper into the shrine. When you reach the shallow pool, create an ice block on the water to lift yourself up and continue.
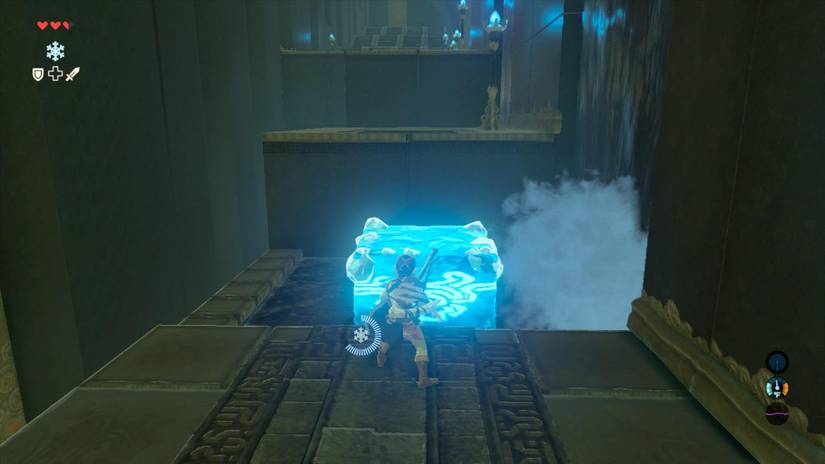
- Step 4: Climb the waterfall wall. A little further on, water streams down the wall on your right. Create an ice block right on the wall, then jump up to the platform above.
- Step 5: Spot the chest. Turn around and look back. There’s a platform above where you just came from, and it has a chest on it.
- Step 6: Build your steps to the chest. Create two more ice blocks on the wall in a step-like pattern, one lower and one higher, and climb up. Open the chest for a purple rupee.
- Step 7: Find the main puzzle. Turn back around and climb about halfway up the wide stairs. Look to your right and you’ll see the ball puzzle.
- Step 8: Place three ice blocks. The first stops the ball and drops it onto the seesaw. The second holds the seesaw in place. The third bounces the ball into the bowl.
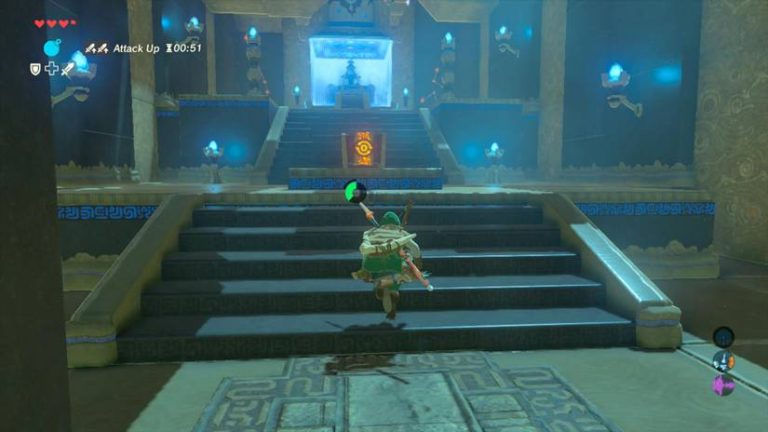
- Step 9: Head to the monk. When the door opens, go back down the stairs, then down the ramp on your left. Your well-earned Spirit Orb is waiting.
This is one of those moments worth slowing down for. Watching the ball roll through your ice blocks and land in the bowl is a small, satisfying payoff.
Missable! Not truly, since you can come back anytime. But the chest is easy to overlook because it’s out of sight until you turn around, so grab it before you head for the puzzle.
Rewards and Collectible Tracker
Shrines are small, but they pay off nicely. Here’s what you can tick off before you leave.
| Item | Where to Find It | Reward |
|---|---|---|
| Treasure Chest | Platform above the waterfall wall, reached with two ice blocks | Purple Rupee (50 rupees) |
| Spirit Orb | Past the final door, down the ramp on the left | 1 Spirit Orb |
| Spikes Cleared | Outside the shrine, after completion | Easy access from now on |
- Spirit Orb: Collect four and you can trade them for a Heart Container or a Stamina Vessel.
- Purple Rupee: It’s worth 50 rupees, which is a handy boost this early in your adventure.
- Full Heal: Completing the trial replenishes your hearts, so don’t worry about any spike damage on the way in.
- Fast Travel: Once you’ve entered, the shrine becomes a travel point, which is great for exploring the Dueling Peaks area.
- Checklist: Chest opened, puzzle solved, orb collected. That’s 3 of 3 done.
Pro Tips for Ha Dahamar Shrine
- Aim at the Water: Cryonis works on any water source, even a vertical waterfall. Point it right at the falling water and the ice extends out as a platform. (Pro tip: this trick comes up all over Hyrule, so it’s worth getting comfortable with it here.)
- Use the Glide: The cliff to the west gives you a clean launch over the spikes. Climb high enough and you’ll have plenty of room to land.
- Get Closer to the Puzzle: Placing the three ice blocks can be fiddly from far away. Walk Link closer to where you want each block, and your aim gets much easier.
- Reset Without Stress: If a block lands badly, break it and try again. Nothing is timed, and nobody is watching.
- Think Like the Ball: Picture the path the ball takes. Block one stops it and drops it, block two stops the seesaw from tipping away, and block three bounces it into the bowl.
- Grab the Chest First: You’re already on the right side of the room, so take the purple rupee before the main puzzle. (Pro tip: it saves you backtracking later.)
- Stock Up Before You Go: The stable is right across the road. Rest, cook, or resupply, then walk over with a clear head.
Lore Connection: Cryonis is one of the Sheikah Slate’s runes, and Ha Dahamar is a trial built to test it. The shrines are Sheikah-made tests that train you in the very tools you’ll need to take on Calamity Ganon. Every little ice block is practice for the bigger journey.
One more thing before you move on: take a look at the spikes after you exit. They’re gone, and that’s a small reminder that the world responds to what you do.
Why Ha Dahamar Shrine Matters
Ha Dahamar Shrine may be short, but it’s a lovely lesson in how Cryonis really works. It teaches you to treat waterfalls as climbing surfaces and ice as a tool for steering objects, not just a bridge.
That kind of thinking pays off again and again. Later shrines and puzzles will build on it, and you’ll feel ready for them.
It’s also a great reminder of why exploring everything is so rewarding. The chest you almost missed, the glide you almost skipped, the Spirit Orb waiting at the end. You’d be surprised what’s hiding in the side content.
It’s a marathon, not a sprint, so enjoy each shrine as it comes. Every orb you collect brings you a little closer to that next Heart Container or Stamina Vessel.
So how did your Ha Dahamar run go? Did you glide over the spikes or float across with Cryonis, and did you find the chest on your first look back? Share your favorite shrine solutions in the comments, and happy exploring!