Sparks, sliding platforms, and a very stubborn metal cube: Dako Tah Shrine is a shocking little puzzle box. If you’ve ever been zapped while trying to grab your own equipment, you’re in good company.
The good news is that the whole shrine comes down to one idea. You carry an electric cube around with Magnesis and use it to power whatever needs power. Let’s walk through it together.
Dako Tah Shrine Location and Overview
Dako Tah sits in the Wasteland region, so plan your trip before you leave Kara Kara Bazaar. The desert is big, hot, and unforgiving if you head out unprepared.
- Location: North of the oasis of Kara Kara Bazaar, in the Great Cliffs area. Another guide places it southeast of Gerudo Tower in the Wasteland tower area, so both descriptions point you to the same stretch of desert.
- Transport: Bring a Sand Seal. (If you’re new to this, Sand Seals are rideable desert creatures that make crossing the sand much faster than walking.)
- Shrine Quest: The Eye of the Sandstorm. Nobiro at Kara Kara Bazaar tells you about treasure hidden in the sandstorm over the Great Cliffs. The storm only calms between 9:00 PM and 4:00 AM, so go at night. The trial itself is called Electric Path.
- Rune Needed: Magnesis, which lets you pick up and move metal objects. The whole shrine depends on it.
- Enemies: A few mini Guardians, which are small, shrine-sized cousins of the big laser-firing ones.
- Loot: Four treasure chests (one holds a Silver Rupee) and the Spirit Orb waiting at the altar.
Lore-wise, Guardians were built by the ancient Sheikah as defensive machines. Seeing their smaller versions patrol a shrine hallway is a nice hint at how widely that technology was used.
Dako Tah Shrine Walkthrough: Step-by-Step Solution
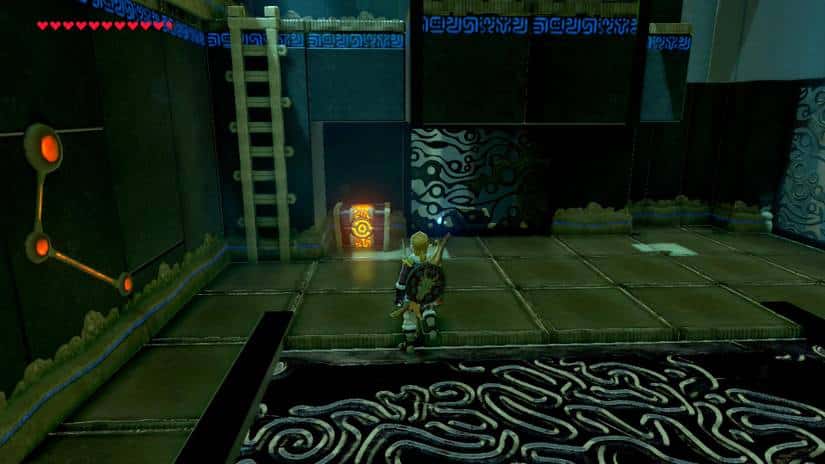
Here’s the step-by-step. Take your time, because most mistakes in this shrine come from stepping on the wrong floor, not from the puzzles themselves.
- Step 1: Walk up the stairs, turn right, and take out the mini Guardian. Then follow the hallway ahead.
- Step 2: You’ll reach a room with a deep pit and a moving platform that travels from one side to the other. An electric rail on the left wall powers it. Hop on and ride across.
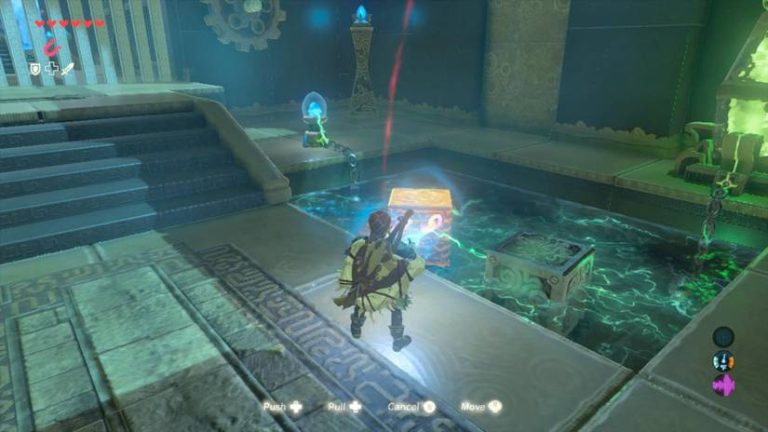
- Step 3: On the far landing you’ll see a small cage holding an electric crystal (the cube). Pulling it out of the rail’s circuit turns the platform off, so don’t grab it carelessly.
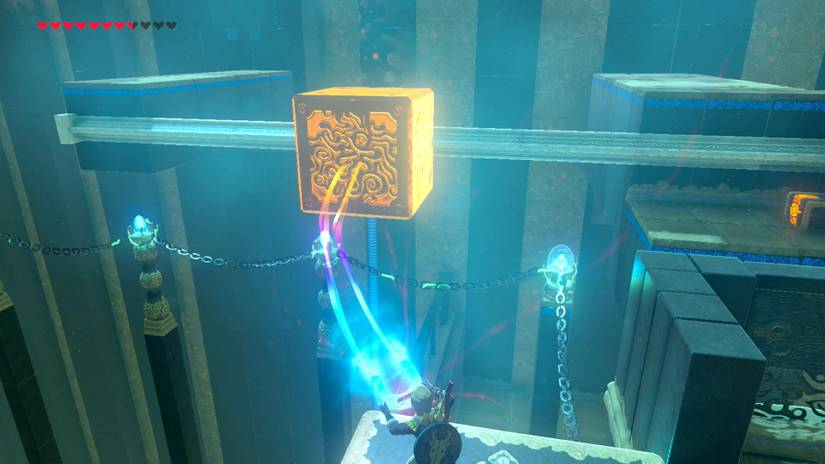
- Step 4: Use Magnesis to grab the cage and hold it against the electric rail on the wall. Step onto the platform and keep the cube against the rail as you ride. This keeps the power flowing, and when you reach the other side you can step off.
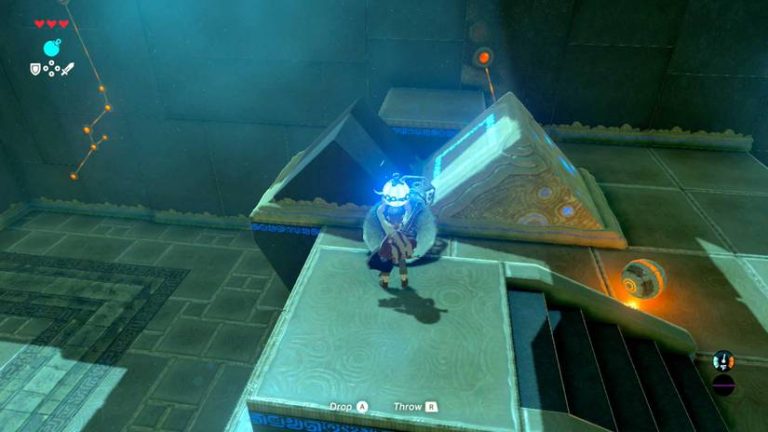
- Step 5: Carry the cube up the small ramp to the glowing orange node. Place the cube within reach of it to power the platform it sits on.
- Step 6: Ride the platform up and hop off when you see a chest. Inside is a Moonlight Scimitar.
- Step 7: Get back on and ride all the way up, bringing the cube with you. You’ll still need it.
- Step 8: In the next room, a couple of mini Guardians stand on a metal floor below you. Drop the electric cube onto the metal to shock and dismantle them.
- Step 9: Use Magnesis to lift the cube off the metal floor and set it somewhere off to the side. Do not walk onto the metal to fetch it, or you’ll be shocked.
- Step 10: Jump down and turn around. A chest next to a wooden ladder holds an Ancient Core.
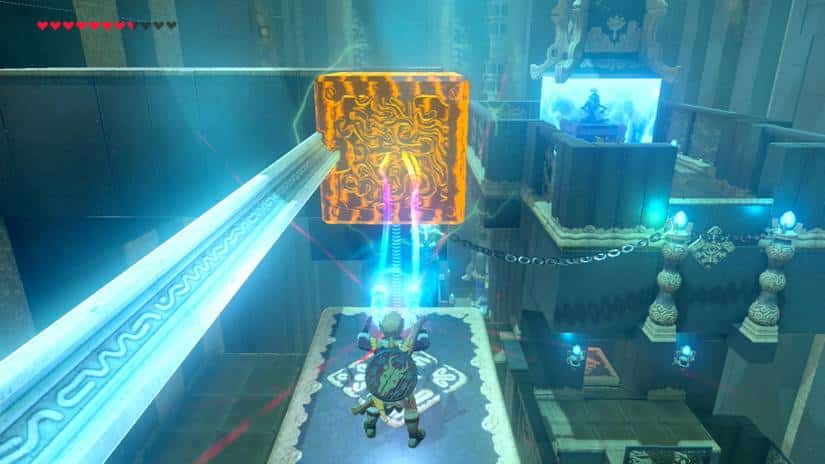
- Step 11: Aim Magnesis at the big metal block at the back of the room, without getting too close, and push it away from you. It slides along its rail and opens a path.
- Step 12: Pick up the cube, walk through the opening, and take the ramp down. Set the cube down somewhere safe, then hit the switch and wait for a platform to rise.
- Step 13: Ride the platform down and open the chest for a Silver Rupee, worth 100 rupees.
- Step 14: Ride back up, grab the cube again, climb the ramp, and use the second moving platform to reach the shrine’s highest point.
- Step 15: At the top, drop the cube onto the charger to activate another moving platform. Placing the cube on a small platform is what opens the route to the end of the shrine.
- Step 16: As you ride, push the metal block away with Magnesis. Once you’ve passed it safely, pull it back to where it started. This reveals the last chest.
- Step 17: Jump to the chest when you get the chance. It holds a Radiant Shield.
- Step 18: Wait for the platform to return, or just glide over to the altar. Speak with Dako Tah to receive the Spirit Orb.
Worth noting: the guides disagree slightly on the exact order of a few moves, such as which direction the first platform carries you. If something doesn’t match, trust what’s on your screen and keep the cube powered.
Rewards and Benefits
Dako Tah pays out well for a single shrine. Here’s everything you can collect.
| Reward | Where to Find It |
|---|---|
| Moonlight Scimitar | Chest beside the first rising platform |
| Ancient Core | Chest next to the wooden ladder, below the Guardian room |
| Silver Rupee | Chest at the bottom of the platform after the switch |
| Radiant Shield | Final chest, revealed by pulling the block back |
| Spirit Orb | Speak with Dako Tah at the altar |
The Spirit Orb is the big prize. (If you’re new to this, trade four Spirit Orbs to a Goddess Statue for a permanent Heart Container or Stamina Vessel.)
Pro Tips
- Pro Tip: Keep the cube against the wall rail the whole ride. If the platform stops mid-trip, you’ve probably pulled it out of range.
- Beginner Tip: Metal floors conduct electricity. Never stand on one while the cube is touching it.
- Safety Tip: Park the cube on non-metal ground before you fetch loot nearby. It saves hearts and frustration.
- Combat Tip: Use the cube as a weapon against the Guardians. Dropping it on their metal floor takes them out without a fight.
- Stamina Tip: Save some stamina for the glide at the end. A quick glide beats waiting for the platform to return.
- Loot Tip: Don’t skip the lower platform. The Silver Rupee is easy to miss if you rush toward the altar.
Why Dako Tah Shrine Matters
Dako Tah is a great lesson in how Magnesis works with the world around it. You learn to treat objects as tools: a power source, a weapon, and a key. That thinking carries over to plenty of later shrines.
It also rewards you with a Moonlight Scimitar, a Radiant Shield, and a Spirit Orb for your trouble. That’s a solid haul for a desert detour.
Did you get zapped by the metal floor at least once? Share your Dako Tah mishaps and your favorite cube tricks in the comments, and tell us which shrine you want us to tackle next!