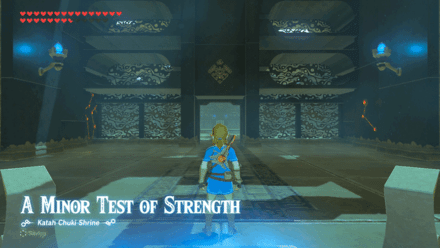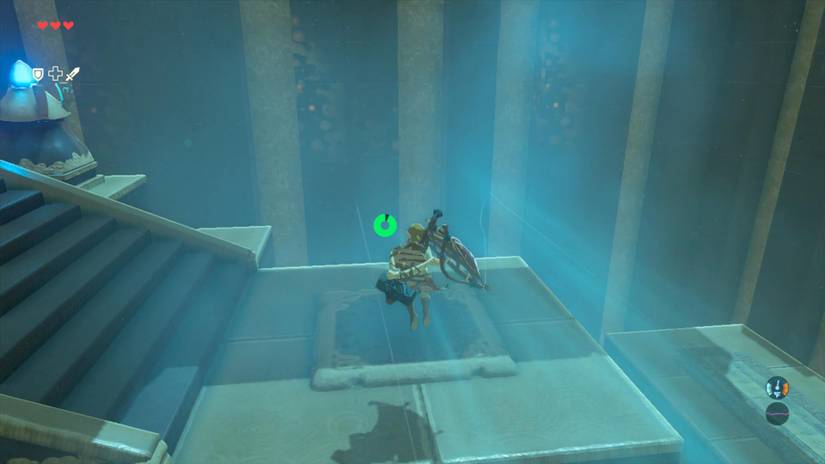
Just stepped off the Great Plateau and wondering what to do with that shiny new Paraglider? Bosh Kala Shrine is your answer. It’s a friendly, low-stress workout in wind-riding, and it pays out two chests and a Spirit Orb.
This guide covers exactly where to go, what to press, and how to grab both chests without overshooting a single platform. (Quick beginner note: a Shrine is a small puzzle dungeon, and a Spirit Orb is the currency you earn for finishing one.)
Bosh Kala Shrine Location and Overview
For context, this is one of the first Shrines most players find after leaving the Great Plateau. Its trial, The Wind Guides You, works as a tutorial for gliding on fan-driven gusts.
- Region: the Dueling Peaks Tower region of West Necluda.
- Where to Look: Southwest of Proxim Bridge, west of the Dueling Peaks Tower, and just west of the Hylia River.
- Trial Name: The Wind Guides You.
- Main Skill: Paraglider control, meaning when to open it and when to drop it.
- Rewards: Amber, a Soldier’s Claymore, and one Spirit Orb.
- Hazards on the Way: A Bokoblin camp sits near the road. Walk around the edge of it and slip into the Shrine.
Lore Note: Shrines are Sheikah-built trials, and each one is overseen by a monk who rewards you for completing it. Bosh Kala is the monk waiting at the end of this one.
Heading down from the Great Plateau Tower? Glide east toward the Dueling Peaks and follow the path toward the river. Which route did you take on your first visit?
Step-by-Step Bosh Kala Shrine Walkthrough
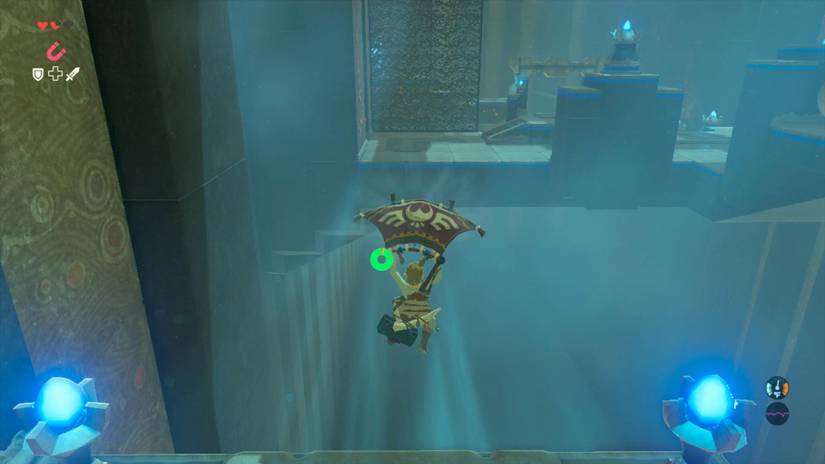
The numbers tell an interesting story: this Shrine has three goals (Amber, Claymore, Spirit Orb) and only a handful of fans. Take them in this order and you’ll finish smoothly.
- Step 1: Walk in and you’ll see big gusts of wind blowing across the first room. Climb the stairs on your left.
- Step 2: Jump off the platform and open your Paraglider. The wind carries you across to the ledge on the far right.
- Step 3: Open the chest there for your Amber. (Pro tip: Amber is a gem you can sell or use for upgrades later, so keep it.)
- Step 4: Drop to the floor and take the stairs in the middle of the room, straight ahead of where you started. At the top, turn left.
- Step 5: Jump into the fan’s wind and glide across the gap. A screen on the far side stops you from going too far.
- Step 6: Land, turn right, and jump from the ledge in the middle of the platform. The wind carries you again, but this time there’s no screen.
- Step 7: Press B to drop onto the final platform before you glide past it. Bosh Kala and your Spirit Orb are to your left.
Quick beginner note: on the Switch, you jump with X and then press X again in mid-air to open the Paraglider. Pressing B cancels the glide and drops you straight down.
Getting the Soldier’s Claymore (Optional Chest)
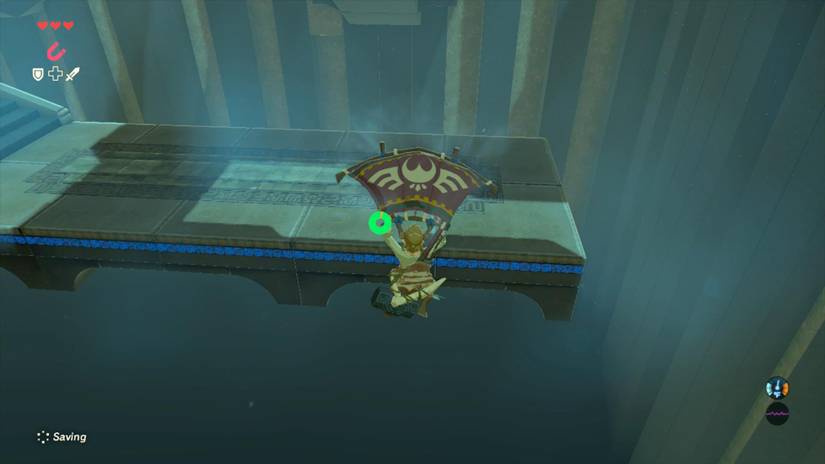
Before you grab the orb, look to the right from the last platform. You’ll spot a second chest on a small ledge against the wall. It takes a little more precision, but it’s worth it.
- Step 1: Climb the stairs on your left a little, then turn around to face the chest platform.
- Step 2: Sprint and jump, then open your Paraglider and ride the wind out over the gap.
- Step 3: Veer right once you’re roughly parallel with the end platform. This keeps you airborne long enough to reach the chest ledge.
- Step 4: Land on the ledge. If you only reach the edge, Link will climb up on his own.
- Step 5: Open the chest to claim your Soldier’s Claymore.
- Step 6: Glide to the walkway in front of and below you, then backtrack to the last fan. Glide back, remember to drop, and climb the steps to the monk.
(Pro tip: if you miss the ledge, you won’t lose anything. Just walk back to the fan and try again.)
Rewards at a Glance
- Amber: From the first chest in the opening room. It’s a handy early-game material.
- Soldier’s Claymore: A two-handed weapon from the hidden ledge chest. Here’s what the stats actually mean: bigger weapons hit harder but swing slower, so use it on tough enemies.
- Spirit Orb: Your main prize from Monk Bosh Kala. Collect four of them and you can trade them at a Goddess Statue for a Heart Container or Stamina Vessel.
Lore Note: Trading orbs at the statues ties back to the Goddess Hylia, whose blessing the game frames as strength given in exchange for your trials.
Pro Tips for a Smooth Run
- Don’t Overshoot: The fans keep pushing you, so drop with B as soon as you’re over the target platform.
- Watch Your Stamina: Gliding drains it, so a long, wasteful glide can leave you short. Land early and cleanly.
- Use the Screens: The barrier at the end of the first crossing is there to stop you. Let it catch you.
- Skip the Fights: The nearby Bokoblins aren’t worth the trouble if you’re low on weapons. Walk around the camp’s edge instead.
- Grab a Horse: If you don’t have one yet, now is a good time. The Dueling Peaks area is wide open and easier to cross on horseback.
- Retry Freely: Falling in a Shrine just puts you back on the floor, so experiment with your angles.
Why Bosh Kala Matters
Bosh Kala Shrine teaches you the skill that defines Breath of the Wild: moving through the world by reading the air. Learning when to open, steer, and drop your Paraglider here will pay off at every cliff, tower, and gap later on.
It also shows you the game’s habit of hiding extras just off the main path. The Amber and the Claymore only go to players who look around, and that habit will serve you across all of Hyrule.
Did you land the Claymore chest on your first try, or did it take a few attempts? Tell us in the comments, and let us know which Shrine you want covered next!