You’ve chased the goblin rebellion across the whole story, and now Ranrok is waiting at the bottom of the Final Repository with a dragon body, a split health bar and a shield your spells just bounce off. Good news: this fight is all about reading patterns, not raw stats.
Here’s how to prep, how each phase plays out and which attacks you should never try to block. Grab your potions, we’re going in.
Ranrok Boss Fight at a Glance
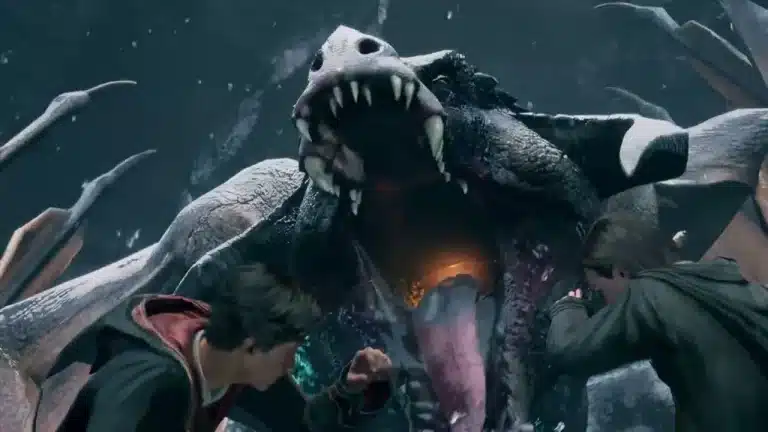
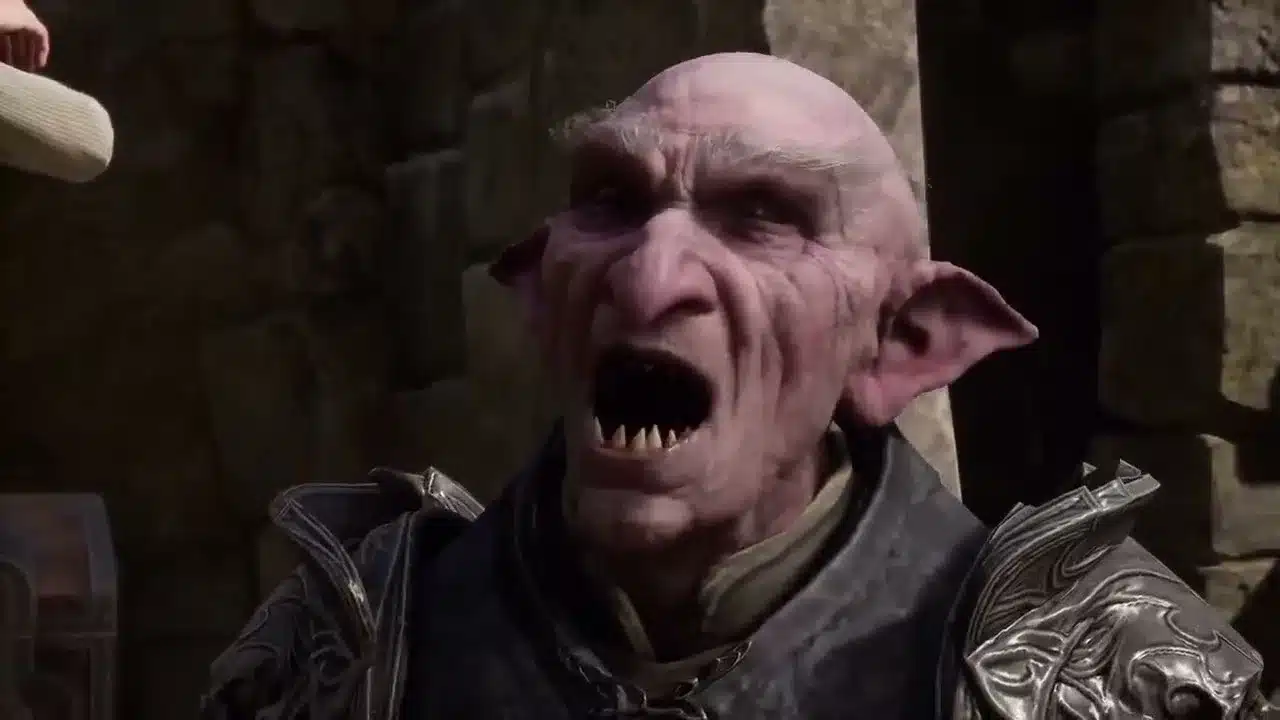
Ranrok is the final boss of the main story. You face him at the end of the quest The Final Repository, after you fight your way down through goblins and trolls. When the repository’s power is released, he takes on a huge dragon form and the real fight starts.
- Quest: The Final Repository, the last main story quest. You can’t skip it.
- Core mechanic: while his body is wrapped in black, Ranrok can’t be damaged. Break the glowing orbs with a matching spell type first.
- Structure: his health bar is split into segments, and each new segment asks for more orbs.
- Checkpoints: you get a checkpoint after each of the first two segments, so a death doesn’t throw you all the way back.
Quick Shield Color Breakdown (Scan Mid-Fight)
- Yellow orbs = Control spells (Glacius, Levioso, Arresto Momentum)
- Purple orbs = Force spells (Accio, Depulso, Descendo)
- Red orbs = Damage spells (Confringo, Diffindo, Bombarda)
Orb Colors: Which Spell Breaks Which Shield
This is the part that trips most players up. The orb’s color tells you the spell category, and the spell wheel uses the same colors. Here’s the full breakdown:
| Orb color | Spell type | Good picks |
|---|---|---|
| Yellow | Control | Levioso, Glacius, Arresto Momentum, Transformation |
| Purple | Force | Accio, Depulso, Descendo, Flipendo |
| Red | Damage | Confringo, Diffindo, Expelliarmus, Bombarda |
(Pro tip: build one spell set with all your damage spells and a second set with one control and a couple of force spells. Switching sets mid fight is much faster than hunting for the one spell you forgot to equip.) If you don’t have a second set yet, the Spell Knowledge I talent unlocks it.
Prep Before the Final Repository
- Wiggenweld Potions: you can carry 25, and that cap can’t be raised. Brew to the cap before you start, try not to drink any on the way down, and grab the loose bottles lying along the path.
- Buff potions: pack Maxima for damage, Edurus for defense and Focus for faster spell cooldowns. Drink Maxima and Focus right when he becomes vulnerable, not before. Save an Edurus for the four orb phase: on its own it hardens your skin for 20 seconds, but with the Edurus Potion Potency talent it makes you fully invulnerable and bounces projectiles back at him.
- Talents: Wiggenweld Potency, Edurus Potion Potency, Swift (dodge rolls are your best friend here) and Spell Knowledge I are strong picks, especially on Hard.
- Skip the shortcuts: Unforgivable Curses won’t carry you through this one, so plan around regular spells and Ancient Magic.
- Gear: raise your defense and offense gear to the best you own before you head in.
How To Beat Ranrok, Phase by Phase
Phase 1: One Orb
Step 1: Find the glowing orb and hit it with the matching spell type. That strips his protection for a short window.
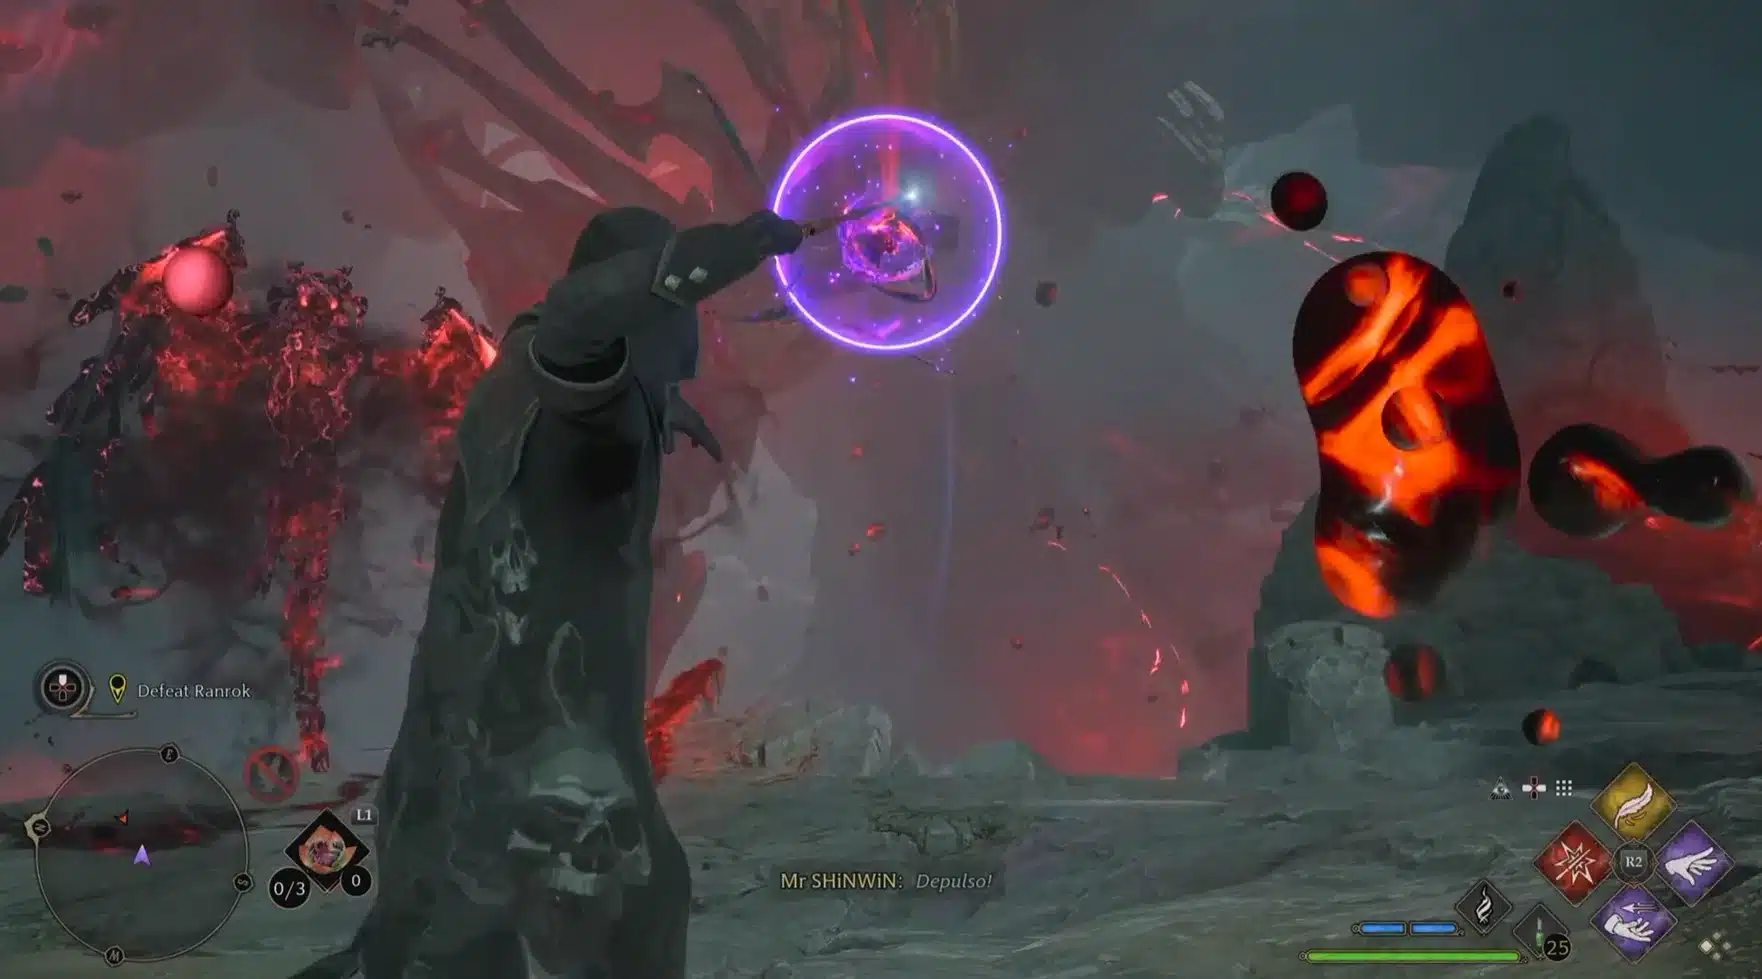
Step 2: Unload your damage spells and basic casts, then use Ancient Magic. Every hit fills your Ancient Magic meter for the next window.
Step 3: Learn his attacks. Fireballs can be blocked with Protego or dodged. Dark ashen projectiles and boulders can’t be blocked, but you can catch them with Ancient Magic Throw and send them back. His fire breath leaves burning ground behind it, so roll clear and stay off the scorch marks.
Repeat the orb, damage, dodge cycle until the first health segment drops. Nailed it? Head down the path he opens.
Phase 2: Two Orbs
Step 4: Follow the path down to the next arena. He keeps firing at you on the way, so keep moving. Check the golden statue along the route for an extra Wiggenweld Potion.
Step 5: Now you need to break two orbs before he’s vulnerable. They can vanish and reappear elsewhere, so don’t stand still.
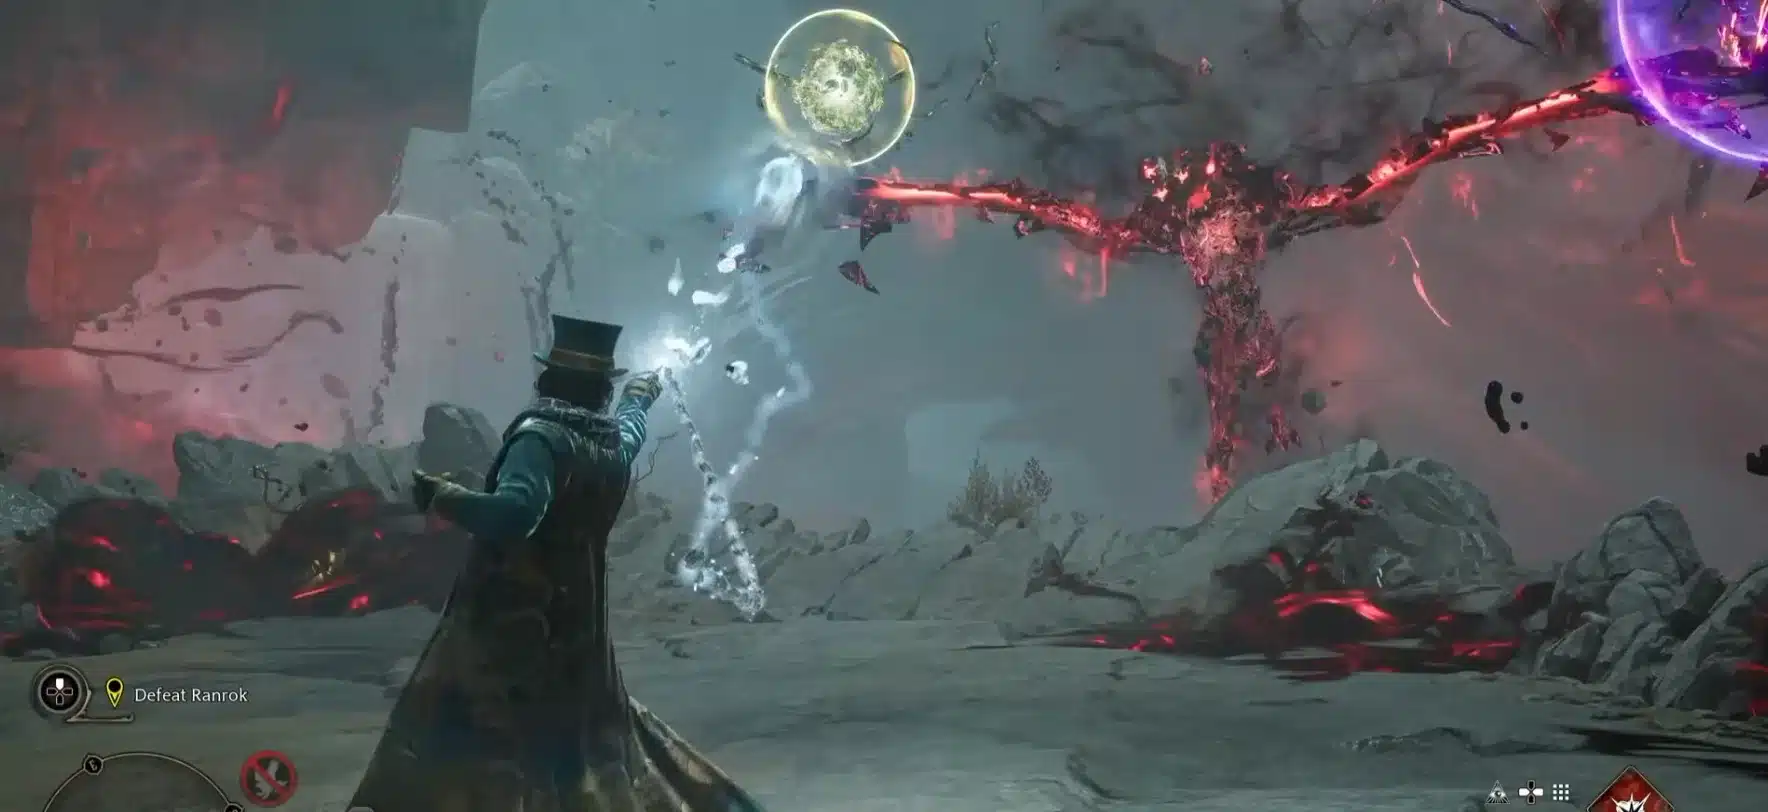
Step 6: Watch for the sweeping fire breath. Roll forward or backward through it rather than sideways. When he curls up, he’s about to release an unblockable shockwave: run away from him the moment you see it.
Phase 3: Three Orbs, Then Four
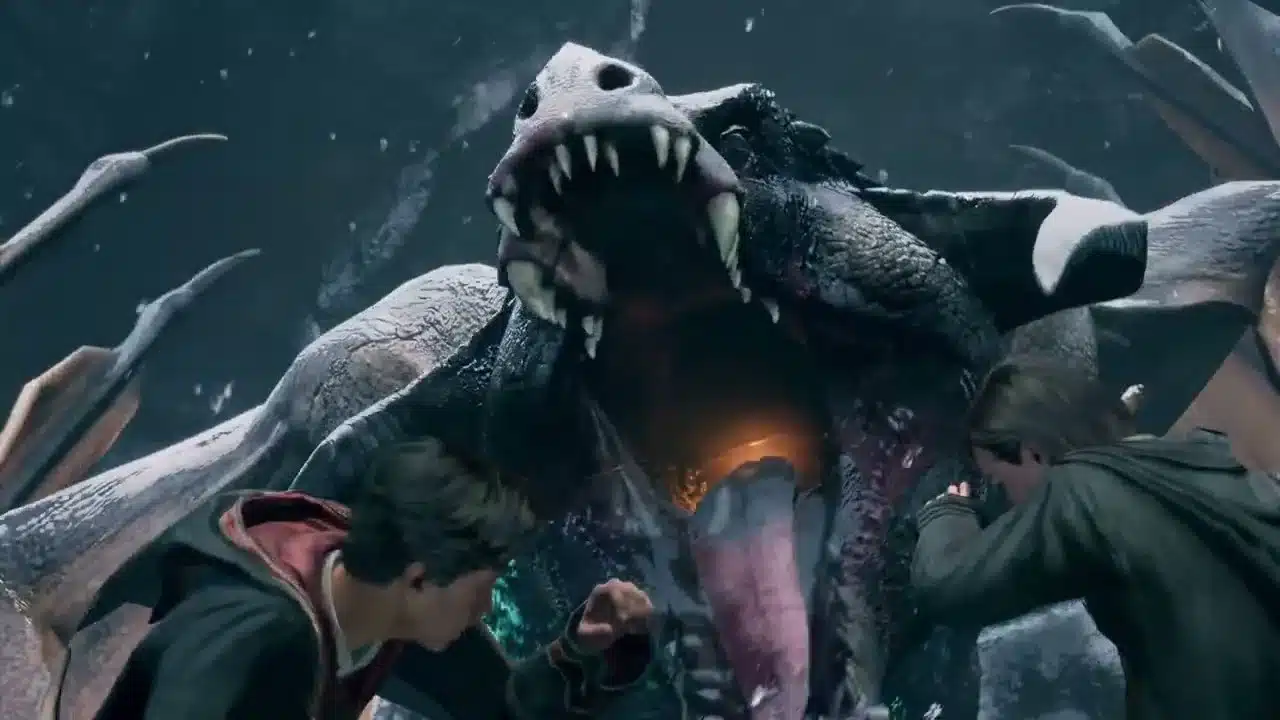
Step 7: In the final arena, three orbs appear, one of each color. Break all three, punish him, repeat.
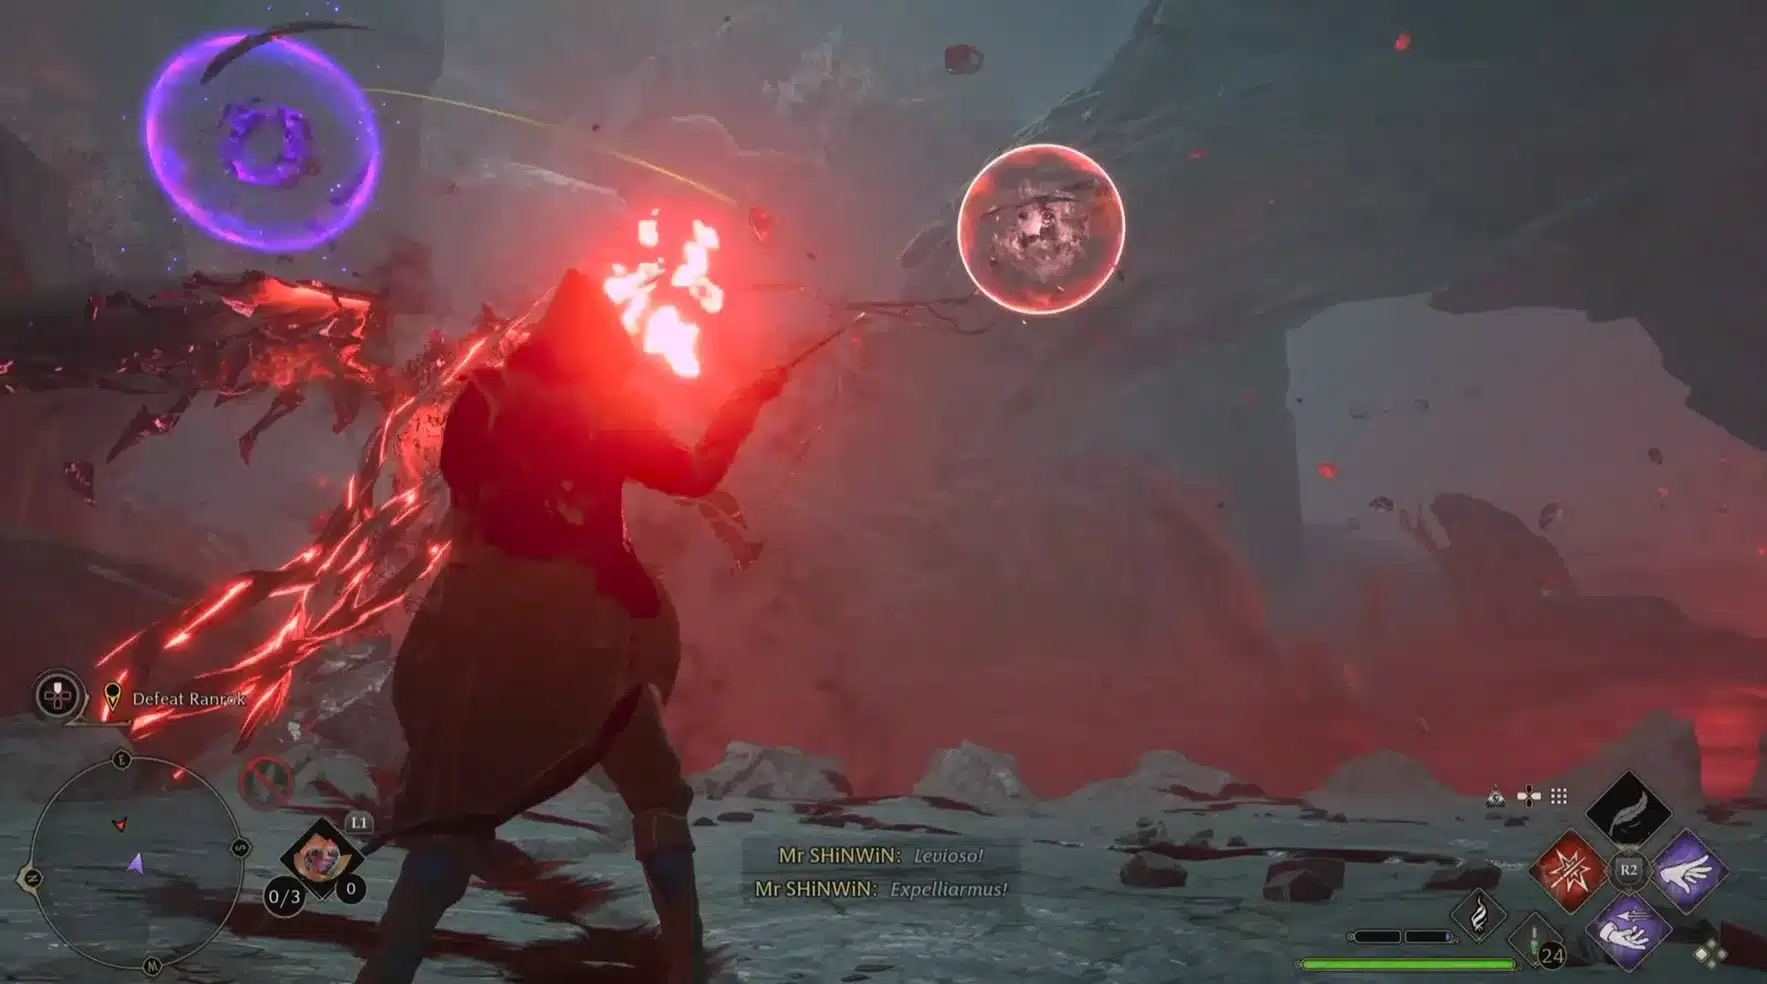
Step 8: After a chunk of this last bar, he takes the center and spawns four orbs that despawn and respawn quickly. Keep circling the arena and swap spells fast. There’s another Wiggenweld near the arena edge if you’re running low.
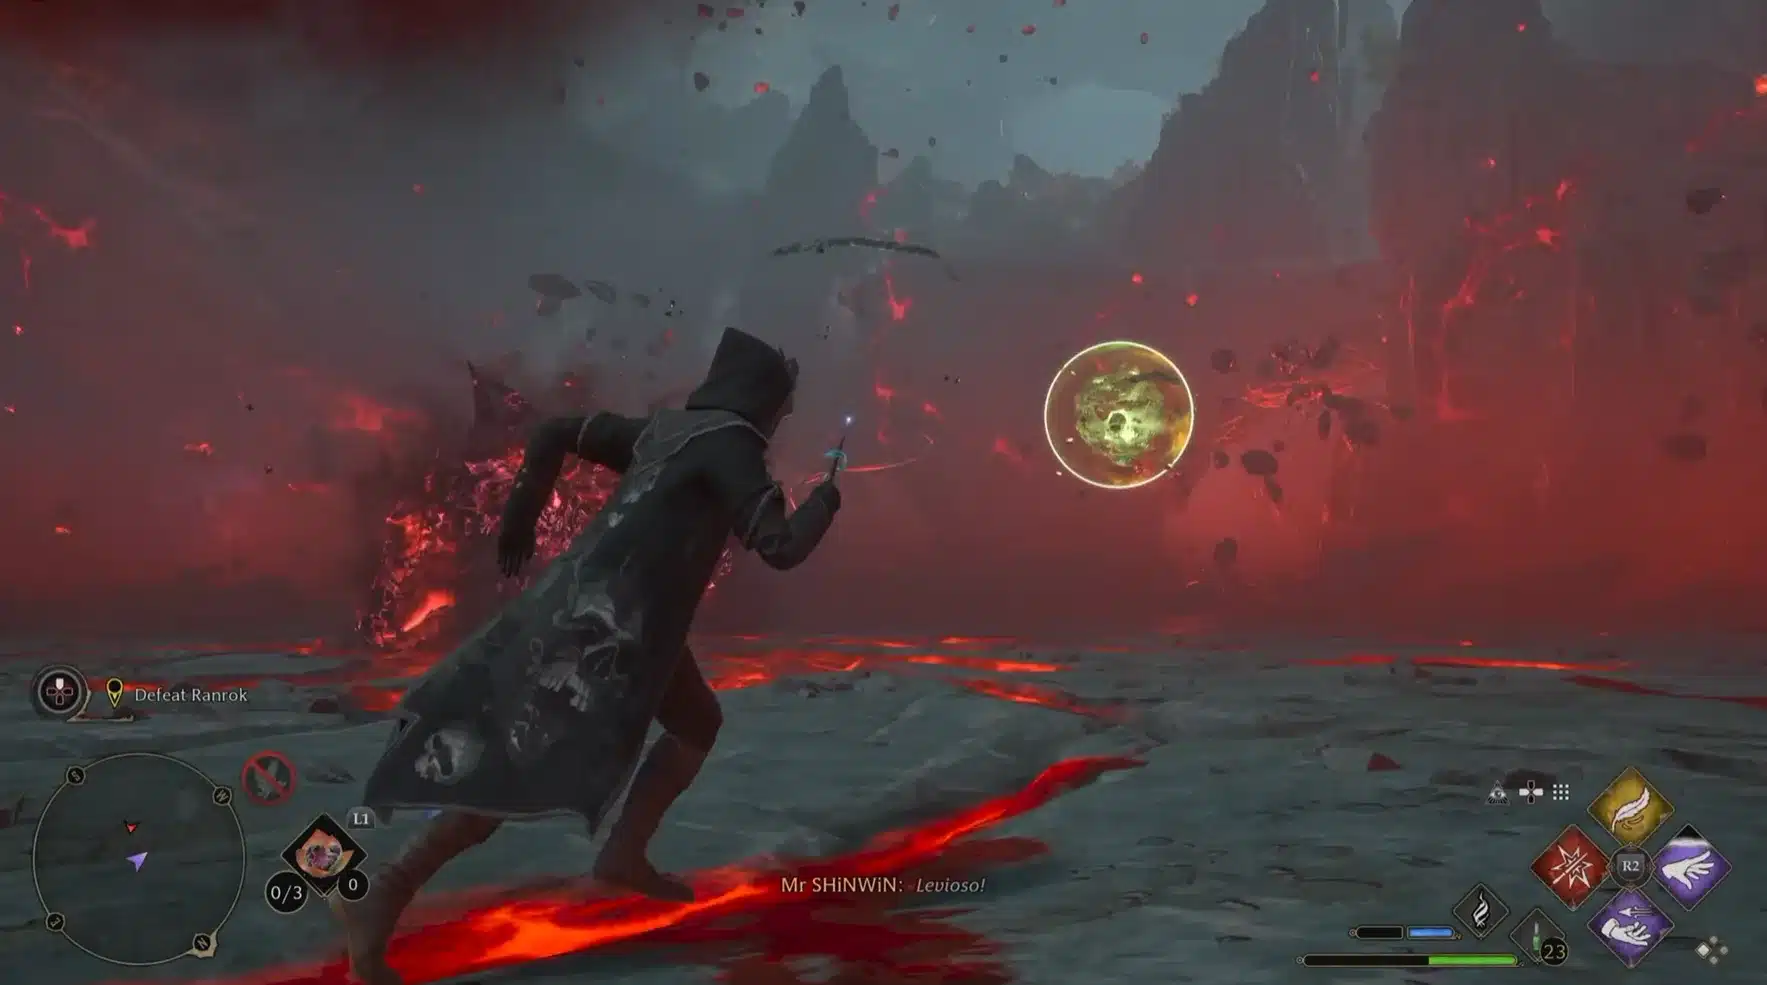
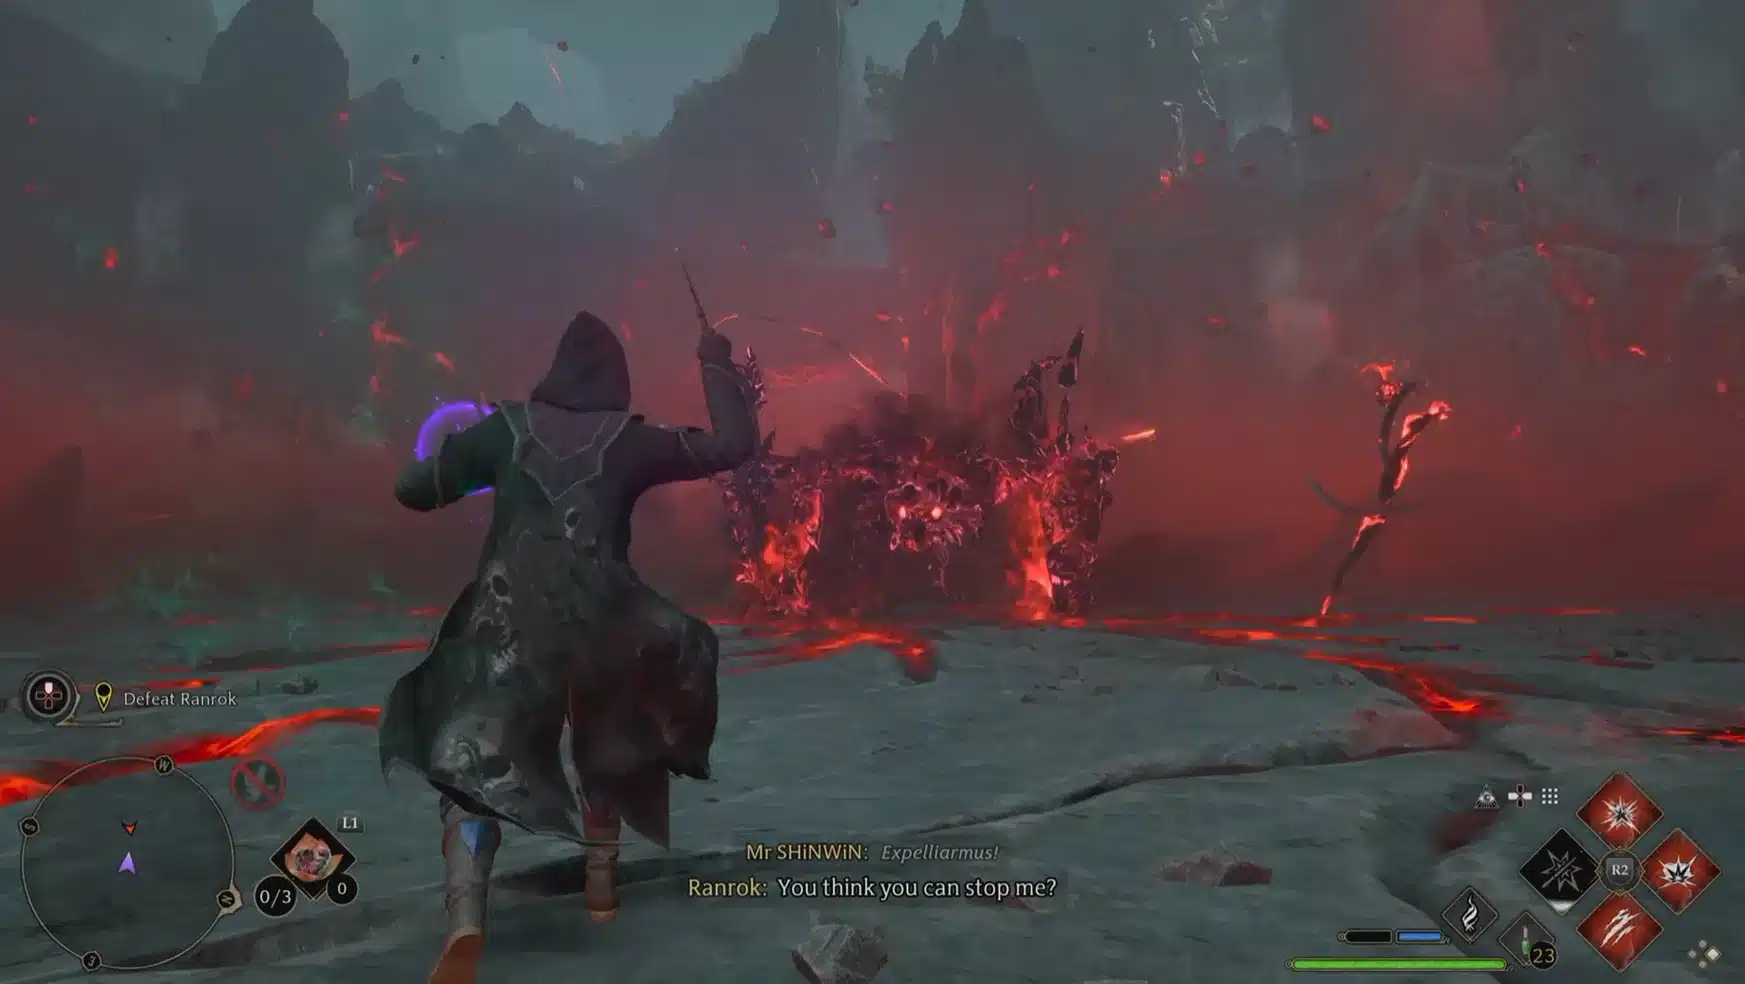
Step 9: Watch for the big charged explosion. His body goes dark, he charges up, and the blast can wipe a full health bar. Run back and roll just before it lands, or use Ancient Magic while he’s charging to shut it down.
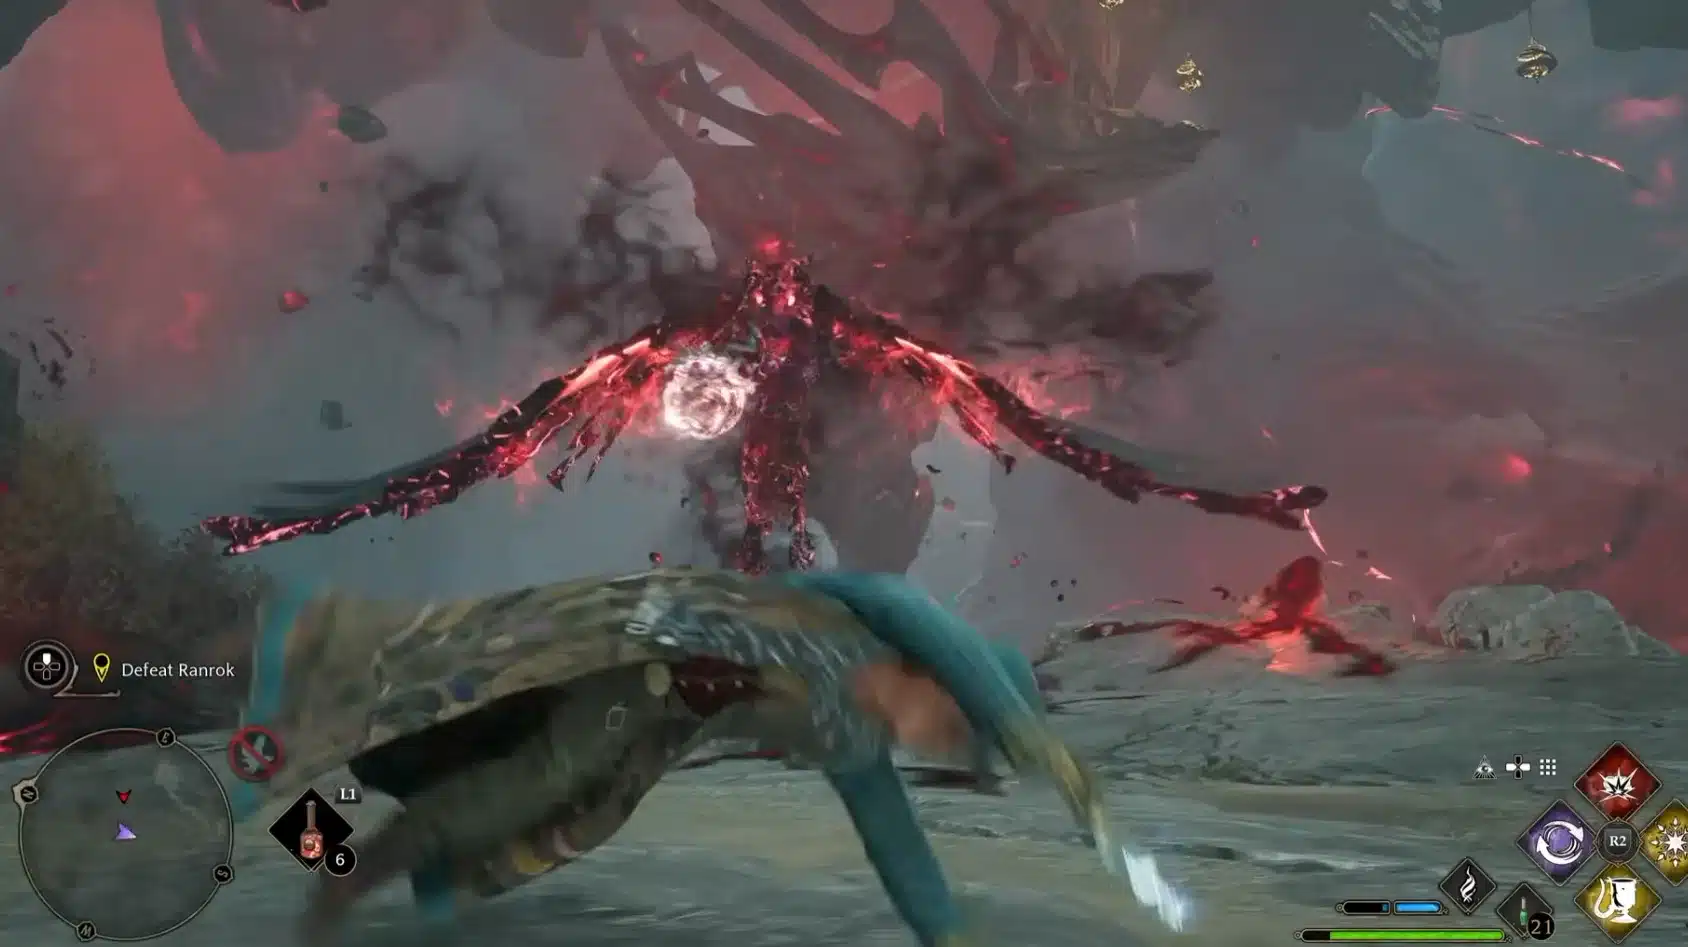
The Finale: Three Fast Orbs
Step 10: At the very end, Ranrok sits in the middle of the arena and colored orbs appear above him one after another. Break all three before they fade, and the fight is over.
(Pro tip: there’s no checkpoint between the four orb stage and the finale, so drink an Edurus Potion before you start on the four orbs.)
Ranrok Attack Cheat Sheet
| Attack | Blockable? | Best answer |
|---|---|---|
| Fireball | Yes | Protego or dodge |
| Ashen projectile / boulder | No | Dodge, or Ancient Magic Throw it back |
| Fire breath (line) | No | Roll out of the line, avoid the burning ground |
| Sweeping fire breath | No | Roll forward or backward through it |
| Charged bite | No | Dodge to either side |
| Curl up shockwave | No | Run away early, stay central |
| Charged explosion | No | Back off and roll late, or Ancient Magic during the charge |
Your best bet when you’re unsure: dodge. Most of his kit is unblockable, and Protego only saves you from the fireballs.
What Happens After You Win
A cutscene plays, and what you see depends on the answer you gave Professor Fig earlier in the quest, not on anything you do during the battle. Then the main story wraps up and you’re free to keep exploring, finish side quests and clean up collectibles. Our Hogwarts Legacy interactive map is the fastest way to track down what’s left.
Oh, and if you’re wondering how many people are still playing, Hogwarts Legacy keeps a healthy crowd on Steam years after launch. See the live Hogwarts Legacy player count for today’s numbers.
Ranrok FAQ
Which quest is the Ranrok boss fight in?
Ranrok is fought at the end of The Final Repository, the last main story quest in Hogwarts Legacy.
Why can’t I damage Ranrok?
He’s protected while his body is covered in black. Break the glowing orbs with the matching spell type (yellow control, purple force, red damage) to make him vulnerable.
How many Wiggenweld Potions can you carry?
You can carry up to 25 Wiggenweld Potions. Brew to the cap before you enter the Final Repository.
Can you block Ranrok’s attacks with Protego?
Only his fireballs. His breath attacks, bites, shockwaves and explosions are unblockable, so dodge those.
Can you keep playing after beating Ranrok?
Yes. After the ending cutscene you can keep exploring the open world and finish any remaining side content.
Your call: go in on your current difficulty with 25 Wiggenweld and a smart spell set, or drop the difficulty for a cleaner first win. Either way, once you know the orb colors and the unblockable tells, Ranrok goes from impossible to very beatable. New to the game or coming back? Start at our Hogwarts Legacy hub, and see whether Hogwarts Legacy is still worth playing in 2026 and what we know about Hogwarts Legacy 2.
More Hogwarts Legacy Guides
Ranrok down? Here is where to head next:
- Hogwarts Legacy hub: every guide we have for the game in one place
- Boss guide: tips for every other major fight
- Trophy guide: your roadmap to the platinum after the credits roll
- Interactive map: track down every collectible you missed
- Live Steam player count: see how many witches and wizards are still online