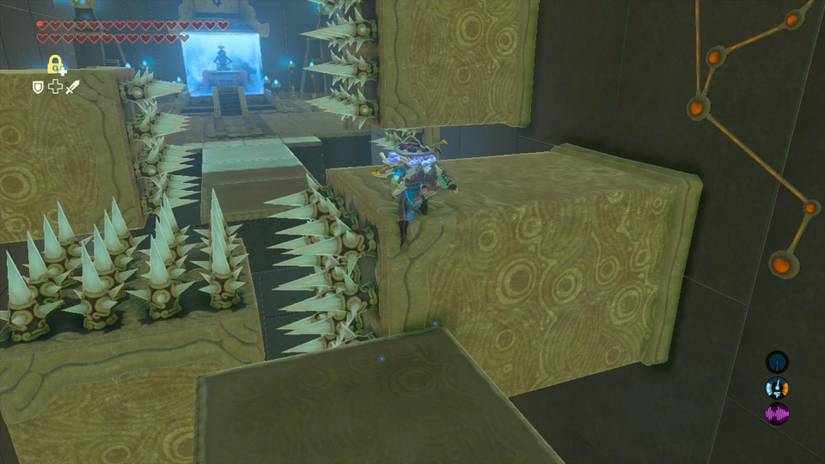
Let me paint the picture: you’re standing on the Great Plateau where your whole adventure began, holding a weapon that kills anything in one hit. Then a shrine shows up and tells you that you die in one hit too. Welcome to Rohta Chigah.
This one is a spike-filled gauntlet, and I won’t lie, it’ll test your patience. But with the right setup, you’ll walk out with a Spirit Orb and your dignity mostly intact.
Rohta Chigah Shrine Location and Requirements
The Setup: This is one of the DLC shrines on the Great Plateau, and it only shows up during the EX Champions’ Ballad quest. You’ll find it north of the Eastern Abbey, roughly between the Great Plateau Tower and Ja Baij Shrine.
- Quest Requirement: You need to be on the EX Champions’ Ballad DLC quest. That means all four Divine Beasts are tamed and you’ve claimed the One-Hit Obliterator from the Shrine of Resurrection.
- Location: Head north of the Eastern Abbey. If you’re at the Great Plateau Tower, it’s a short trip from there.
- The Catch: The shrine stays hidden until you clear the Lizalfos camp nearby.
- The Danger: With the Obliterator in your pack, a single touch of a spike means game over.
Beating the Lizalfos Camp
The camp sits just outside the Abbey’s borders and it’s packed with Lizalfos. They’re fast and they hit quickly, so don’t treat this as a warm-up.
Here’s the counterintuitive part. Don’t lean on the Obliterator right away. Open with your bow, then switch to the Obliterator when something closes the distance.
- Air Raid: Glide down from the Great Plateau Tower and take out the archers on top before they raise the alarm. If you skip this, you’ll be dodging fire arrows the whole fight.
- Divide and Conquer: Lure Lizalfos away from the group so you’re fighting small battles instead of a swarm.
- Use Cover: The wooden cover at the top of the ridge is your friend. Let them sprint around corners into your ambush.
- Watch the Boulders: Don’t get clipped by rolling rocks. With one-hit health, that’s the end of the run.
(Pro tip: Stock up on arrows of every type before you come here. The more ranged options you have, the less often you’ll need to risk close combat.)
Once the last Lizalfos drops, the shrine rises nearby and invites you in. This is where it gets WILD.
Rohta Chigah Shrine Walkthrough: Step by Step
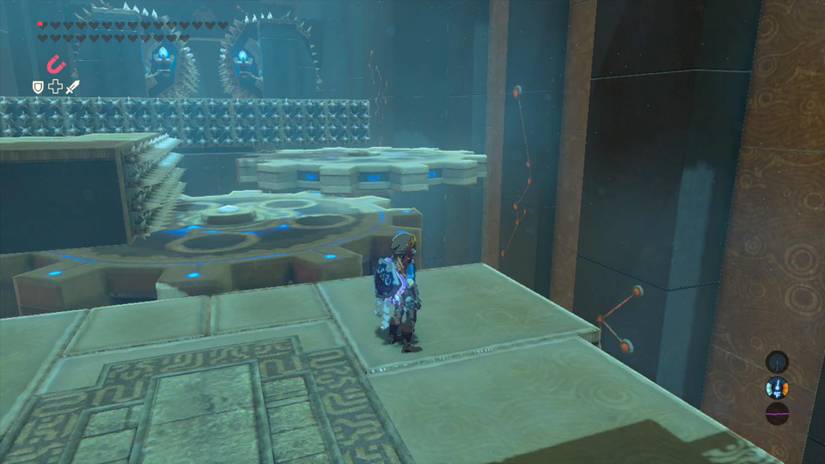
The shrine is split into four segments, and every one of them involves spikes. Take them one at a time and don’t rush.
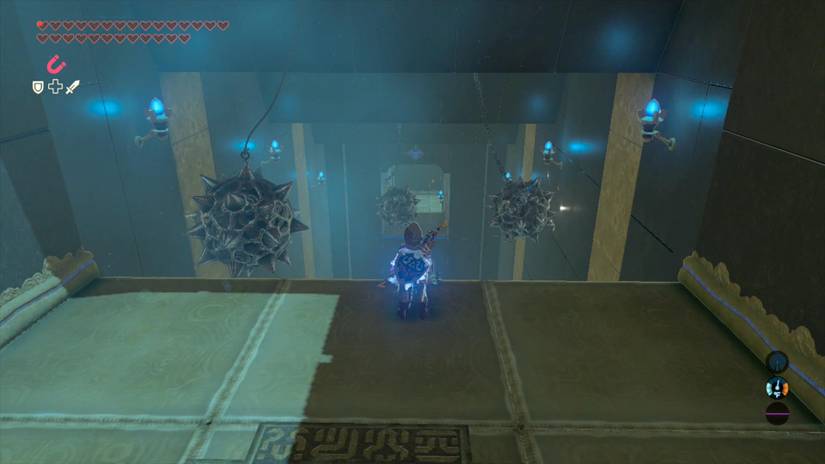
- Step 1: Read the Spike Floor. The first hall has a floor of spikes that push up and retract, bouncing anything sitting on top. You’ll use Magnesis on a few metal objects to build a bridge.
- Step 2: Place the Small Square. Use Magnesis to grab the small square on the left and set it between the solid floor and the long rectangle ahead. Cross to the rectangle.
- Step 3: Move the Square Again. Turn around, pick the small square back up, and place it in front of the rectangle so you have a path forward.
- Step 4: Decide on the Cube. Use Magnesis on the metal cube. Put it to the right if you want the chest, or to the left if you just want to cross.
- Step 5: Stay Steady. The bouncing spikes will jostle your platforms, especially the big metal box. Watch your placement so nothing wobbles you into a spike.
Here’s Where It Gets Wild: the second segment is a moving machine. You’ll face two rotating circular gears, a vertical conveyor belt, and two horizontal belt strips sandwiched between spike rollers.
- Step 6: Freeze the Second Gear. Walk up to the first circular gear and cast Stasis on the second one. Hop across both and ride around to the conveyor belt.
- Step 7: Wait for Your Rune. When you reach the vertical conveyor belt, stop and let Stasis recharge. It’s tempting to push on, but it’s way too easy to swerve into the spike rollers.
- Step 8: Freeze the First Horizontal Belt. Use Stasis on it, then dash forward before the freeze runs out.
- Step 9: Control Your Speed. Crouch-walking helps you keep your pace in check on the belts, so you don’t overshoot into the rollers.
(Pro tip: If you’d rather save Stasis for later, you can time the first horizontal belt differently. Whichever way you go, don’t spend the rune carelessly.)
The later segments turn the pressure up. Stone blocks slam in from the sides and then from above, so you need to inch around carefully and keep moving.
- Step 10: Run the Block Gauntlet. A stone block will be hit from both sides, then from the top. Creep around it carefully and keep running.
- Step 11: Reach the Final Gap. More spikes come from all sides here. Jump onto the blocks on the right.
- Step 12: Ride the Spike Platform. Use the spike platform to cross over to the Monk and collect your Spirit Orb.
Rewards and Benefits
- Spirit Orb: Waiting for you at the Monk at the end. This is the main prize.
- Forest Dweller’s Shield: Tucked in a chest in an alcove on the right side of the first hall. You’ll need to angle the metal cube that way to reach it.
- Quest Progress: Finishing this shrine moves you along the Champions’ Ballad circuit.
Pro Tips
- Patience Wins: The first section isn’t hard if you’re careful. Most deaths come from rushing.
- Respect the Bounce: Spikes push your platforms up and down, so a wobbly setup can slide you off. Test each platform before you trust it.
- Track Your Stasis: Know when the rune is ready before you commit to a section. Waiting a few seconds beats restarting.
- Grab the Chest Early: Decide on the Forest Dweller’s Shield before you place the metal cube, so you don’t have to backtrack.
- Keep Moving: In the block segment, hesitation is the enemy. Inch around, then run.
Why Rohta Chigah Matters
Look, I get it. A trial where every spike is lethal sounds miserable, and parts of it are. But there’s something great about the game taking a weapon that makes you feel unstoppable and then handing you a room that reminds you how fragile you are.
That’s the heart of the Champions’ Ballad challenge on the Great Plateau. The place where you took your first steps becomes a test of everything you’ve learned since.
So how did Rohta Chigah treat you? Did the conveyor belts and spike rollers get you, or did you glide through? Drop your best strategy or your funniest death in the comments.