Hebra is already trying to freeze you solid, and now a shrine wants you to play wind-powered mini golf? Perfect. Rin Oyaa Shrine looks like a headache, but it’s one of the cleanest puzzles in the snowfield.
Here’s the deal: you roll an orb into a receptacle while standing on a platform. That’s it. If you’re still wandering around the room hoping the orb solves itself… bro.
Follow this guide and you’ll clear the shrine in minutes, with a bonus chest in your pocket. Do this. Thank me later.
Rin Oyaa Shrine Location and Overview
First, you have to actually get there. Hebra doesn’t care about your feelings, and it definitely doesn’t care about your thin little shirt.
- Location: South Tabantha Snowfield, just west of Snowfield Stable.
- Region: Hebra. This is one of the 13 shrines in the area. Its trial is called Directing the Wind.
- Easy Spot: Stand on top of Hebra Tower and face northwest. You can see the shrine from there, especially in daylight.
- Gear Check: Wear the Snowquill Armor or eat meals with mid-level cold resistance. Showing up underdressed is a self-inflicted L.
- Puzzle Type: Wind streams, a rolling orb, and a lift platform.
- Runes Needed: Magnesis is the main tool. Stasis works as a backup plan.
Why This Slaps: You can see the shrine from the tower, so you can plan your route and skip the aimless wandering. Mark it, bundle up, and go.
Rin Oyaa Shrine Walkthrough and Solution
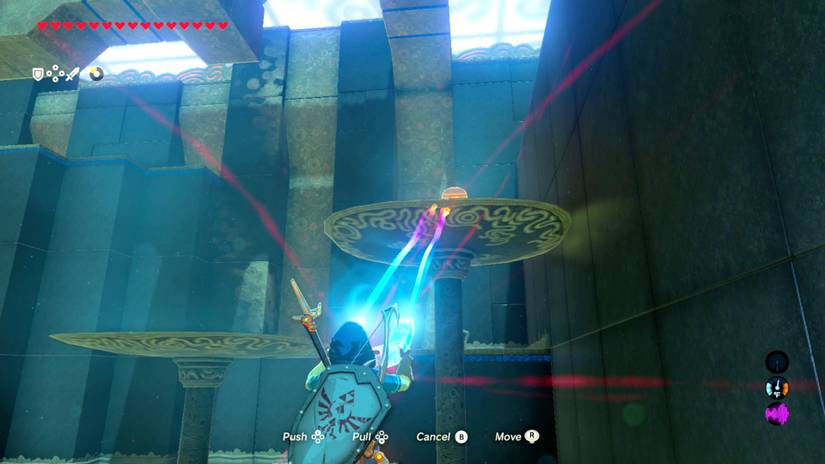
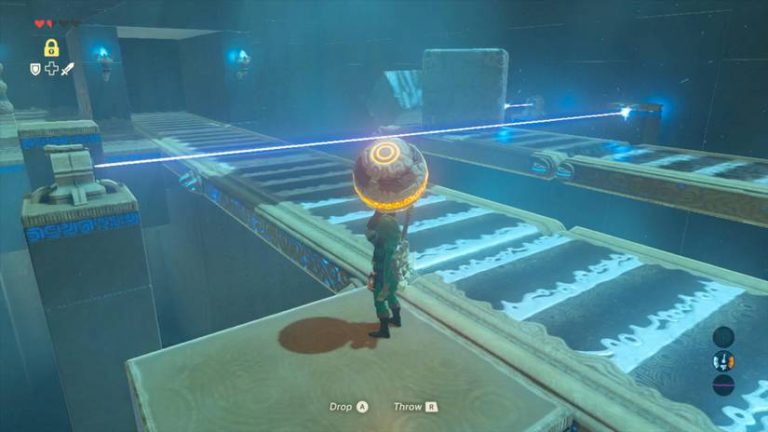
When you walk in, you’ll see an orange orb right in front of you and its receptacle just past it. Six fans are blasting airstreams all over the room, plus two big metal boxes tucked away.
The goal is to get the orb into the receptacle while you stand on the mechanized platform at the top of the ramp. The wind is the problem, and the metal boxes are your fix.
The Play: Block two fans, drop the orb, ride the platform. Here’s the full breakdown.
- Step 1: Ignore the orb for now. Run past it and find the metal box in the alcove on your left.
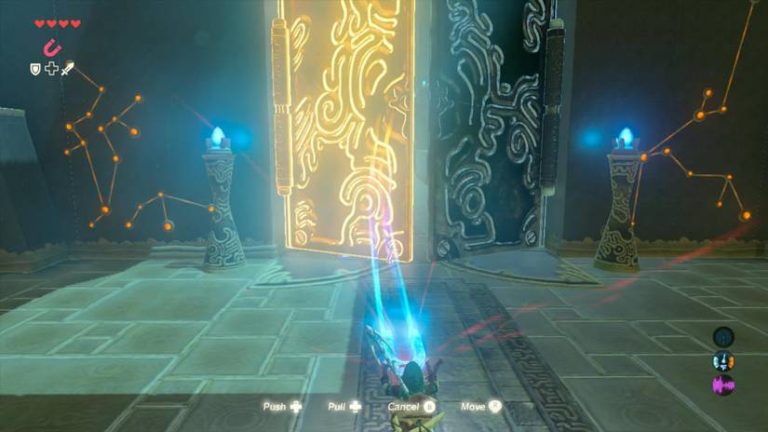
- Step 2: Use Magnesis to pull that box in front of the westward-facing fan directly underneath the receptacle. This kills one stream that would push your orb off course.
- Step 3: Move toward the ramp and grab the second metal box. Use Magnesis to block the north-facing fan under the receptacle.
- Step 4: With both fans blocked, you’ve got four airstreams left circulating the room. Those four lead the orb straight to the receptacle.
- Step 5: Go back and grab the orange orb. Carry it around the room and head about halfway up the ramp.
- Step 6: Release the orb and let it roll down the ramp into the first airstream.
- Step 7: Once the orb rolls past the first metal box, quickly use Magnesis to lift that box and set it on the ledge above the fan at the bottom of the ramp. Hold onto that detail, because it matters for the treasure.
- Step 8: Sprint up the ramp and stand on the platform. Wait for the orb to ride the wind into the receptacle, and the platform will lift you to the shrine’s second level.
GG. The hard part is done.
Stop Doing This: Don’t wander off the platform while the orb is rolling. If you miss the moment the receptacle activates, you have to restart the whole thing. That’s a lot of wasted time on a puzzle this simple.
The Stasis Shortcut
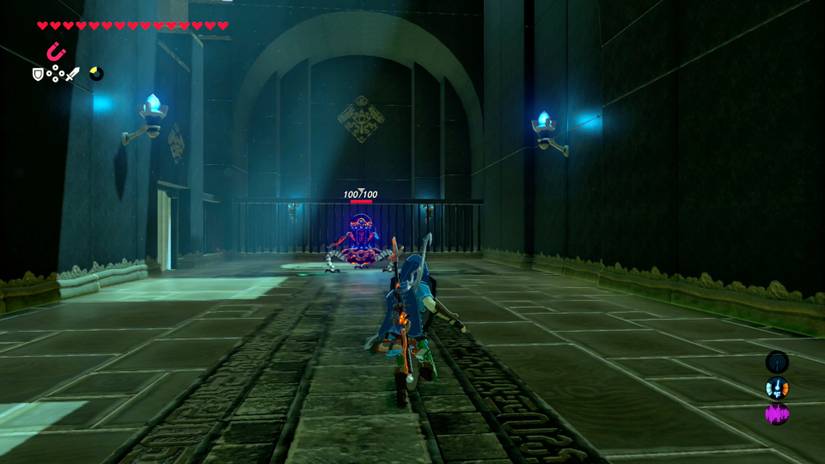
Want a slicker version? There’s a Stasis route that skips the long roll. It’s a nice flex.
- Setup: Use Magnesis to move one of the big metal cubes to the area above and to the left of the ramp. You’ll use it for the treasure later.
- Orb Placement: Pick up the orb and set it down in front of the fan.
- Freeze It: Hit the orb with Stasis, run up onto the ramp, and stand on the platform.
- Ride Out: When Stasis wears off, the fan pushes the orb into the hole and the platform takes you up.
Both methods work. Pick the one that matches your confidence level.
Grabbing the Hidden Treasure Chest
Here’s where skipping Step 7 would cost you. That metal box on the ledge is your ticket to a free chest, and leaving it behind is a rookie mistake.
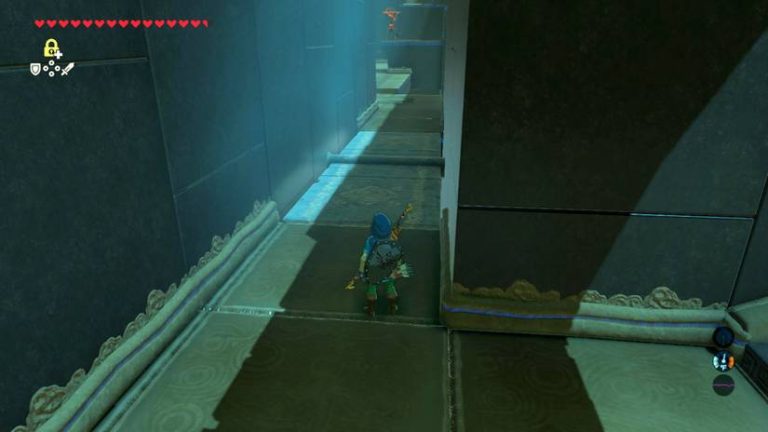
- Step 1: Once you’re on the upper level, go left at the top of the ramp instead of heading straight for the Monk.
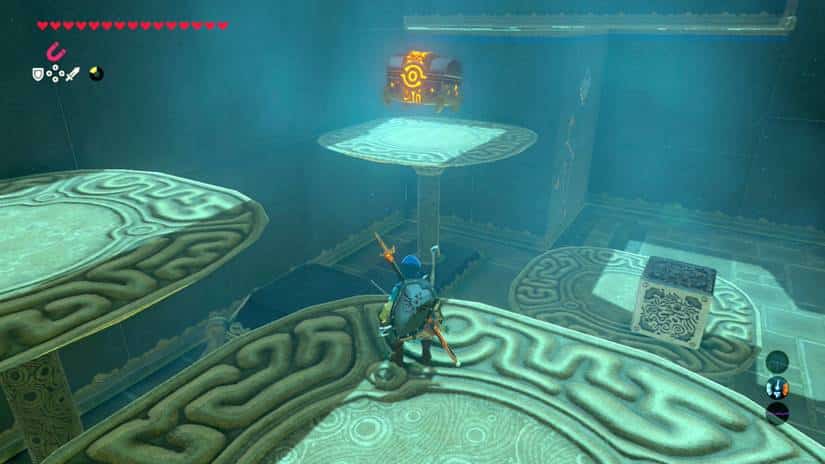
- Step 2: Look for the chest on the northern temple wall, just past the metal box you placed earlier.
- Step 3: Adjust the box with Magnesis so it works as a stepping stone to reach the chest. Alternatively, you can paraglide over from the left side.
- Step 4: Open the chest and claim your Ancient Core.
Free loot for a few extra seconds of effort. This is absolutely cracked value.
Rewards
Finish the puzzle, then head back to meet Rin Oyaa, the Monk waiting at the end of the shrine. Here’s what you walk away with.
- Spirit Orb: Your main prize. Stack four of them and you can trade for a Heart Container or Stamina Vessel.
- Ancient Core: The bonus from the hidden chest. It’s handy for Akkala Ancient Tech Lab upgrades and ancient gear.
- Shrine Unlocked: Rin Oyaa becomes a fast travel point in the snowfield, so you can skip the cold hike next time.
Pro Tips
- Time the Box: (Pro tip: Wait until the orb has fully passed the first metal box before you lift it. Move too early and you might change the airstream and send the orb the wrong way.)
- Practice the Drop: Releasing the orb halfway up the ramp is plenty. You don’t need to launch it from the very top.
- Stay Warm: (Pro tip: Cook a few meals with cold resistance before you leave Snowfield Stable. Hebra’s cold chews through hearts fast, and the walk over adds up.)
- Watch the Platform: Park yourself on the grey platform early, then wait. Don’t get greedy and leave it.
- Stasis Backup: If your orb keeps getting knocked off course, use the Stasis route. It’s cleaner and gives you more control.
- Use the Tower: Climb Hebra Tower first if you haven’t. It gives you the map and the view of the shrine.
- Don’t Skip the Chest: The Ancient Core is worth the thirty seconds. Just trust.
Why This Shrine Matters
Rin Oyaa is a great lesson in using your runes the right way. Block the right wind, time one Magnesis grab, and the whole room works for you.
It also teaches a bigger habit: always look at what the environment is doing before you start swinging tools around. Players who panic-spam Magnesis end up restarting, and players who read the room win.
No cap, this changes everything for how you approach physics shrines. Once you understand the wind, you can solve the next one in half the time.
GG: You’ve got the Spirit Orb, the Ancient Core, and a new fast travel point. That’s a clean run in a brutal region.
Now I want to know: did you go the Magnesis route or the Stasis shortcut? And did you remember to grab the chest, or did you leave that Ancient Core behind? Drop your answer in the comments and tell me your fastest clear time.