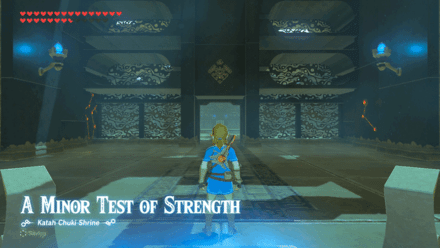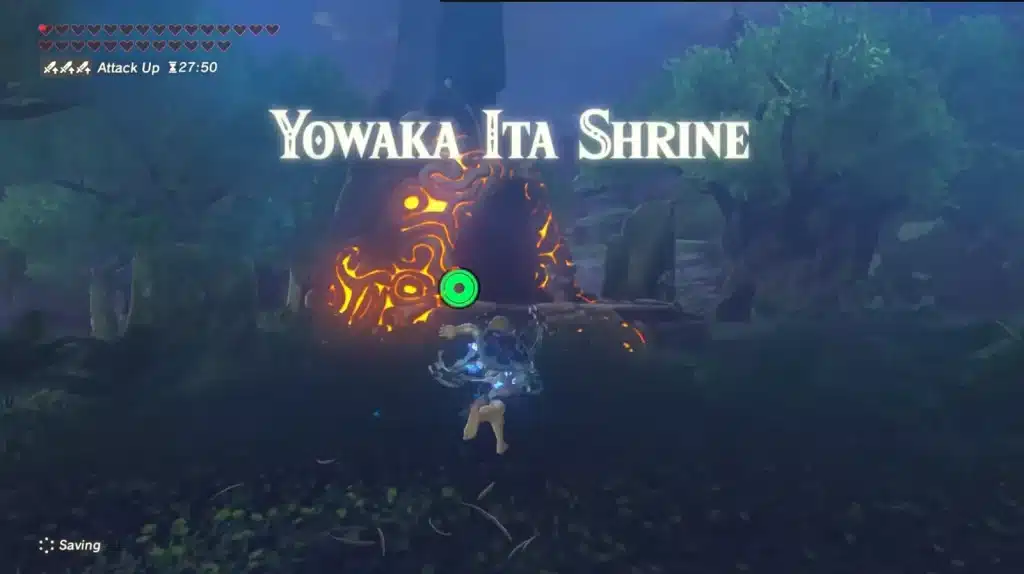
Picture a weapon that kills anything in one swing. Now picture the price: it leaves you with a quarter heart, so anything kills you in one hit too. That’s the One-Hit Obliterator, and Yowaka Ita Shrine is where it stops being a fun gimmick and starts being a problem.
You’d be surprised how many people get this one wrong. They treat it like a normal shrine, wander into a spiked-ball pinball machine, and respawn staring at the same cliff edge. Let me break this down for you so you don’t.
Yowaka Ita Shrine Location and Overview
This is one of the 16 shrines added by The Champions’ Ballad DLC, and one of the four One-Hit Obliterator trials on the Great Plateau tied to the EX The Champions’ Ballad quest. It isn’t there until the quest sends you after it. Even then, it stays hidden until you earn it.
- Location: The Forest of Spirits on the north side of the Great Plateau, northwest of the Shrine of Resurrection. Look for a large fallen tree and a giant stump.
- Requirements: You need the Champions’ Ballad DLC (DLC Pack 2), all four Divine Beasts cleared, and the One-Hit Obliterator from the Shrine of Resurrection.
- Unlock Condition: Defeat every Bokoblin in the camp around the fallen tree. Chu Jellies and Keese don’t count toward the total.
- Your Loadout: The Obliterator is the only weapon you have, so your bow and runes do the heavy lifting.
- Difficulty: It’s the gentlest of the four Great Plateau DLC shrines. “Gentlest” still means one mistake kills you.
The Math: You’re at one quarter heart. Hits you can survive: zero. Hits you need to kill an enemy with the Obliterator: one. It’s a perfectly fair fight, as long as you hit first.
Know Your Threats
| Threat | Where | Counter |
|---|---|---|
| Bokoblin archer #1 | Atop the fallen log | Kill first, from range |
| Bokoblin archer #2 | On the remains of the large trunk | Strafe or sneak up on them |
| Lightning-arrow and Lightning Rod Bokoblins | Around the camp | Keep your distance and let melee enemies come to you |
| Keese swarm | Circling the area | A shock arrow or two scatters them |
| Beehive | Northern face of the giant stump | Don’t climb that side |
Lore Drop: The Obliterator drains your health in exchange for one-hit kills, then loses its luster after two consecutive swings and has to recharge, much like the Master Sword. A hero’s legendary blade works on the same terms as a cursed trial weapon, and Nintendo didn’t spell it out. Of course they didn’t.
Yowaka Ita Shrine Walkthrough: Step by Step
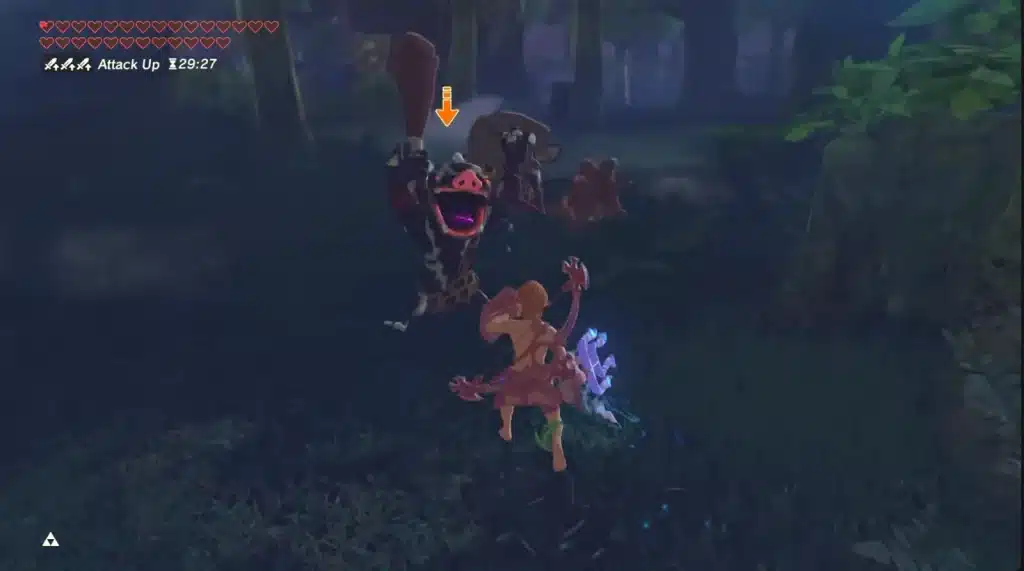
The fight outside is the real gatekeeper. The shrine itself is a patience test. Take them in order.
- Step 1: Grab the One-Hit Obliterator from the Shrine of Resurrection. Walk straight outside and jump off the cliff.
- Step 2: Paraglide north-northeast over the forest. Watch for the huge log and stump, because that’s your battlefield.
- Step 3: Take out the Bokoblin archer on top of the log first. At a quarter heart, an arrow is a death sentence.
- Step 4: Deal with the Keese. A shock arrow or two will disperse them (Pro tip: don’t wait until they’re on top of you).
- Step 5: Drop down and work your way around the giant stump. Keep your distance and use your bow.
- Step 6: Let melee Bokoblins come to you, then swing the Obliterator when they’re in range. Strafe or sneak up on the second archer and finish it before it reacts.
- Step 7: Once every Bokoblin is down, the shrine rises out of the ground. Step inside.
Hot take: Gliding in from above beats walking in on foot. You scout the camp, spot both archers, and choose your landing. The map is practically begging you to do it.
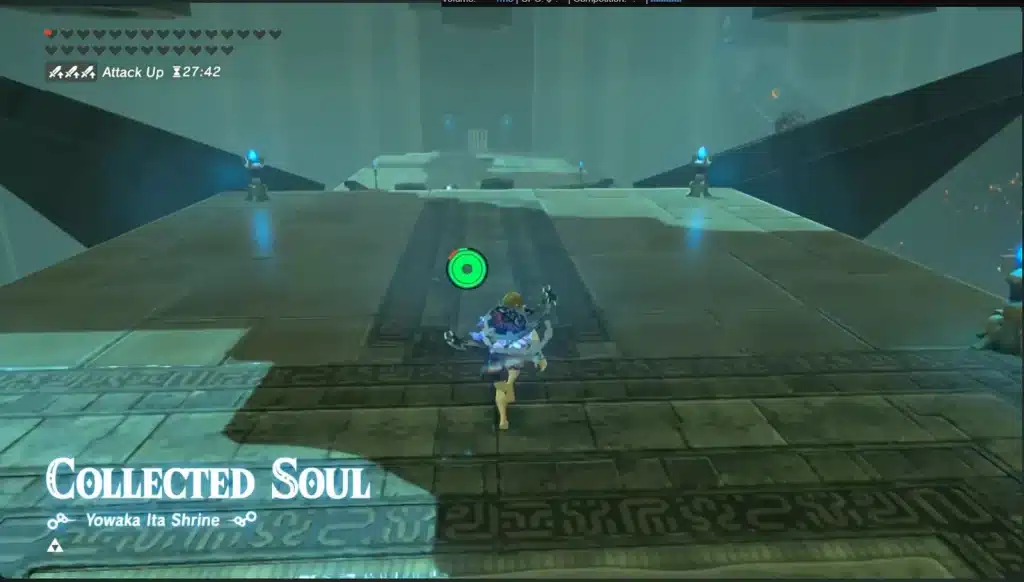
Inside the Shrine: The Pinball Slope
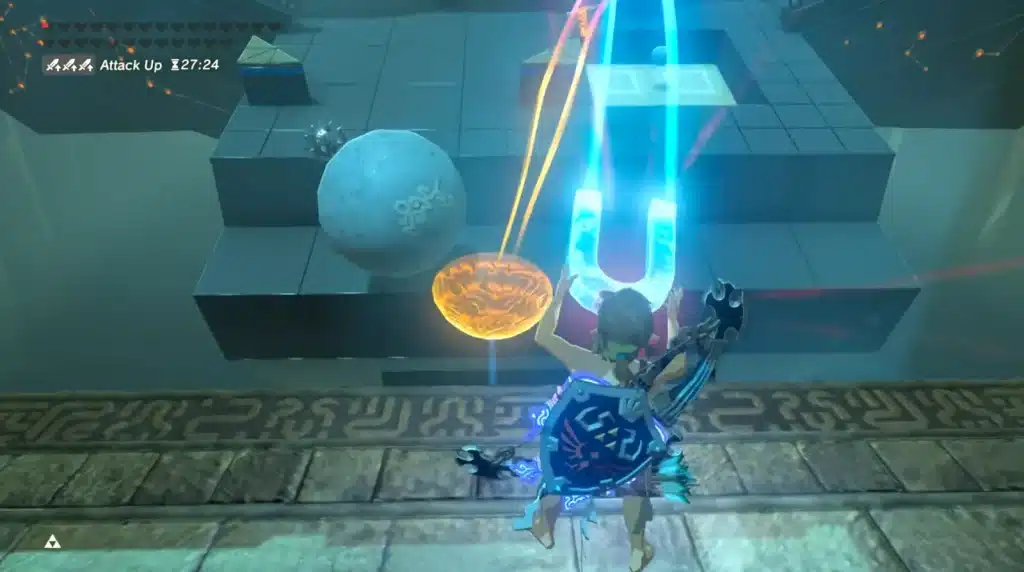
Directly ahead is a hole that fits a small ball. Fill it and the gate on the left opens, giving you access to the Monk. Your job is to find the ball.
Up ahead is a downward slope that works like a mini pinball machine. Chutes on the left and right release spiked and stone balls, which crash into the pillars in the center and roll off into the abyss. Think the plain stone ones are harmless? Think again. They have enough momentum to hurt you, and with the Obliterator, any damage is fatal.
- Step 8: Take the left side of the slope. It’s the safest route.
- Step 9: Wait for the balls from the left chutes to pass, then run to the nearby triangle alongside the wall.
- Step 10: Watch for a spiked ball from the right-hand chutes. It crashes into the side of the triangle, so wait until it’s gone.
- Step 11: Go around the triangle and head left to escape the pinball madness (for now).
- Step 12: Cross the bridge to the next section, which is much less dangerous.
The Math: You’re not dodging one hazard, you’re dodging two timing patterns at once. Left chutes first, right chutes second. Count the gaps and go in the quiet window.
Getting the Orb to the Hole
Past the bridge, you’ll find the ball and get it into the cup. Here’s the part that trips people up: don’t dump the orb out yet. You still have to get it back across that slope.
- Step 13: With the small orb back in the cup, head back to the first slope with the moving objects.
- Step 14: Use Magnesis to extend the bowl carefully across to the other side.
- Step 15: Leave the bowl extended. Now you can cross without juggling Magnesis at the same time.
- Step 16: On the other side, deposit the orb in the hole. The gate on the left opens.
- Step 17: Speak to the Monk to complete the trial.
Here’s the key: leaving the bowl in place is the whole trick. Controlling Magnesis and dodging balls at once is how most deaths happen here. Split those jobs apart and the puzzle gets easy.
Rewards and Benefits
Completing the trial gets you the Monk’s blessing and moves the EX Champions’ Ballad quest forward. It’s one of four DLC shrines on the Great Plateau, so every one you clear gets you closer to the finish. There’s also the satisfaction of beating a one-hit-death shrine without dying, which is worth something.
Pro Tips
- Archers First: The two archers are the biggest threat. Remove them before you worry about anything else.
- Keep Your Distance: It’s easy to get surrounded around the giant stump, so use your bow and keep moving.
- Shock Arrows for Keese: A hit from a single Keese is enough to finish you. Scatter them early (Pro tip: save your shock arrows for this).
- Avoid the North Face: Don’t climb the northern face of the stump. There’s a beehive waiting for you.
- Obliterator Recharge: After two swings in a row, the weapon loses its luster and needs time to recharge. Don’t swing it at the first Bokoblin you see, and keep your bow ready.
- Optional Chest: The shrine hides two chests: one with a Phrenic Bow (catch the large orb in the bowl to open it) and one with five Bomb Arrows, so look around before you talk to the Monk.
- Patience Over Speed: Inside the shrine, waiting for a gap in the ball pattern is always faster than respawning.
- Don’t Dump the Orb: Keep it in the cup until you’re across the slope.
Why Yowaka Ita Shrine Matters
Most Breath of the Wild shrines let you brute-force your way through with hearts and armor. This one strips all of that away and makes you play carefully. It’s a good fit for the Champions’ Ballad’s theme of testing the hero.
The wins here come from planning, not reflexes. Take out the archers, wait for gaps in the ball patterns, and let Magnesis carry the load. Do those three things and the one-hit rule stops being scary.
So how did your run go? Did the pinball slope get you, or did the Keese beat you to it? Drop your death count in the comments, and I promise not to judge. Much.