So you’ve spotted a shrine sitting way out at the edge of the map, and you’re wondering whether it’s going to chew you up. Honestly? Muwo Jeem is one of the friendlier combat shrines in Breath of the Wild.
There’s no puzzle to crack here, just you, a Guardian, and a pretty readable fight. Let’s walk through where to find it, how to win, and what you get for your trouble. No pressure, you’ve got this.
Where to Find Muwo Jeem Shrine
Muwo Jeem sits in the Faron Region, tucked into the far southeastern corner of Hyrule. It’s on a cape that juts out toward the sea, west of the Necluda Sea and Eventide Island.
The trip is a pleasant one, especially if you like a little exploring on the way. Here’s what you need to know:
- The Region: Faron, on the easternmost tip of Cape Cales, which pokes out into the ocean. Inside waits A Modest Test of Strength: a Guardian Scout III with an Ancient Battle Axe+ and a Guardian Shield+.
- From Faron Tower: Head east and keep going until the land runs out. You can’t really miss the cape.
- From Hateno Village: Travel due south and you’ll end up in the same spot.
- Tech Lab Trick: If you’re at the Hateno Ancient Tech Lab, look south. You can actually see the shrine from there, which makes a handy beacon.
- The Landmark: The shrine sits at the top of a ramped, grassy hill that stretches out east toward the sea.
- Bonus Perk: This is also a spot where you can glide down toward the Chaas Qeta Shrine, so you can knock out two shrines in one trip.
The Vibe: Easy hillside stroll, ocean breeze, and a shrine waiting at the top. Honestly, it’s a lovely little detour.
There’s nothing to unlock before you go in. Walk up when you’re ready and step inside.
Muwo Jeem Shrine Walkthrough: Step by Step
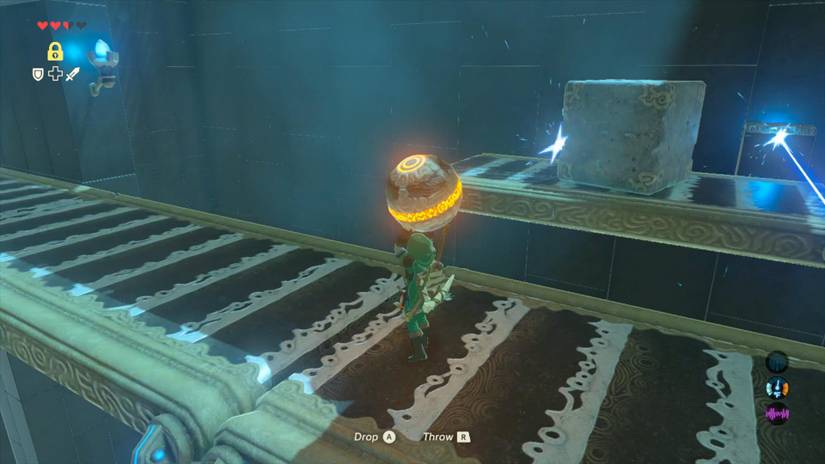
The trial is called A Modest Test of Strength, and it’s a straight-up fight against a Guardian Scout III. It carries an axe and a shield, so a bit of patience goes a long way.
Before you start, remember that you can’t equip a shield while holding a two-handed weapon. Pick your gear with that in mind.
- Step 1: Walk into the large central room and head for the middle. The Guardian will appear and the fight begins.
- Step 2: Hold back at first and let it come to you. Its opening pattern is two back-to-back horizontal axe swipes.
- Step 3: Watch the axe. As soon as the weapon starts to spin, a swing is coming, so that’s your cue to dodge.
- Step 4: Dodge right as the swing is about to land and you’ll earn a Perfect Dodge. That sets up a Flurry Rush, a whole barrage of hits.
- Step 5: Deal with the shield. If you attack while it’s up, most of your hits get blocked, so use a charge attack to knock the shield back, then go to town.
- Step 6: When the Guardian hops backward and pauses, a spin attack is coming. Move so one of the big pillars sits between you and it.
- Step 7: Finish it off while it’s low on health. Defeating the Guardian completes the shrine.
(Pro tip: If you miss the Perfect Dodge, don’t sweat it. There’s still plenty of time to land a hit between swings.)
Handling the Spin Attack
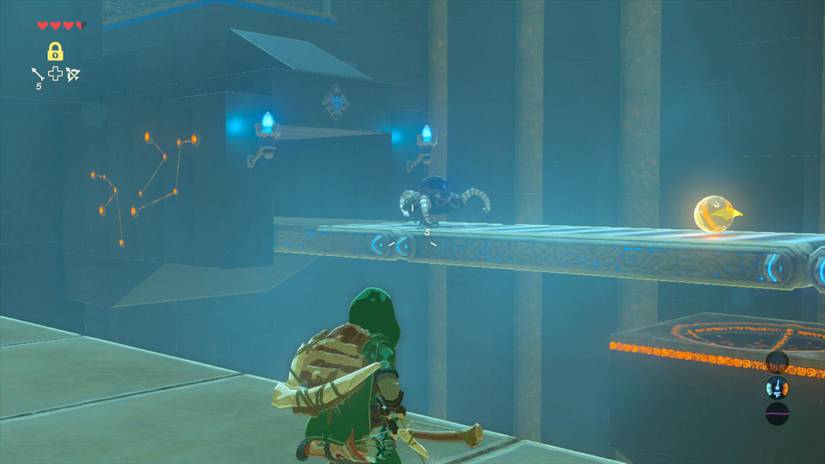
Okay, this is the part that trips people up, so let’s slow down. When the Guardian hops back, that’s your tell that the spin is coming.
Get a pillar between you and the Guardian, and the spin attack slams into the pillar instead of you. That leaves the Guardian incapacitated for a moment, and it’s your window to dive in with some damage.
If the spin turns into a laser sweep that fills more and more of the room as it turns, don’t panic. Hit it with an Ice Arrow or a Shock Arrow to stop it. You can also use the Stasis Rune to freeze it in place.
No Stress: If you get hit or have to retreat, you can simply try again. Every attempt teaches you something about its rhythm.
The Low-Health Blast
When the Guardian’s health gets low, it tries a powerful blast that can kill Link instantly. It sounds scary, and it can be, but you’ve got two good answers.
- Option One: Raise your shield and parry. Time it right and the blast gets knocked back at the Guardian.
- Option Two: Rush in and pile on as much damage as you can before it fires.
- Honestly? The parry feels amazing when it works. If you’re not confident yet, the aggressive rush is a perfectly good plan.
Rewards and Benefits
Once the Guardian goes down, head into the next room. A treasure chest is waiting for you there.
- Treasure Chest: Inside is a Knight’s Bow.
- Spirit Orb: Speak to the monk, Muwo Jeem, and he’ll hand you a Spirit Orb.
- The Payoff: You get a handy new bow and a Spirit Orb you can put toward more hearts or stamina.
Grab that chest before you leave. It’s easy to rush straight to the monk and forget it, and it’s worth the effort, I promise.
Pro Tips for a Smoother Fight
- Gear Check: Bring a one-handed weapon and a shield if you want the parry option. Two-handed weapons rule out the shield entirely.
- Bring Arrows: Pack a few Ice Arrows or Shock Arrows if you have them. They’re great for stopping the laser spin.
- Rune Ready: Keep the Stasis Rune handy as a backup for dangerous moments.
- Use the Pillars: They’re your best friends in this room. Keep one between you and the Guardian whenever it hops back.
- Be Patient: Don’t chase the Guardian. Let it swing first, dodge, then strike.
- Break the Guard: Always knock the shield back with a charge attack before a big combo. Otherwise your hits mostly bounce off.
- Learn the Tell: The axe spinning means a swing is imminent. Once you spot it, the timing becomes second nature.
(Pro tip: Practice the Perfect Dodge on the first couple of swings. Once it clicks, the whole fight gets much easier.)
Why This Shrine Matters
Muwo Jeem is a great little training ground. You get to practice dodging, shield breaking, using the environment, and parrying, all against a single opponent that telegraphs its moves.
Trust me on this: the skills you pick up here carry over to tougher Guardian fights later on. It’s a gentle way to build confidence before the harder stuff.
And since the glide to Chaas Qeta Shrine is right there, you can turn this into a nice little shrine-hopping afternoon. Take your time, enjoy the view, and soak up the progress.
So how did your fight go? Did you nail a Perfect Dodge, or did the pillar trick save the day? Tell us about it in the comments, and let us know which shrine you’d like us to cover next!