Spotted a shrine marker in the middle of a giant stone maze in frozen Hebra? That is Mayaotaki Shrine, and here’s the good news: there is no puzzle and no fight inside. It is a Rauru’s Blessing shrine, so the North Lomei Labyrinth around it is the real test.
Here’s how to get through the maze the safe way, the quick way over the walls, which chests are worth the detour, and what the shrine unlocks next.
Mayaotaki Shrine Location
Mayaotaki sits at the center of the North Lomei Labyrinth on the surface, in the far eastern part of the Hebra region, east of the North Tabantha Snowfield and close to the North Lomei Chasm.
- Starting Point: warp to Snowfield Stable (or any shrine you have nearby) and head north and east.
- The Entrance: look for a stone tablet and a small explorer’s camp with a note right in front of the maze.
- Pack: cold resistance (warm clothes or spicy meals), Fire Fruit or Flint and Wood, and a few Hylian Pine Cones.
- Shrine Type: Rauru’s Blessing. Walk in, grab the chest, collect your Light of Blessing.
| Detail | Mayaotaki Shrine |
|---|---|
| Trial | Rauru’s Blessing (no puzzle) |
| Region | Hebra, inside the North Lomei Labyrinth |
| Hazards | Cold, Gloom on the maze floor |
| Chest inside | Diamond |
| Labyrinth chests | Zonaite Bow, a Strong Zonaite Shield and more |
| Unlocks | The North Lomei Prophecy side quest |
Route 1: Follow the Pine Cones
Read the explorer’s note at the camp. It explains the trick: the explorer left a trail of Hylian Pine Cones on the ground through the maze. Follow them and you will not get lost. (Pro tip: do not pick them all up, or you lose your breadcrumbs.)
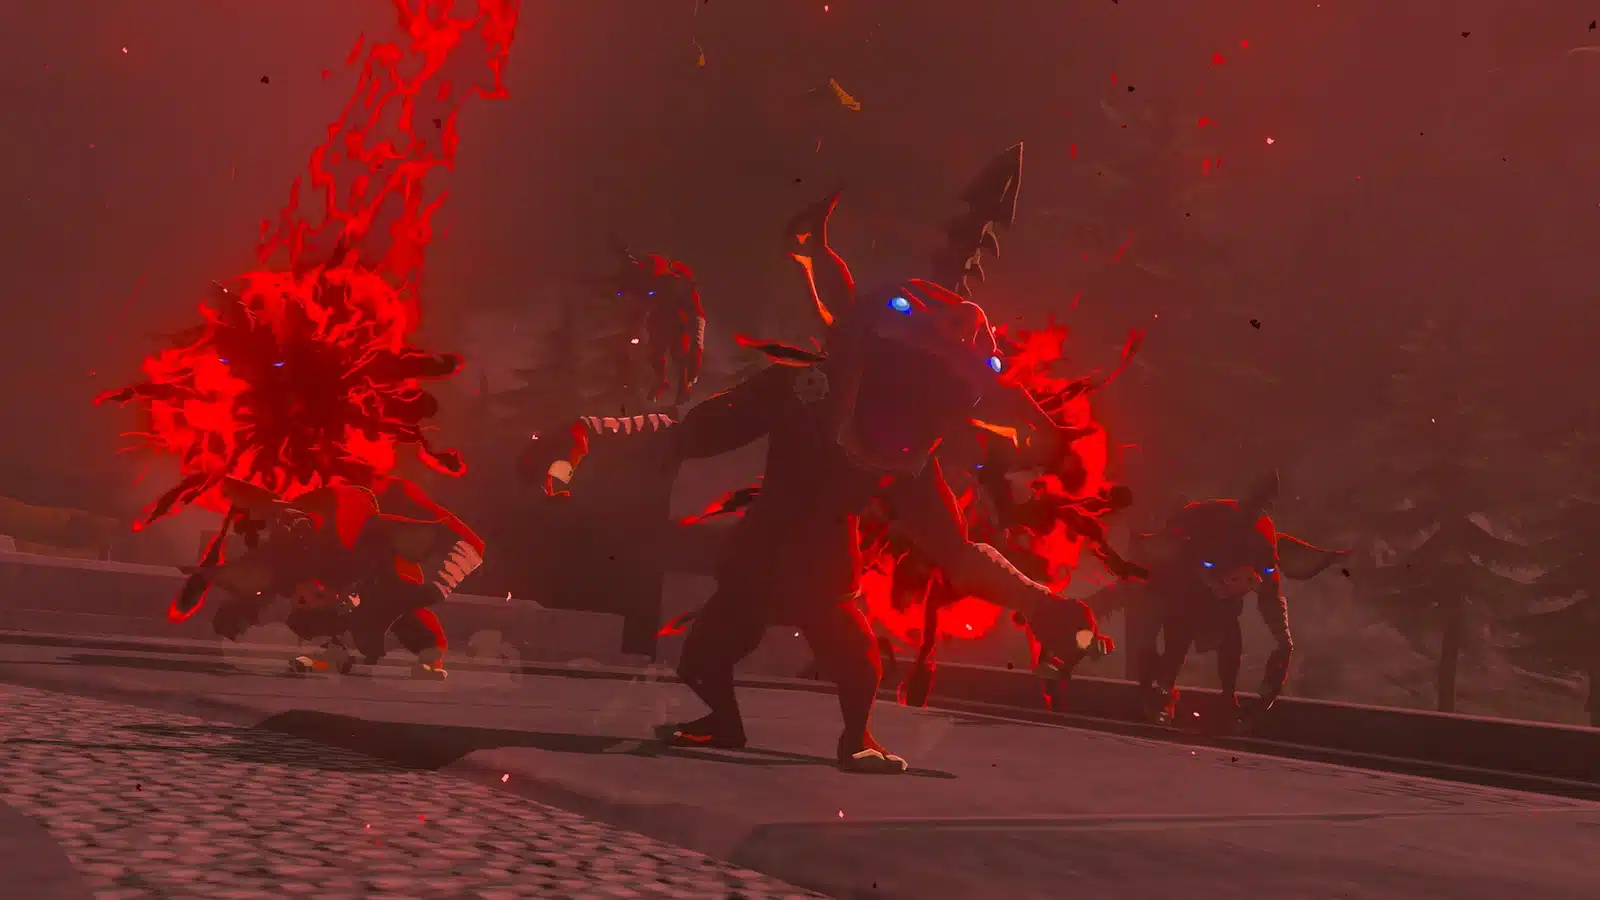
- Step 1: walk in until Gloom blocks the corridor. Gloom is the red and black sludge that breaks your heart containers, and ordinary healing will not fix that damage right away, so avoid stepping in it.
- Step 2: light the nearby campfire (Flint plus Wood, or a fire weapon), then drop a Hylian Pine Cone on it. The fire flares into an updraft. Jump in, open your paraglider and sail over the Gloom.
- Step 3: keep following the cones. At a second campfire before more Gloom, repeat the same updraft trick.
- Step 4: read the second journal. It tells you to follow the light, so look for a single lamp at the end of a long hallway.
- Step 5: the cones lead to a ladder between two lamps. Climb it and take the stairs to the shrine.
Route 2: Go Over the Walls
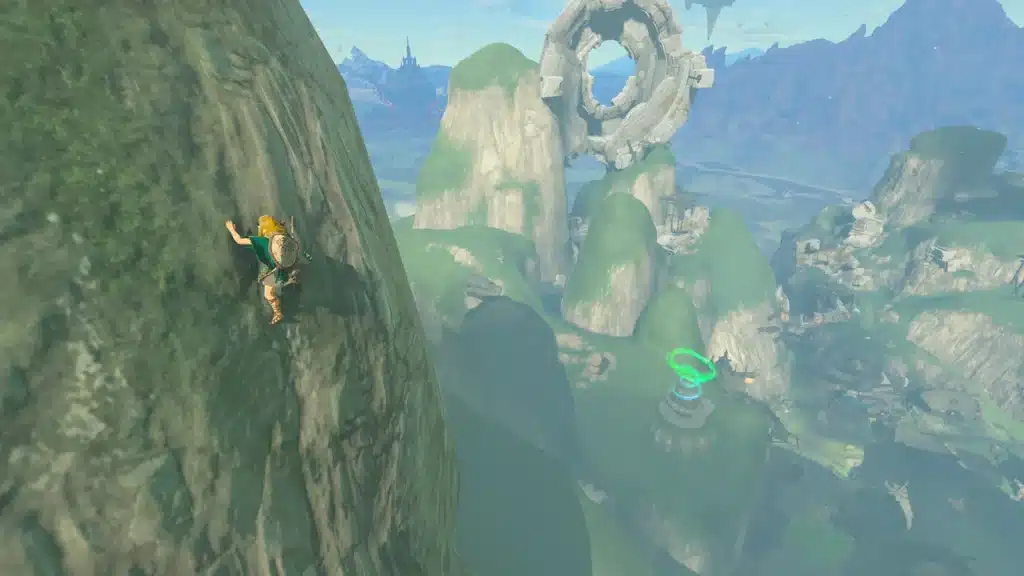
Your call if you would rather skip the corridors. Climb a maze wall, or use a Pine Cone updraft to reach the top. Then walk along the wall tops toward the shrine marker in the center.
- Ascend shortcut: standing under a ledge or overhang near the walls, Ascend can pop you straight up through it.
- Find the ladder: from above, look for the ladder lit between two lamps. Drop down near it and follow the stairs.
- Watch your drop: landing in a Gloom corridor costs hearts that normal healing will not restore.
Melt the Ice at the Entrance
The shrine entrance is sealed in ice. Light Wood with Flint next to it, shoot a fire arrow (an arrow fused with a Fire Fruit), or hold a fire weapon near it. Once it melts, step inside and touch the shrine to unlock fast travel.
Labyrinth Chests Worth the Detour
Here’s the full breakdown of the chests guides agree on. The labyrinth hides more than these, so explore if you like.
- Zonaite Bow: along the Pine Cone route past the first Gloom, ice holds back some boulders. Melt the ice, let the boulders roll down, and the chest sits behind them.
- Strong Zonaite Shield: past the second campfire and the journal, melt more ice to reach a chest with a Strong Zonaite Shield.
- Diamond: inside the shrine, on the first landing.
Zonaite weapons get a bonus when you fuse Zonai devices to them, so the bow pairs nicely with fused arrows. Our Fuse guide covers the basics.
Inside Mayaotaki Shrine
This part takes about thirty seconds, so breathe.
- Step 1: open the chest on the first landing for a Diamond.
- Step 2: head up the stairs and touch the green glyph in front of the statues to receive the Light of Blessing.
Four Lights of Blessing become a Heart Container or a Stamina Vessel at a Goddess Statue. Oh, and the Diamond is worth keeping: it sells well, and fusing it to a weapon is a popular early power boost.
What Comes Next: The North Lomei Prophecy
Mayaotaki is the first stop in a three layer puzzle. Interact with the Zonai monument by the shrine and The North Lomei Prophecy side quest begins.
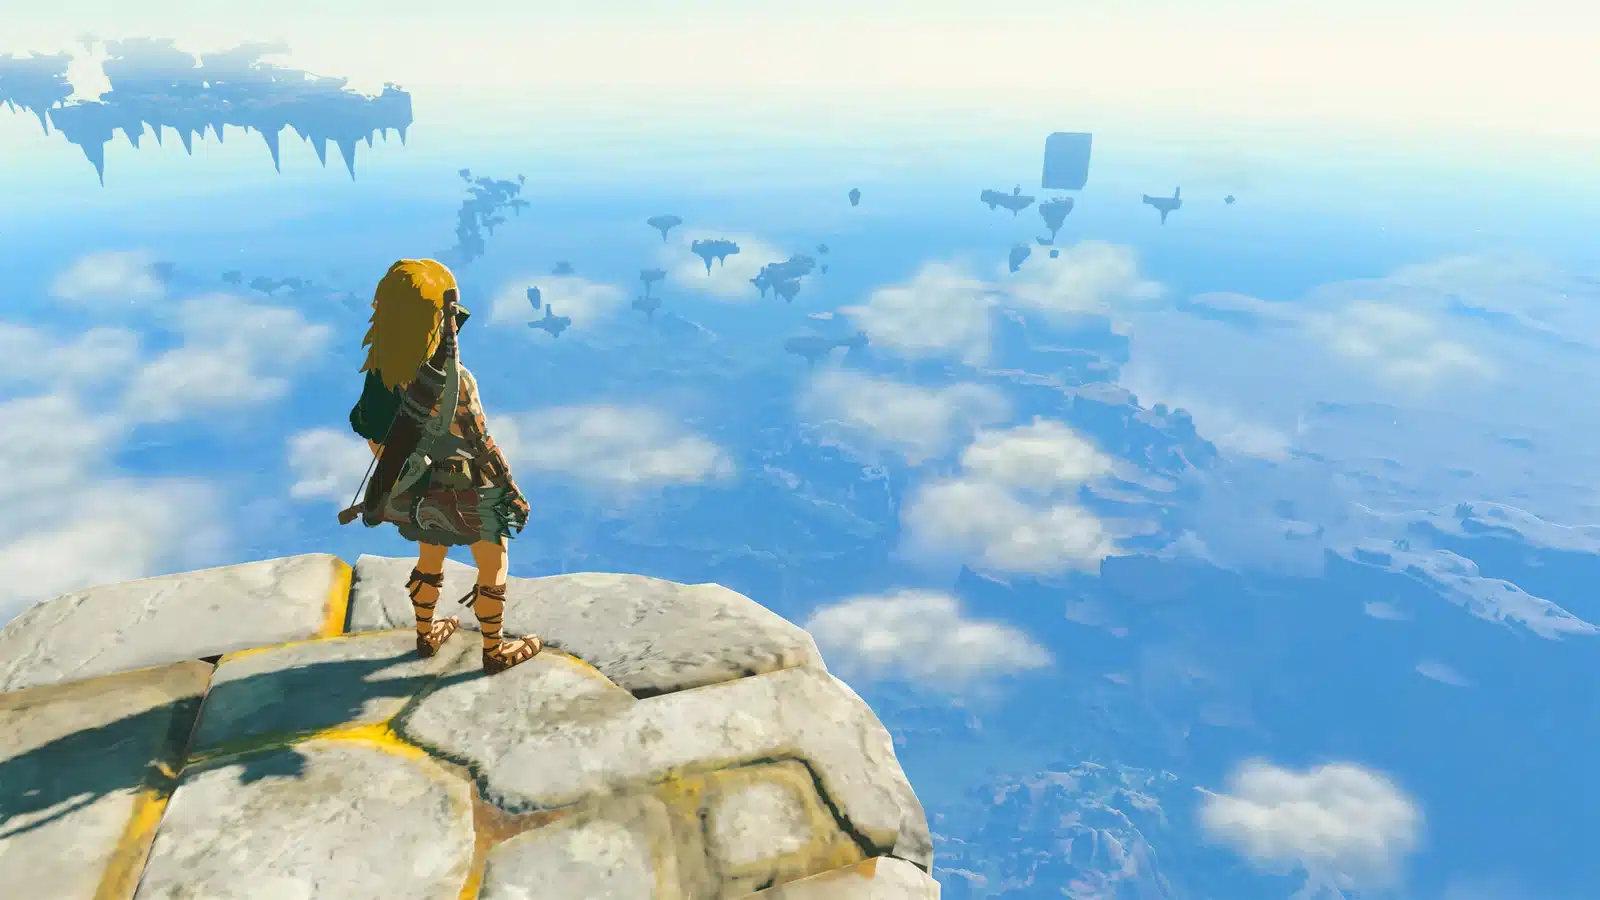
- Sky: the quest sends you up to a matching labyrinth in the sky, with Tenbez Shrine at the entrance to the North Lomei Castle top floor.
- Depths: finishing the sky trial opens the way down to a third labyrinth in the Depths, below this one, with the Ikatoayam Lightroot and a boss fight at the end.
Check out the Ascend guide before the sky leg, since you will be climbing a lot, and the TOTK interactive map helps you line up the three layers.
Mayaotaki Shrine FAQ
Where is Mayaotaki Shrine in Tears of the Kingdom?
At the center of the North Lomei Labyrinth in the eastern Hebra region, east of the North Tabantha Snowfield.
Is there a puzzle in Mayaotaki Shrine?
No. It is a Rauru’s Blessing shrine. The labyrinth outside is the challenge.
How do you get past the Gloom in the North Lomei Labyrinth?
Light the campfire, drop a Hylian Pine Cone on it, and ride the updraft over. Or climb the walls and walk along the top.
What is in the Mayaotaki Shrine chest?
A Diamond, on the first landing inside the shrine.
Pro Tip: bring Pine Cones and fire, follow the explorer’s trail, and grab the Zonaite Bow on the way. You get a Diamond, a Light of Blessing and a warp point in the middle of a maze. Nailed it? Then the sky labyrinth is waiting.