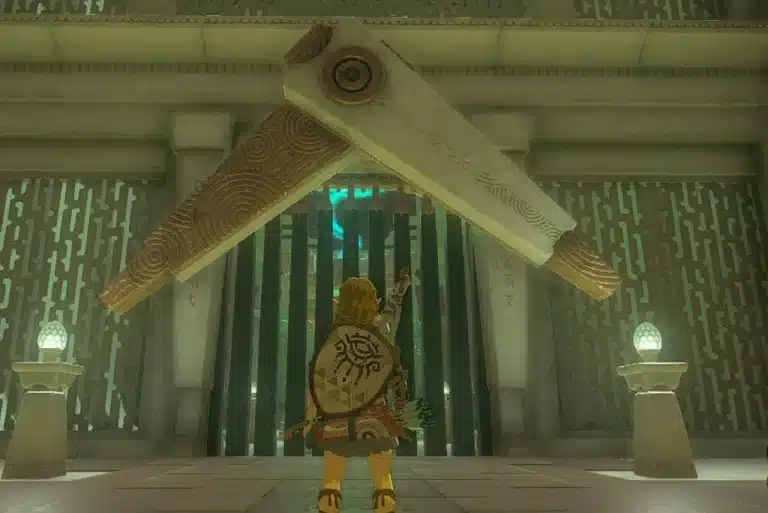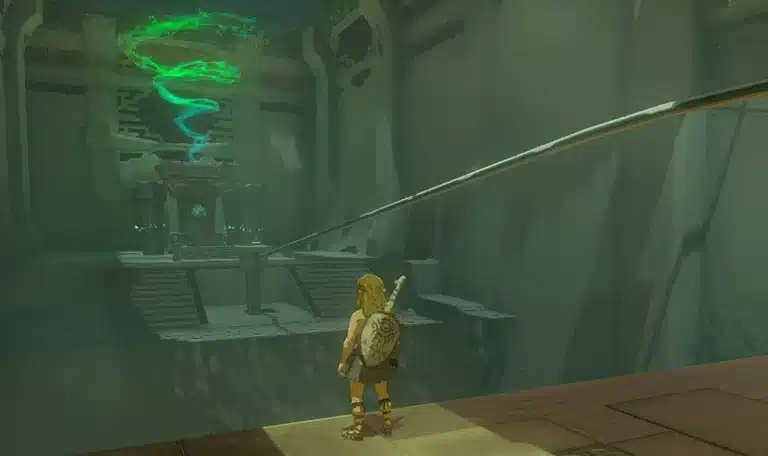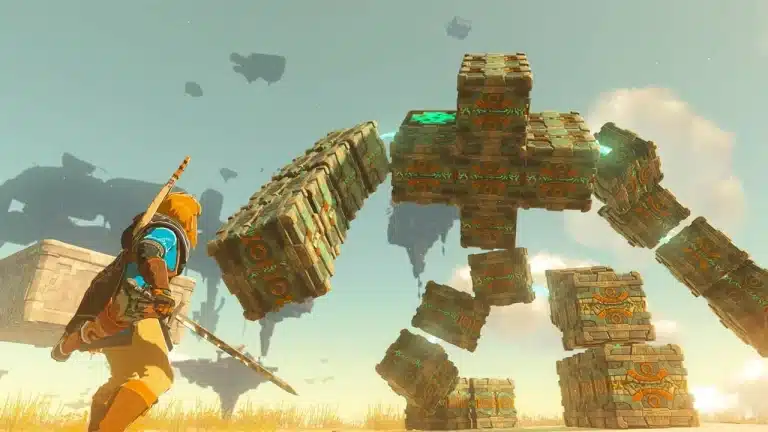
Jojon Shrine is hidden inside Crenel Peak Cave, behind a pile of breakable rock, and once you finally reach it, the shrine strips you of every weapon and piece of armor you own. It is a Proving Grounds combat trial, so you are fighting Constructs with whatever the shrine hands you.
Here’s the full breakdown: where the cave is, the two ways in, how to clear Proving Grounds: Rotation and what is in the chest.
Jojon Shrine Location
Jojon Shrine sits underground in Crenel Peak Cave, on Crenel Peak east of Lookout Landing. You cannot see it from the surface, so you are heading for one of the cave entrances.
| Detail | Info |
|---|---|
| Location | Crenel Peak Cave, Crenel Peak |
| Coordinates | About (1203, 0328, 0027) |
| Trial | Proving Grounds: Rotation |
| Bring | Bombs, Bomb Flowers or a hammer type weapon for the rock walls |
| Inside the shrine | Your gear is removed; five Constructs to defeat |
| Rewards | Light of Blessing, Magic Rod from the chest |
(Pro tip: guides list the coordinates a digit or two apart. Use them to get close, then trust the shrine sensor once you are underground.) The TOTK interactive map is handy for lining up the entrances before you go.
How to Reach Jojon Shrine
Crenel Peak Cave has two entrances on opposite sides of the peak. Both lead to the shrine, but they play very differently.
| Entrance | What’s inside | Verdict |
|---|---|---|
| East entrance | Fewer enemies, water and rock walls | Your best bet |
| Southwest entrance | Blue Boss Bokoblin camp with Blue Bokoblins, chest with five Bomb Flowers | More loot, more fighting |
East Entrance (Recommended)
- Head into the cave from the east side of Crenel Peak.
- Deal with whatever is lurking near the water. Arrows are great for anything clinging to the ceiling.
- When you reach the breakable rocks, keep to the right side and smash through in that direction.
- From the water’s edge, dig through the wall on the right and follow the passage to the shrine.
Southwest Entrance
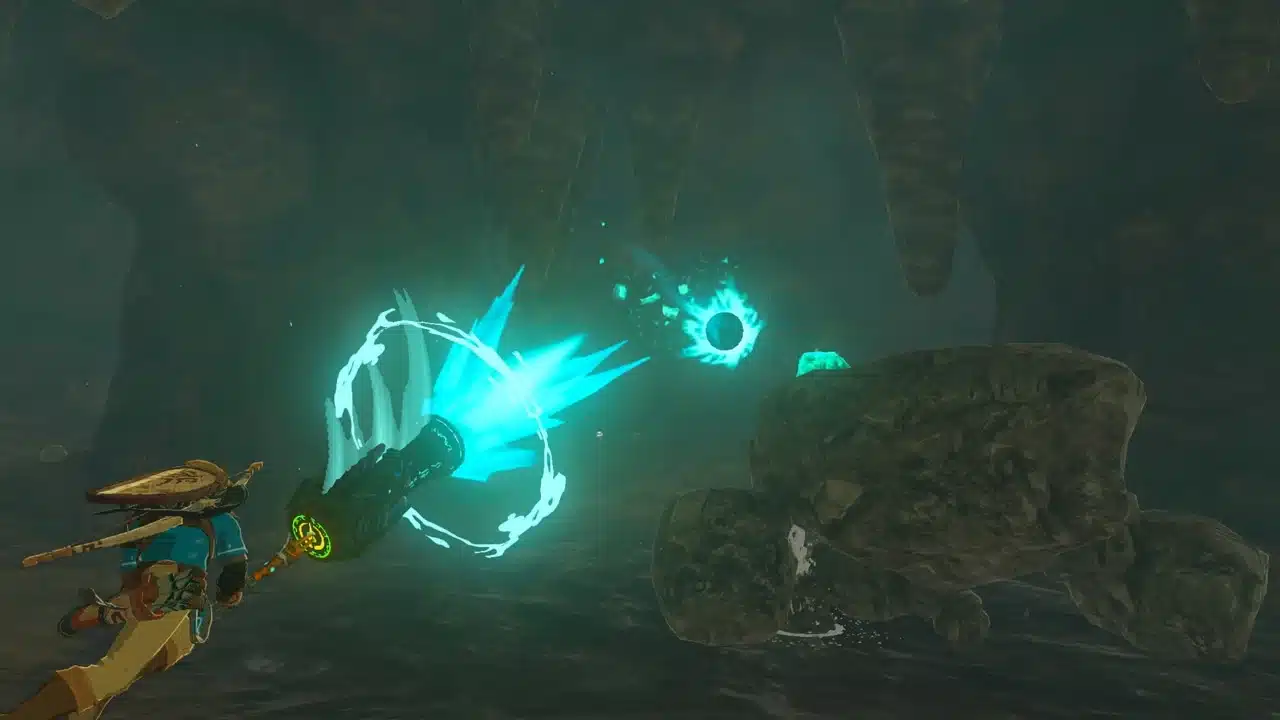
This side has a Blue Boss Bokoblin and a group of Blue Bokoblins camped around a cooking fire. The upside: their chest holds five Bomb Flowers, which is exactly what you need for the rock walls further in. Throw a Bomb Flower into the group to open the fight, or use a Muddle Bud on the boss so it turns on its friends.
Past the camp, cut or burn through the vines and break the rock walls to reach the shrine.
Proving Grounds: Rotation Walkthrough
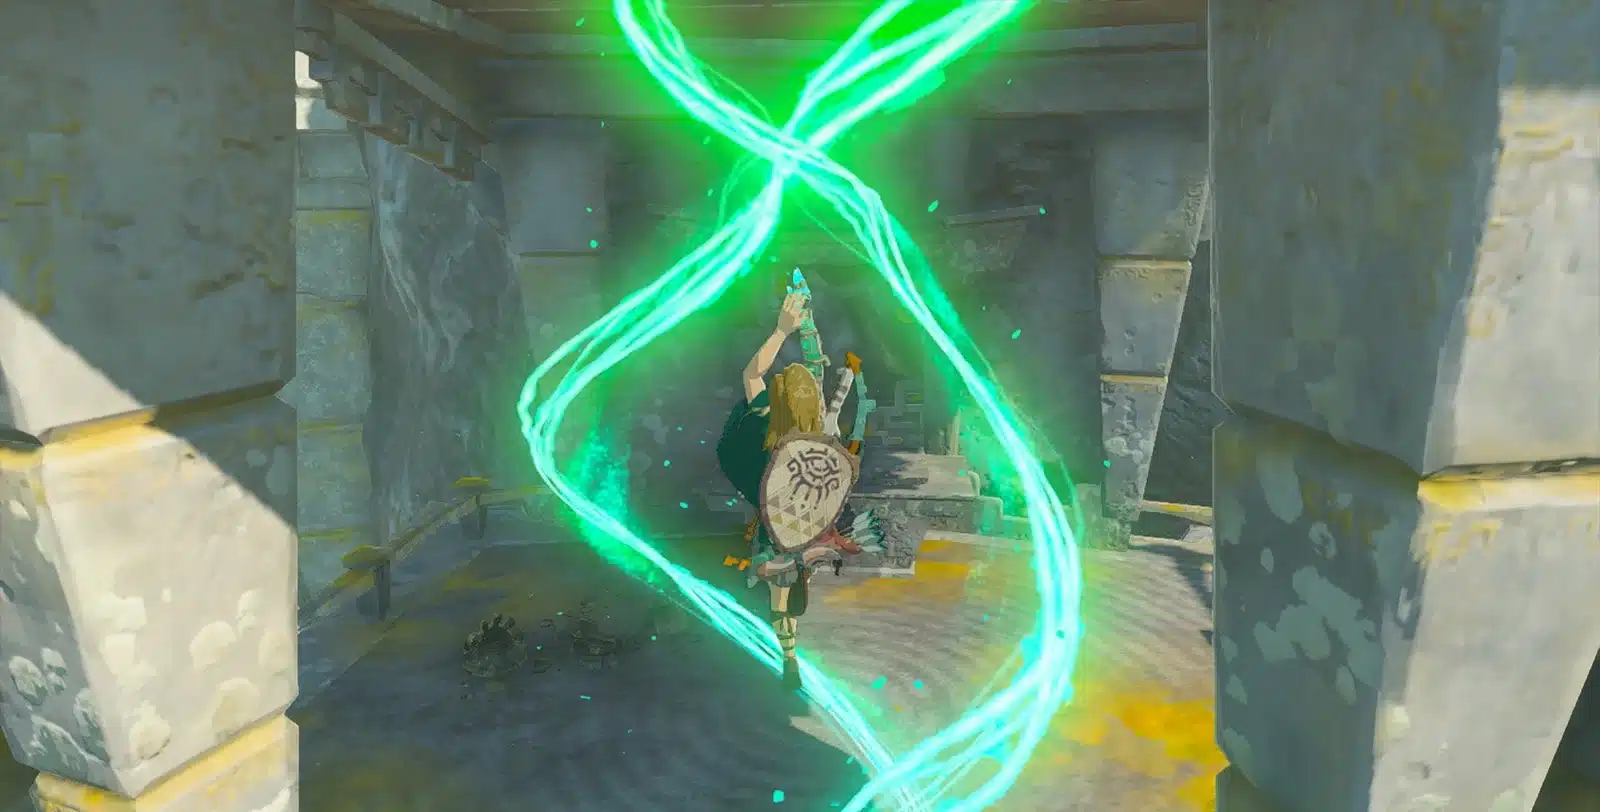
The moment you step inside, Link’s weapons, shields, bows and armor are taken away. You fight with the gear the shrine provides, and everything is returned when you finish. Since none of it comes with you, there is no reason to save anything: use it all.
Your goal is to defeat five Constructs spread over the arena’s three levels (B1F, 1F and 2F). The last two are tougher, with more health and harder hits, and one of the group fights at range.
- Grab what’s on the floor: pick up the weapons and items lying around before you engage.
- Take them one at a time: pull a single Construct away from the others whenever you can.
- Fuse every horn: each Construct you beat drops a horn. Fuse it onto your weapon right away for a big damage boost.
- Deal with the archer early: the ranged Construct will chip you while you fight the others, so close the distance or take it out first.
- Save your best weapon for the last two: they hit harder and take longer to drop.
- Claim the reward: once all five are down, the gate opens. The chest in front of the goal unlocks, and the altar is just past it.
Don’t stress if a fight goes badly. If you die, the shrine resets and you can try again with a better plan.
Rewards
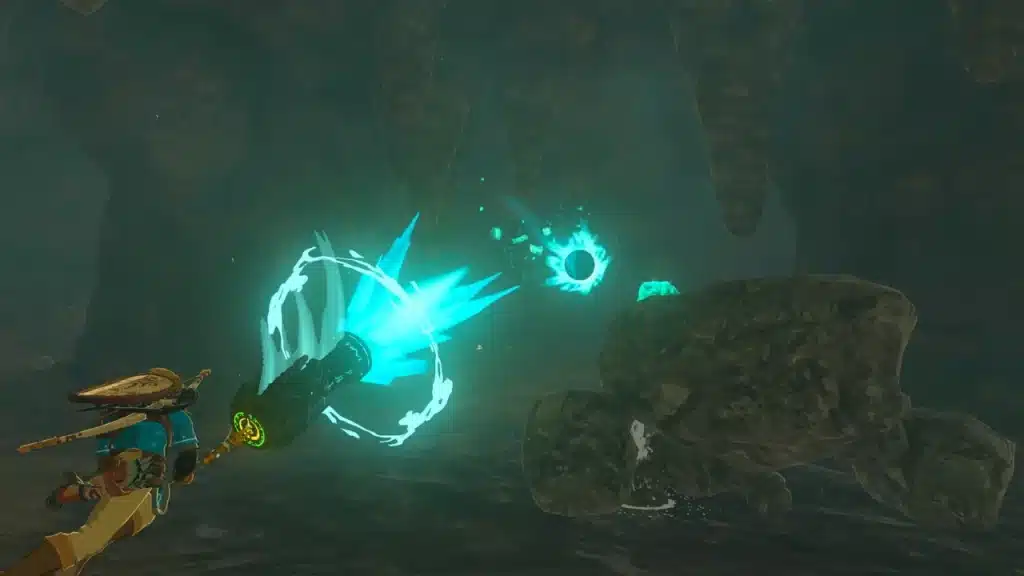
- Magic Rod: from the chest that unlocks after the fight. It fires magic projectiles and is a fun tool for picking off enemies from range.
- Light of Blessing: from the altar. Four of them trade for a heart container or more stamina at a Goddess Statue.
- Fast travel: the shrine becomes a warp point, which saves you the cave next time.
- Bomb Flowers: if you came through the southwest entrance, the camp chest’s five Bomb Flowers are yours too.
Tips for Jojon Shrine
- Pack rock breakers: running out of bombs halfway through the cave is the most common snag. A hammer or any heavy Fuse with a rock never runs out.
- Eat before you enter: you cannot bring weapons in, but your hearts are your own, so top up first.
- Practice Fuse: combat shrines like this one are great Fuse practice. Our Fuse ability guide explains which materials hit hardest.
- Cook something useful: a defense or attack meal makes the last two Constructs much easier. Check out our cooking guide for the basics.
Nailed it? If you are hunting shrines in the area, our Korok seed locations guide helps you clean up the surface around Crenel Peak while you are there.
Jojon Shrine FAQ
Where is Jojon Shrine in Tears of the Kingdom?
Inside Crenel Peak Cave on Crenel Peak, east of Lookout Landing, at about (1203, 0328, 0027).
What is in the Jojon Shrine chest?
A Magic Rod. The chest unlocks once all five Constructs are defeated.
Why does Jojon Shrine take my weapons?
It is a Proving Grounds shrine. Your gear is held while you fight with what the shrine provides, and you get it all back when you finish.
Which Crenel Peak Cave entrance is easier?
The east entrance. It has fewer enemies, while the southwest entrance has a Blue Boss Bokoblin camp.
Oh, and one more thing: the side tunnels of the cave hide Bubbulfrog loot, so bring a few extra bombs if you want to clear it. Five Constructs, one Magic Rod and you’re winning.