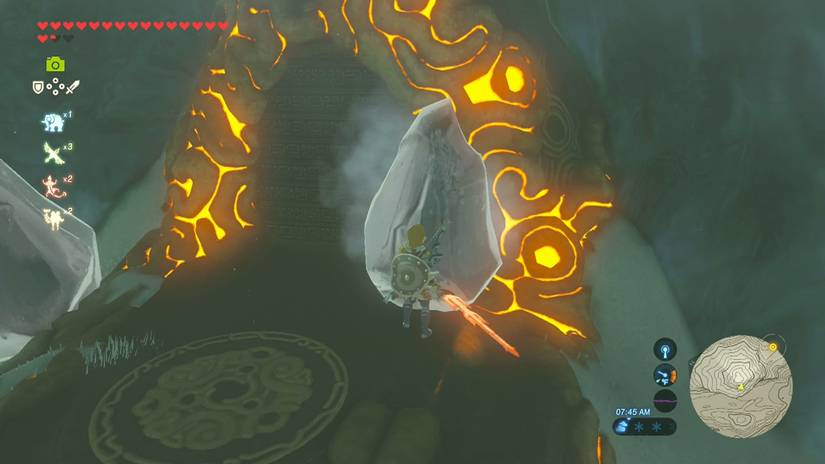
You’ve found a cave at the foot of Hebra Peak, and all you can see is a wall of giant ice blocks. Your Sheikah Slate sensor is pinging like crazy, so you know a shrine is hiding behind them.
Good news: this is one of the most rewarding combat shrines in the Hebra region. Here’s exactly what to do, from melting the ice to beating the Guardian Scout inside. (Quick beginner note: a shrine is a mini-dungeon that rewards you with a Spirit Orb, and this one is a pure combat test.)
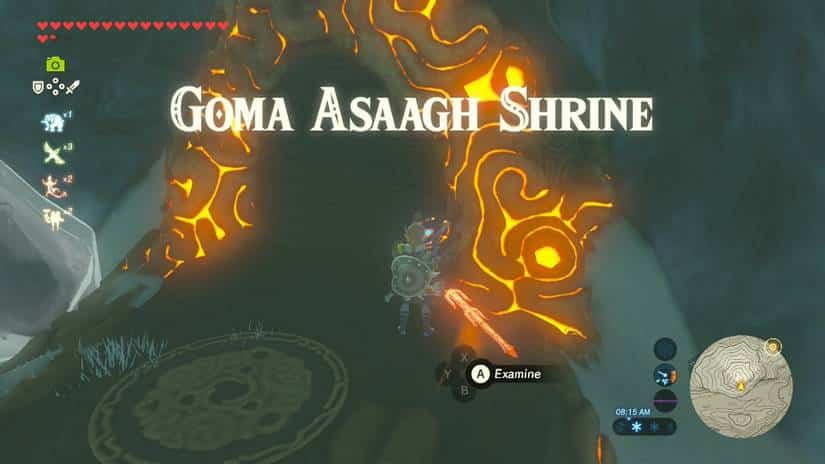
Goma Asaagh Shrine Location and Overview
The shrine sits in the center of the Hebra region, at the foot of Hebra Peak. It’s one of 13 shrines in Hebra, tucked inside a small cave that is blocked by ice.
- Location: Northwestern Hyrule, in the Hebra Tower region. Look just beneath the region’s name on your map, near Hebra Peak.
- Fast Travel Tip: If you’ve already cleared Shada Naw Shrine, warp there and head southeast. It’s the quickest route.
- Shrine Type: A major “test of strength” shrine. A Guardian Scout IV waits inside.
- Main Obstacle: Giant ice blocks. You need fire to get through them.
- Survival Gear: Hebra is a frozen tundra. Bring mid-level cold resistance (from food or elixirs) or wear the Snowquill Tunic and related armor.
Lore Note: Guardians were built by the ancient Sheikah to defend Hyrule against Calamity Ganon. Shrines like this one use a scout as a trial, so you’re fighting a piece of that old technology in miniature. The Scout IV is a hardened version of that design.
Ready to thaw things out? Let’s get you inside.
Step-by-Step Walkthrough
Part 1: Melting the Ice
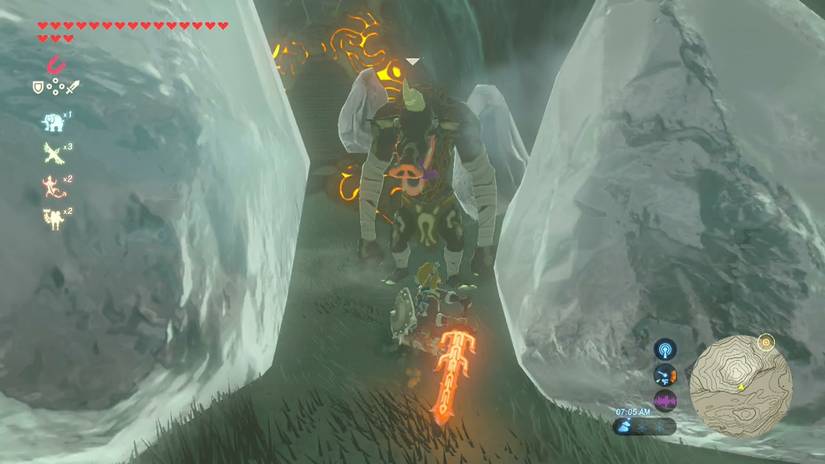
- Step 1: Eat or drink for cold resistance before you reach the cave. Hebra’s chill will drain your hearts quickly without it.
- Step 2: Equip a flame-based weapon, such as a Flameblade or Fire Rod, and stand near the front center of the ice wall.
- Step 3: Keep pushing your fiery weapon against the ice. It melts slowly until there’s very nearly an opening.
- Step 4: No fire weapon? Drop Wood and Flint, then strike the Flint with a metal weapon to light a campfire in that spot. The fire melts the remaining ice faster.
- Step 5: Expect a Black Moblin to attack while you work. Defeat it before you continue.
- Step 6: Once the path is clear, melt the ice around the shrine pedestal so you can activate it and step inside.
(Pro tip: Fire needs patience here. Rushing back and forth wastes time, so keep your flame on one spot and let it do the work.)
Part 2: Beating the Guardian Scout IV
Inside, you face a Guardian Scout IV armed with a spear, an axe, and a sword. It has 3,000 health, and the room is wide open. Unlike other combat shrines, there are no columns to trap it against or hide behind.
The numbers tell an interesting story: with that much health and no cover, this fight rewards dodging and timing over brute force. Here’s how the phases break down.
| Phase | What the Scout Does | Your Best Response |
|---|---|---|
| Opening | Rush attacks with spear, axe, and sword | Dodge, then use the Stasis Rune or counter |
| Spin attack | Whirls around the room | Perfect dodge for Flurry Rush, or block with your shield |
| Midway laser spin | Hunkers down and sweeps a laser around | Back off, use the updraft to glide over it, and strike from above |
| Final stand | Charges a laser, firing four consecutive shots | Rush it if its health is low, otherwise run and dodge |
- Step 7: Open with an attack-boosting elixir if you have one, and wear your strongest armor.
- Step 8: Dodge its early attacks. During its rush attacks, use the Stasis Rune to freeze it, then hit it with your strongest guardian weapons.
- Step 9: When it spins, perfect dodge (dodge just before the hit lands) to trigger Flurry Rush. That slows time and lets you land a flurry of strikes.
- Step 10: Around the halfway point, it hunkers down and spins a laser. Back away, use the nearby updraft to glide over it, and strike from above.
- Step 11: As its health runs out, it charges a final laser. If it’s nearly dead, rush in and finish it first. If not, keep running and dodge all four shots.
- Step 12: After the last shot, it needs to recharge. Run in and deliver a string of sword slashes.
Quick beginner note: the Stasis Rune is one of your Sheikah Slate abilities. It freezes an object in time so you can pile up damage, then unleashes it all at once when the effect ends.
Worth noting: the floor here is covered in water, which makes electricity especially devastating. Shoot the ground with a shock arrow and a burst of electricity can paralyze the Scout, unless it’s readying its laser. Elemental arrows also work nicely when you need a little distance.
Rewards and Benefits
This shrine pays out well for the effort. The data speaks for itself:
- Scout Drops: Defeating the Guardian Scout can drop a Guardian Sword++, an Ancient Battle Axe++, and a Guardian Spear++.
- Treasure Chest: Open the chest on your way to the monk to get a Royal Claymore.
- Spirit Orb: Speak with the monk, Goma Asaagh, to claim your Spirit Orb.
Beginner Tip: Spirit Orbs are traded for permanent upgrades. Four of them can be exchanged for a Heart Container or a Stamina Vessel, so every shrine you clear makes you stronger.
Pro Tips for a Smoother Fight
- Bring Backup Weapons: Guardian weapons hit hard, but a long fight can wear down your gear. Carry a few spares so you’re never caught empty-handed.
- Use Your Shield: Blocking the spin attack is a safe option while you’re learning its timing.
- Learn the Dodge Window: Perfect dodges give you Flurry Rush. Practice early, since you’ll want it for the Scout’s spin attack.
- Respect the Final Laser: Don’t get greedy at low health. If it has enough health left to survive your rush, back off and dodge instead.
- Stock Up on Food: Eat hearty meals before entering, and keep an attack elixir ready. Skipping prep makes this fight much harder than it needs to be.
(Pro tip: If you struggle with the spin attack, try the electricity trick first. A paralyzed Scout is an easy target, so shoot the wet floor and then step in for your strikes.)
Why This Shrine Matters
Goma Asaagh teaches you to read an enemy, make use of the terrain, and combine your tools. You melt ice with fire, freeze enemies with Stasis, glide over lasers, and punish a wet floor with electricity. Those lessons carry over to every tougher fight you’ll face across Hyrule.
And the loot makes it all worthwhile. Three upgraded guardian weapons, a Royal Claymore, and a Spirit Orb are a big haul for one cave.
So how did your fight go? Did you rely on Stasis, perfect dodges, or electric arrows to take the Scout down? Let us know in the comments, and share any strategies we missed.