
Okay, so you have probably scrolled past that vague Miscellaneous entry about a strange crystal a dozen times, right? Let’s fix that. Lost to the Ages is a Dawnguard quest, and its reward, the Aetherial Crown, lets you hold two Standing Stone blessings at once. Honestly? It is one of the coolest items in the whole game.
Take your time with this one. It is a long trip through five Dwemer ruins with a ghostly guide, a tone puzzle and a lava forge at the end. Nothing here is out of reach, and you’ve got this. More guides are waiting on the Skyrim hub.
How to Start Lost to the Ages
You need the Dawnguard add-on, which comes with Special Edition and Anniversary Edition. There are three ways in.
- Read The Aetherium Wars: this book tells the story of four Dwemer cities that fought over a rare crystal. Reading it points you to Arkngthamz.
- Walk into Arkngthamz: a Dwemer ruin in the Reach, southeast of Markarth near the Orc stronghold Dushnik Yal. A ghostly voice greets you inside.
- Pick up an Aetherium Shard: if you grab one by chance, the quest starts with a task to learn what it is.
No Stress: if Arkngthamz is already on your map, just fast travel there. The terrain around it is rocky, so a horse helps otherwise.
Lost to the Ages Walkthrough
Part 1: Arkngthamz and Katria
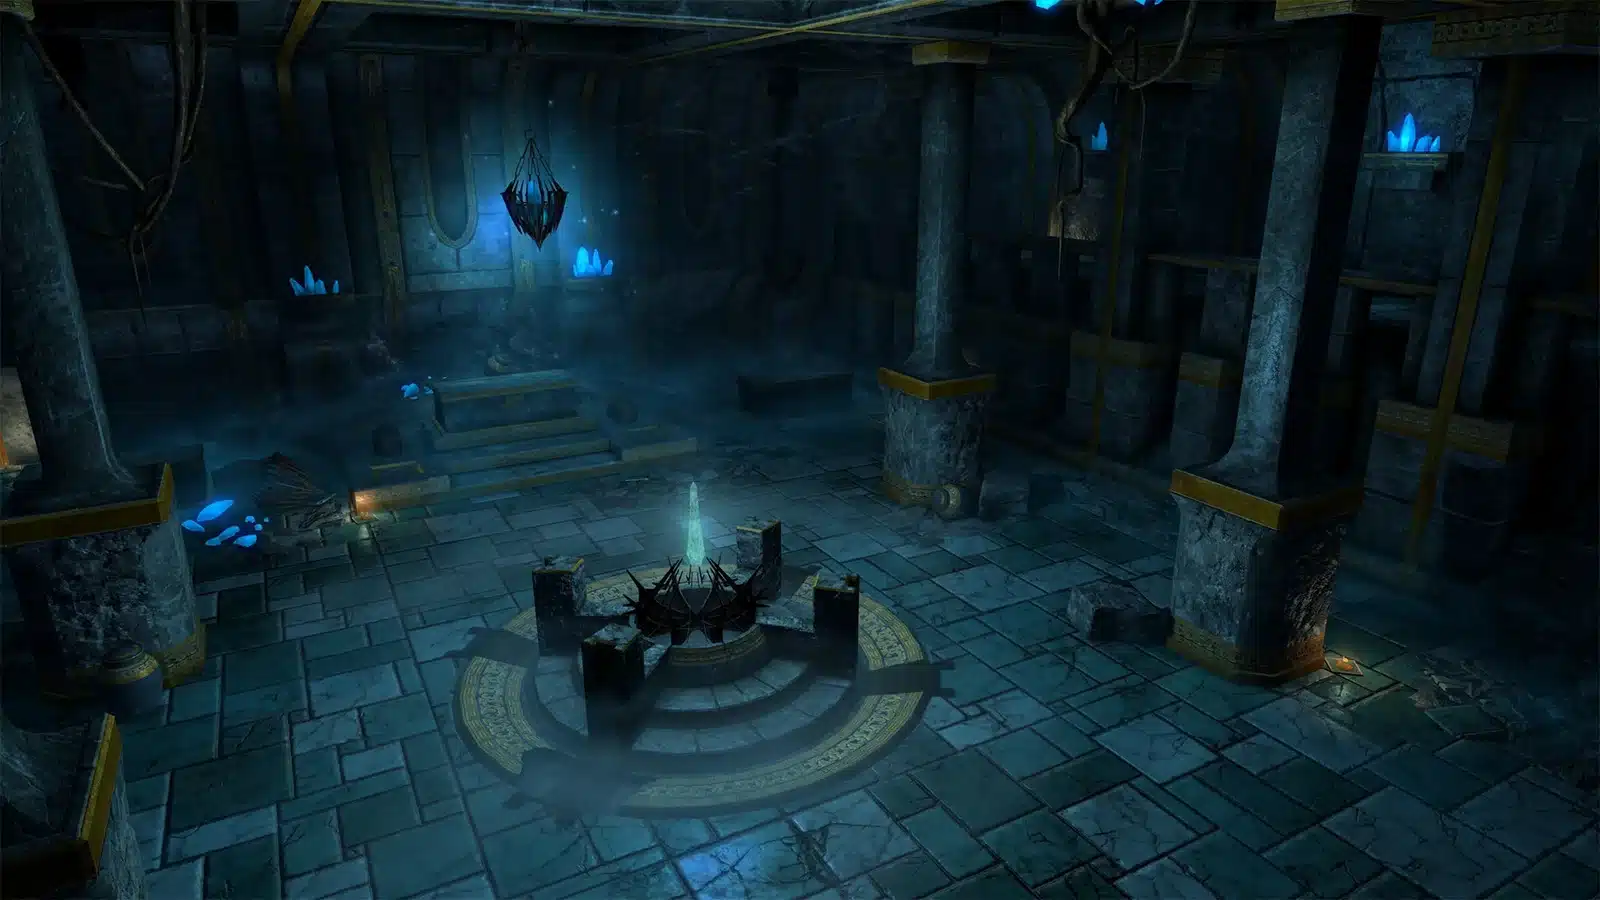
- Enter Arkngthamz and push on past the voice telling you to leave. You soon meet Katria, the ghost of a scholar who died here chasing the same mystery. Agree to work with her.
- Sneak through the Falmer. They are blind, so crouching and sneak attacks work beautifully here.
- Find Zephyr. In the large naturally lit cavern, look along the fallen tree trunk over the chasm for Katria’s Zephyr, a Dwarven bow that fires faster than almost any other bow. It is optional, but please don’t skip it.
- Solve the Resonator puzzle. Above the sealed vault door are five Resonators. Hit them with arrows or spells in this order:
| Hit | Resonator |
|---|---|
| 1 | Bottom left |
| 2 | Bottom right |
| 3 | Top left |
| 4 | Top right |
| 5 | Middle |
Get one wrong and a trap fires and the Resonators reset, so you can simply try again. Behind the door, deal with the construct guarding the vault and take the first Aetherium Shard.
Part 2: The Other Three Shards
Katria now leads you across Skyrim. Each stop is a Dwemer ruin with one shard waiting inside, and your quest marker shows the way.
| Shard | Location | What to expect |
|---|---|---|
| 1 | Arkngthamz, the Reach | Falmer, Resonator puzzle |
| 2 | Raldbthar Deep Market | Dwemer ruin with constructs |
| 3 | The Dwarven Storeroom near Mzulft | Short trip, follow the marker |
| 4 | Deep Folk Crossing | A Dwemer bridge structure in the mountains |
Okay, this part is SO good: Katria’s ghost keeps chatting as you go, and her story ties together the book, the ruins and why she died.
Part 3: The Aetherium Forge and the Forgemaster
- Go to the Ruins of Bthalft, a small Dwemer ruin in the Rift southeast of Ivarstead, once you have all four shards. Place them in the pedestal and they combine into the Aetherium Crest, opening the way down into Bthar-zel.
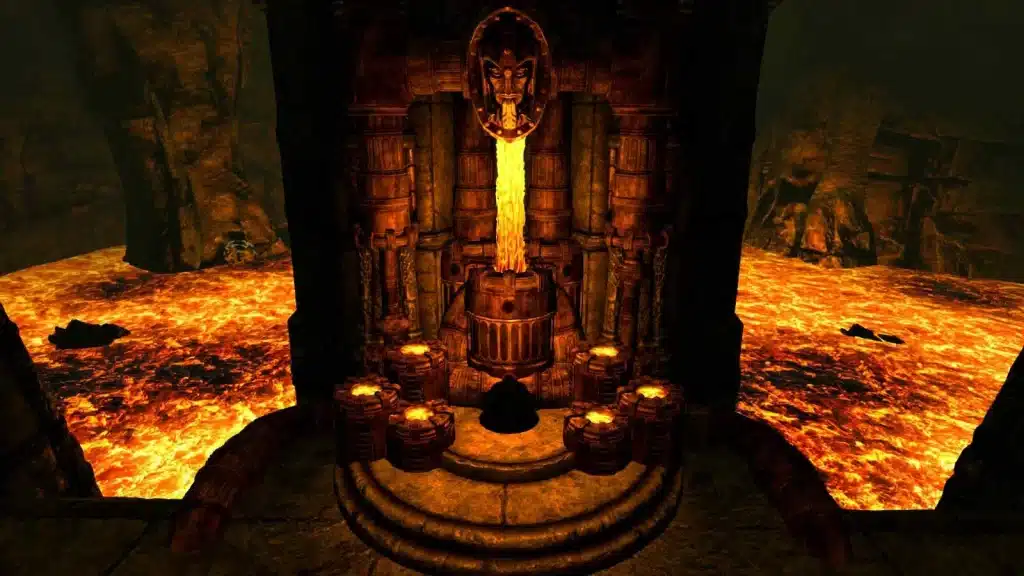
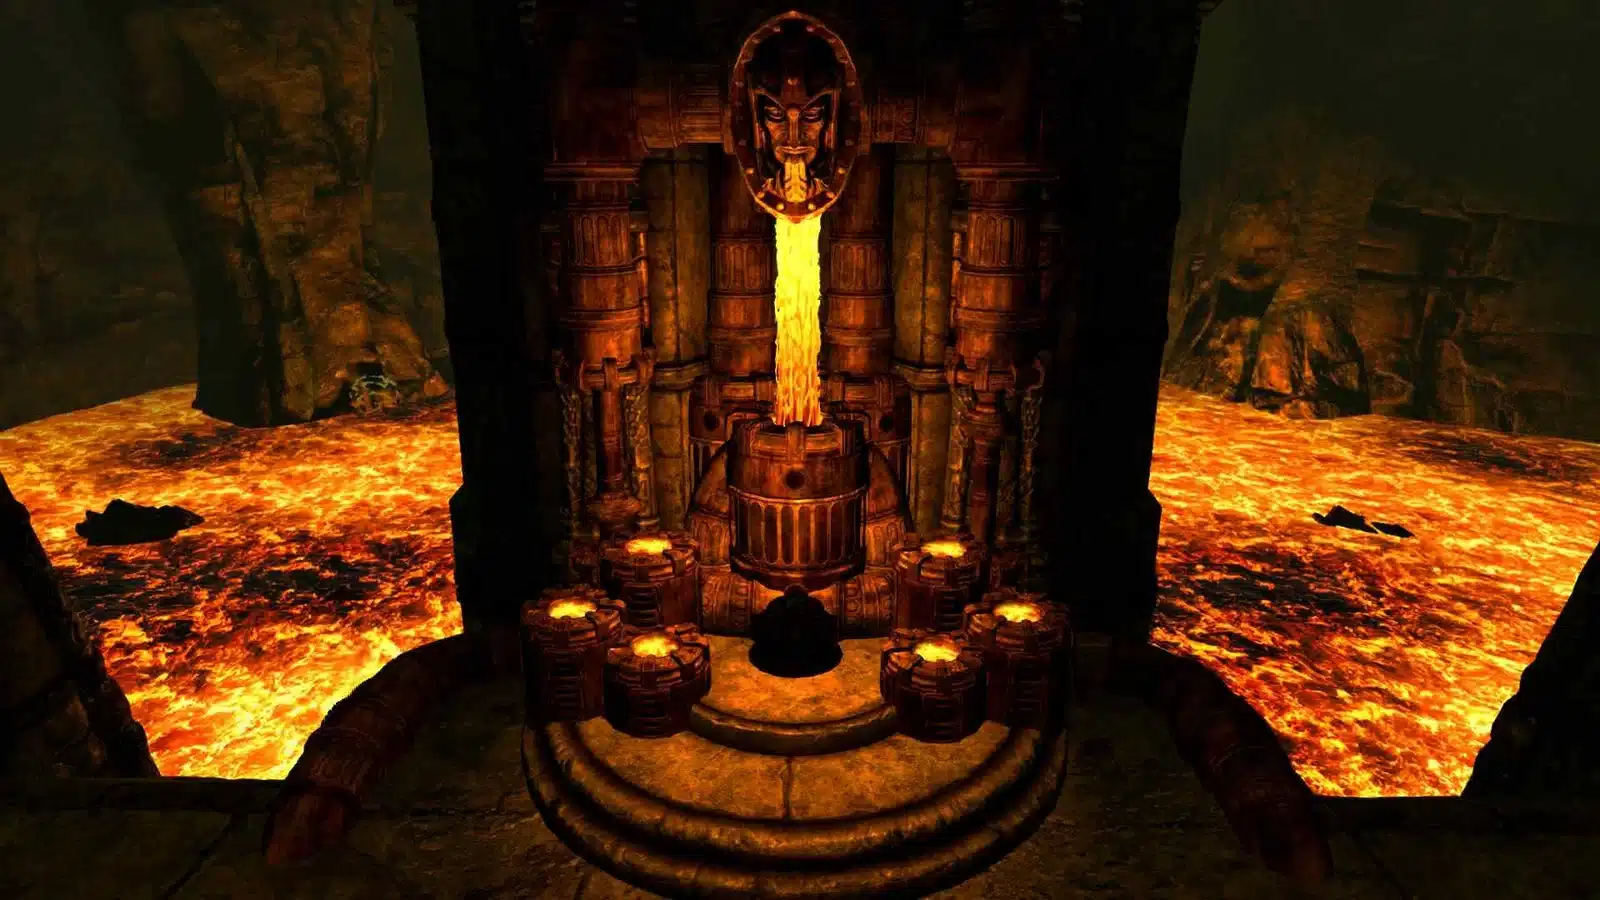
- Head down to the forge. It sits over a lake of lava deep underground.
- Fight the guardians. When you activate the forge, the Forgemaster wakes up: a heavy Dwemer construct that fights with fire, backed by smaller machines. Keep moving, use the steam vents and pillars for cover, and bring potions. Shock damage is the usual answer to Dwemer constructs. Save before you touch the forge.
- Craft your item. Use the forge to make one of three Aetherial items.
The Payoff: Which Aetherial Item to Make
You can only make one item, so choose with your playstyle in mind. Save before using the forge if you want to compare.
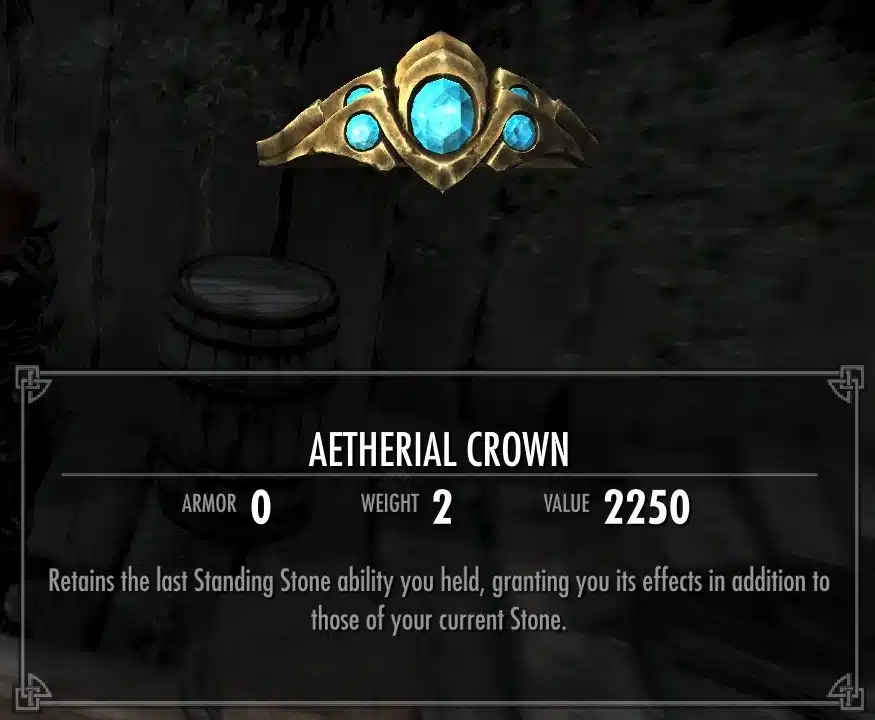
- Aetherial Crown: “Retains the last Standing Stone ability you held, granting you its effects in addition to those of your current Stone.” In practice: two Standing Stone blessings at the same time.
- Aetherial Shield: a shield whose bash turns enemies ethereal for a short time, taking them out of the fight while you deal with the rest.
- Aetherial Staff: summons a Dwarven Spider or Dwarven Sphere to fight for you.
| Material | Amount |
|---|---|
| Aetherium Crest | 1 |
| Flawless Sapphire | 2 |
| Dwarven Metal Ingot | 2 |
| Gold Ingot | 2 |
Honestly? The crown is the pick for almost everyone. Bring the sapphires and gold ingots with you, since running back to a vendor from Bthar-zel is a long walk.
How to Use the Crown Properly
- Put the crown on.
- Activate your first Standing Stone. For example the Lord Stone for armor and magic resistance.
- Activate your second stone while still wearing the crown, for example the Lover Stone for faster skill gains. The crown keeps the first one.
- Keep the crown on. The stored stone only works while you wear it. The trade: the crown takes your head slot, so you give up a helmet, which most builds will happily swap.
Want help picking which two stones fit your build? Our best overall build uses stones that pair perfectly with the crown, and the stealth archer build makes great use of Zephyr.
Lost to the Ages FAQ
How do you start Lost to the Ages?
Read The Aetherium Wars, enter Arkngthamz in the Reach, or pick up an Aetherium Shard. Any of the three starts the quest.
What is the Resonator order in Arkngthamz?
Bottom left, bottom right, top left, top right, then the middle one.
What does the Aetherial Crown do?
It stores the last Standing Stone you had, so you can have two Standing Stone effects at the same time.
Can you make more than one Aetherial item?
No. The forge lets you make only one: the crown, the shield or the staff.
Where is the Aetherium Forge?
Under the Ruins of Bthalft, down in the ruined city of Bthar-zel. You need all four shards to open the way.
The Payoff: a ghost story, a tone puzzle, a fast bow and a crown that changes how you build. It’s worth the effort, I promise. Wondering how many people are still exploring Dwemer ruins? The Skyrim Special Edition player count has it live.